Over the past year I’ve been working on something that started as a simple upgrade to Curves to Mesh and ended up growing into its own tool entirely.
Today I’m pleased to share this new Blender add-on, Loft Curves.
Loft Curves is built for artists who prefer shaping with curves and want a more flexible, modifier-based approach to creating clean surfaces inside Blender. It lets you loft between two or more curves, guide the flow of the surface using additional curves, and adjust everything in real time thanks to a Geometry Nodes-driven modifier.
Why Loft Curves?
One of the recurring requests I’ve seen over the years is for a straightforward way to loft between curves directly in Blender—without needing to jump into external software, and without the overhead of manually building node setups.
During early development, the goal was to extend Curves to Mesh. But as the workflow developed, testers pointed out that this felt like a different modelling approach altogether. Curves to Mesh specialises in patch-based surface generation using split curve grids. Loft Curves, by contrast, is built for freeform lofting driven by multiple profiles, guide rails, and sweep curves.
Rather than cram both approaches into a single add-on (and compromise each), Loft Curves has been released as a separate companion tool.
Curves to Mesh will continue to be fully supported and developed. It remains the best choice for structured patch modelling, while Loft Curves focuses on intuitive, modifier-driven lofting between two or more curves.
What Loft Curves Can Do
Here are some of the core features:
Modifier-Based Workflow
Loft Curves adds a custom Geometry Nodes modifier to your object. Adjust any curve and the surface updates instantly in the viewport.
Loft Between Multiple Curves
Use two, three, or more profile curves to generate the surface. Perfect for blocking out concepts quickly.
Guide Curves for Control
Add guide curves to refine how the loft transitions from one profile to another. Great for wings, hulls, footwear forms, and more complex shapes.
Profile + Sweep Tools
Choose or customise a sweep profile to control cross-sections along your shape.
UV Support
Loft Curves generates usable UVs to help with texturing and shading right away.
Flexible Applications
- Product shells
- Hard-surface concepts
- Organic surfaces
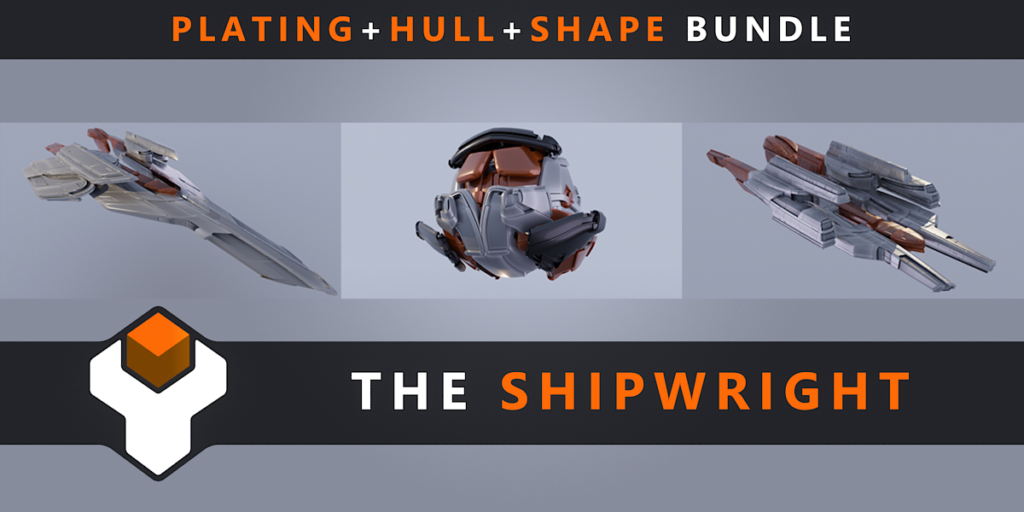
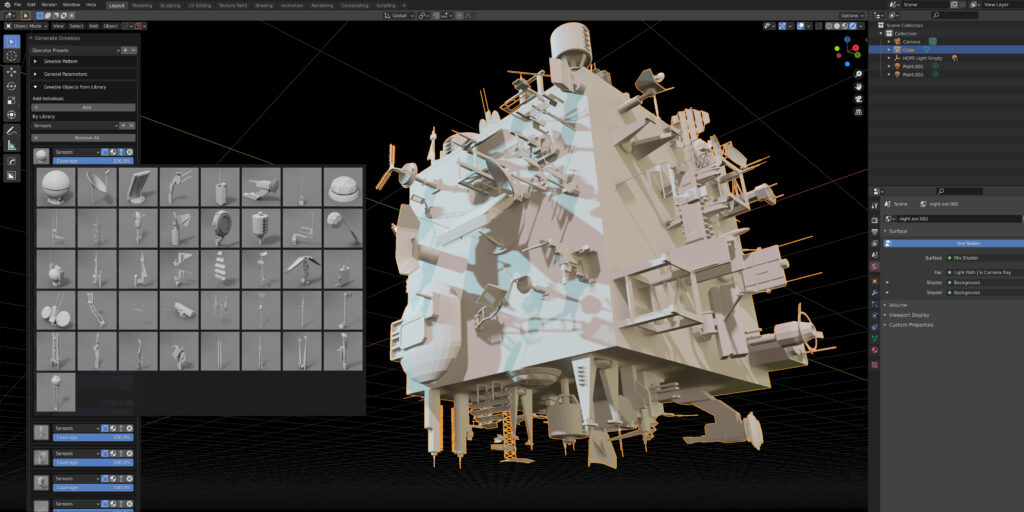
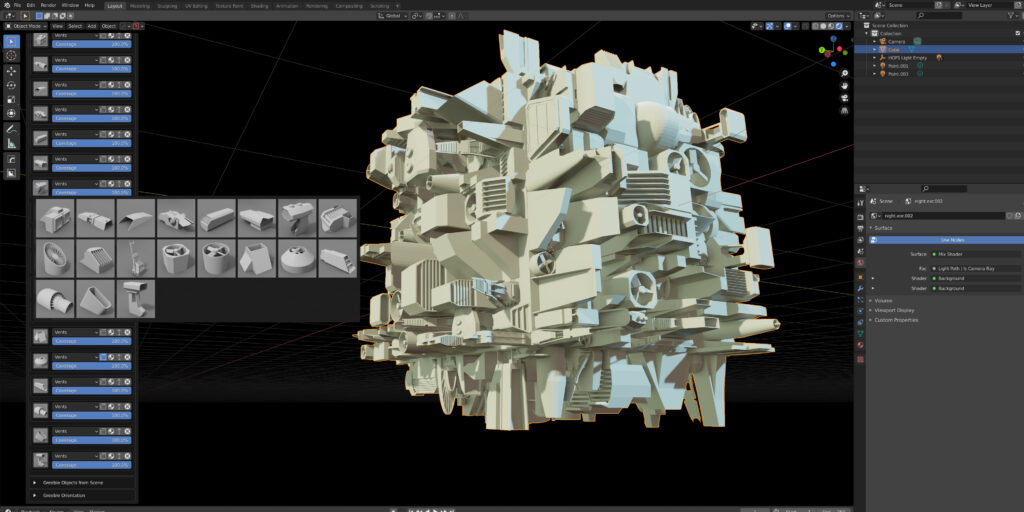
- Sci-fi paneling
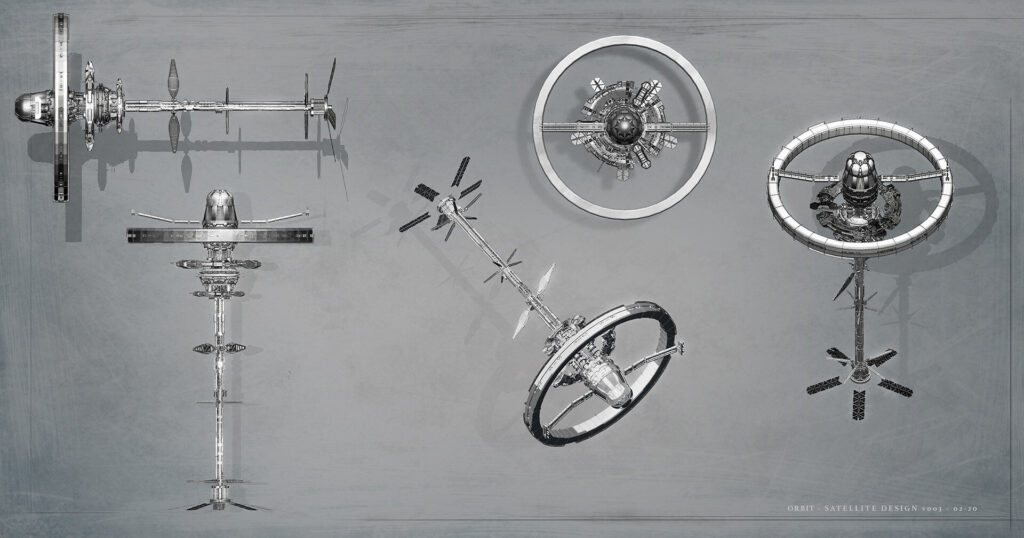
- Vehicle and aircraft components
- Architectural forms
If you prefer to think in curves first and refine later, I hope you’ll find this workflow a good fit.
Documentation and Preview
Full documentation is available from:
📘 Documentation: https://loft-curves.readthedocs.io/en/latest/
Release Details
If you’re a Curves to Mesh user, you should already have received a dedicated discount code c2mloft as a thank you for your support over the years.
Final Thoughts
It’s been fascinating developing Loft Curves and seeing how artists approach curve-based workflows. The feedback from early testers helped shape this tool enormously, and I’m excited to see what the wider Blender community will create with it.
As always, thanks for your support and if you have questions, want to share your creations, or think of features you’d like to see next, feel free to get in touch.