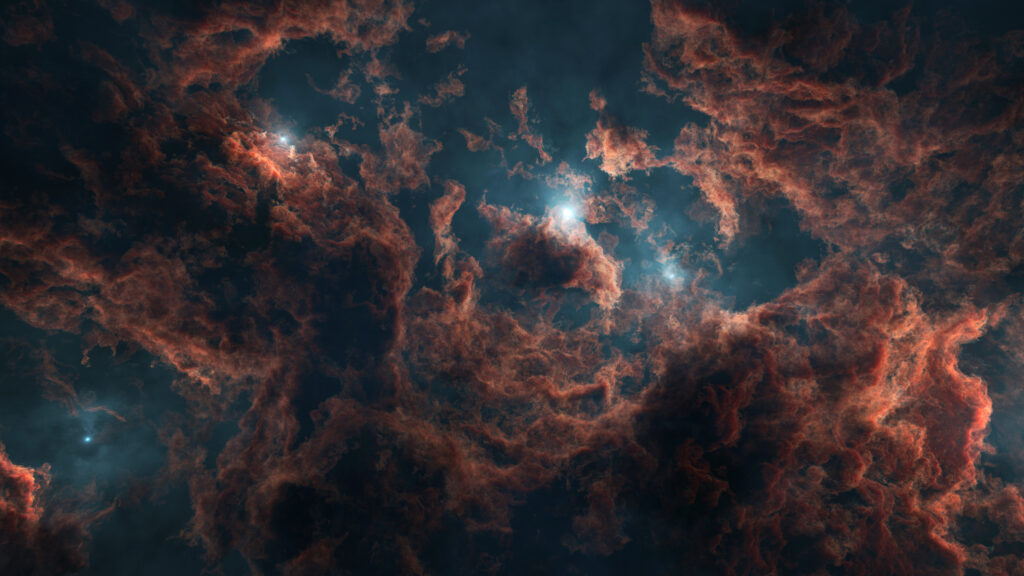
Animating Nebulae with Blender and Midjourney Video

Tutorial Video

Setting aside the controversies around generative AI tools like Midjourney, this post explores a practical workflow for combining Blender with Midjourney to create volumetric nebula animations more quickly than traditional rendering techniques.

Volumetric nebulae can look fantastic in Blender, but animating them can be time-consuming and prone to artifacts in both EEVEE and Cycles. Midjourney, on the other hand, can generate animations quickly — especially flythroughs of cloud-like structures. In this post, I’ll walk through a workflow that combines both tools: using Blender’s Nebula Generator to create a unique still image, and then feeding that into Midjourney to produce animations — including seamless(ish) loops.

Why Use Midjourney for Animation?

Blender’s Eevee renderer is excellent for creating volumetric still images, but animating those volumes often requires lots of samples to avoid flicker. That translates to long render times, and even then, some artifacts can remain. The same goes for Cycles, which can be more accurate but can take much longer to render.

Midjourney, however, has been trained on massive amounts of cloud-like images and videos. This makes it surprisingly good at generating flythroughs of nebulae. While you lose some fine control over the camera, you gain speed — producing a short animation in seconds instead of hours.
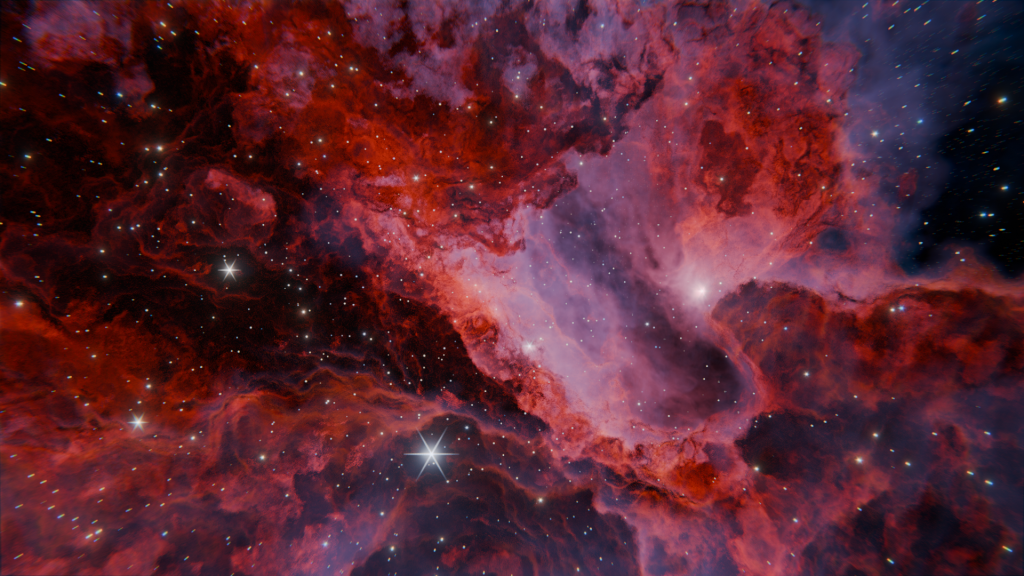
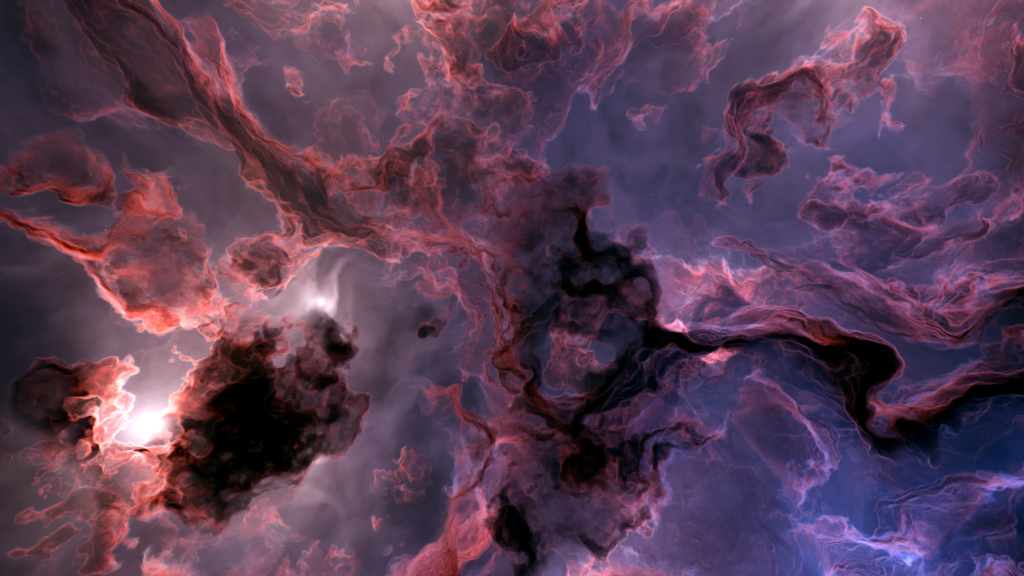
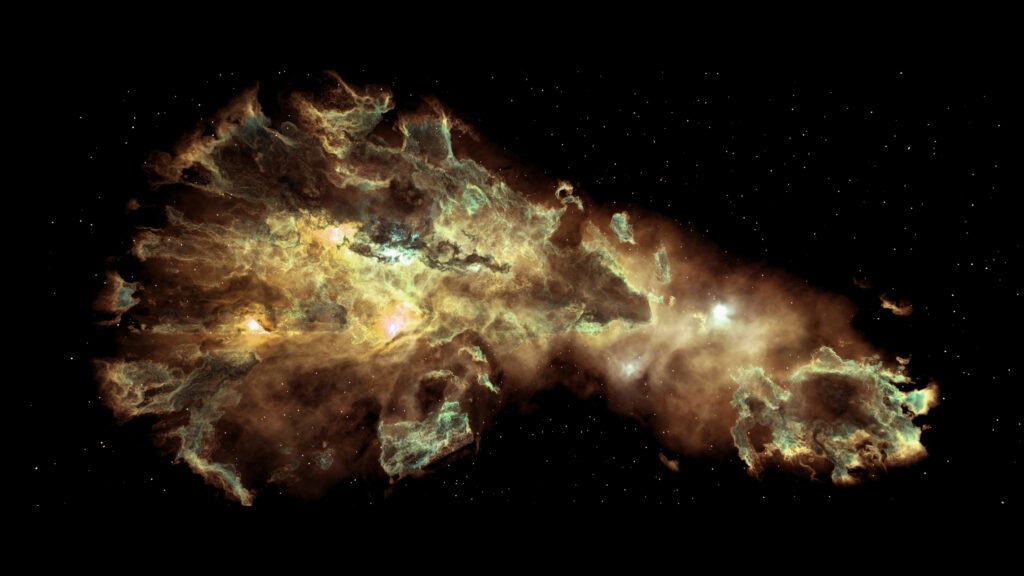
Blender-rendered still image
Midjourney flythrough video frame

Step 1: Create a Seed Image in Blender

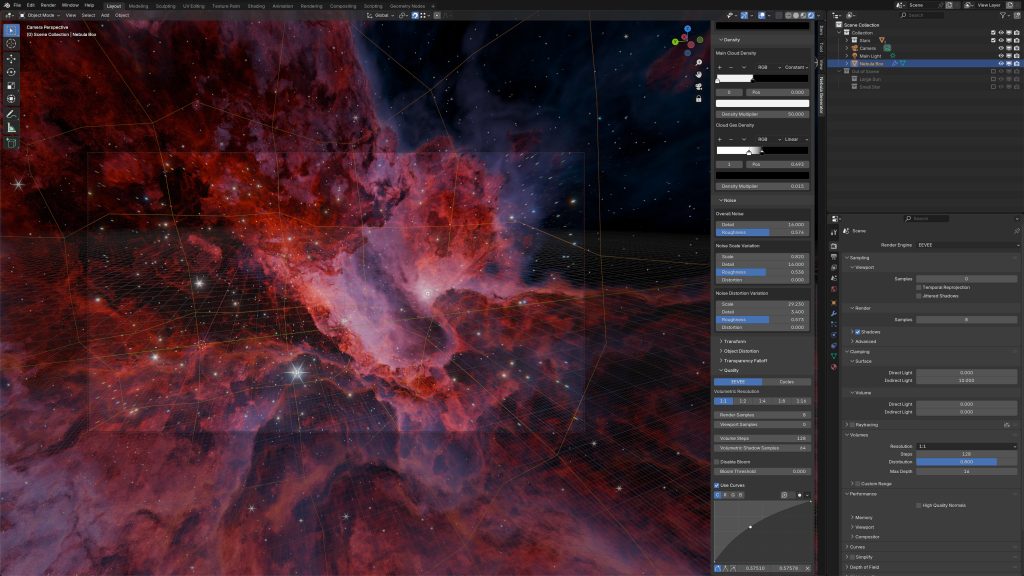
I start with my Nebula Generator add-on in Blender.

  • Tweak noise and lighting parameters to shape the nebula.
  • Adjust the coloring to get the atmosphere you want.
  • Increase the volumetric resolution for higher detail.
  • Render out a single still image.

I confess that I find this stage the most enjoyable – it lets you stay in control of the artistic look before moving into the scarily efficient world of AI-driven animation.
Step 2: Generate a Flythrough in Midjourney

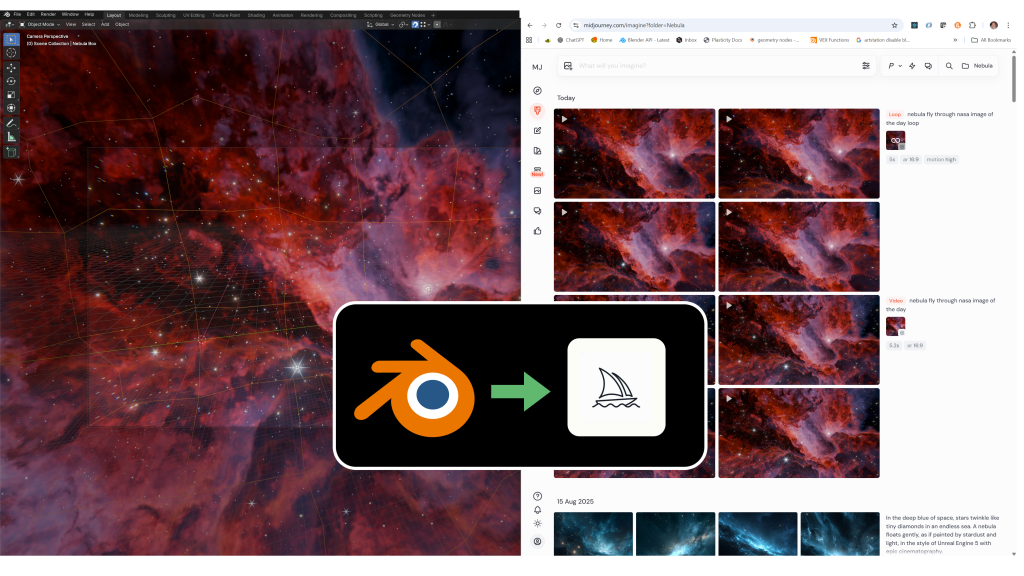
With the Blender still rendered, I switch to Midjourney.

  • Upload the image into the Creation tab.
  • Use it not as a finished still, but as a starting frame for an animation.
  • A simple prompt like “nebula flythrough, NASA image of the day” works well — the phrase flythrough seems to make a big difference.

After hitting generate, Midjourney takes about 30 seconds to produce four short animations. Some will be better than others, but usually at least one is more than workable.

Midjourney interface showing prompt + animation previews

Step 3: Create a Looping Animation

One question I was asked when I first shared this workflow was: Can you make it loop?
The answer is yes — with mixed results.

If you set the end frame equal to the start frame and optionally set the Motion to High, Midjourney will attempt to generate a seamless loop. Sometimes it works beautifully, sometimes it doesn’t. A few retries usually yield at least one good loop.

Start vs end frame comparison, showing matching images

Here’s an example where the nebula flythrough loops smoothly, making it perfect for background visuals.

Other examples

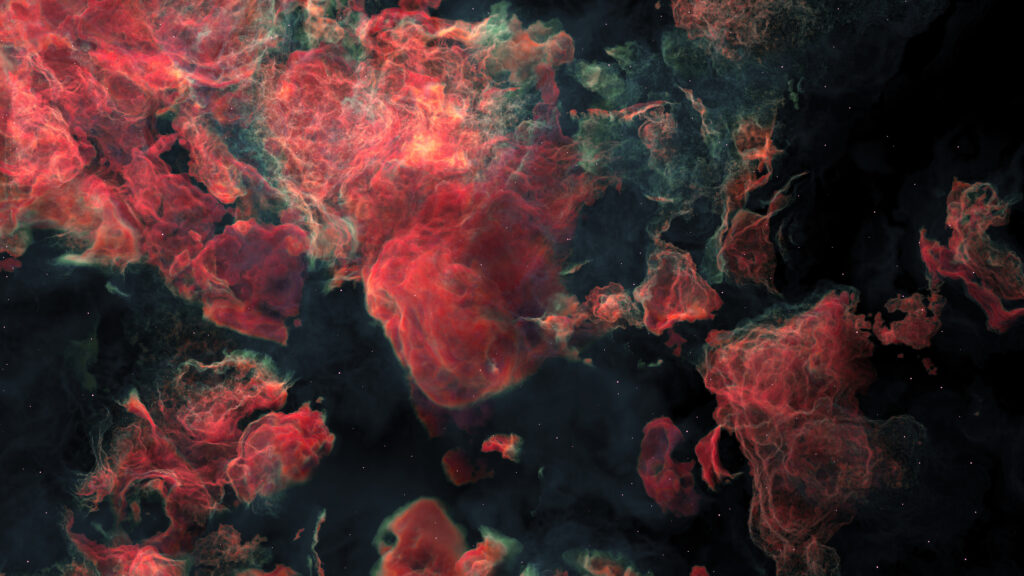
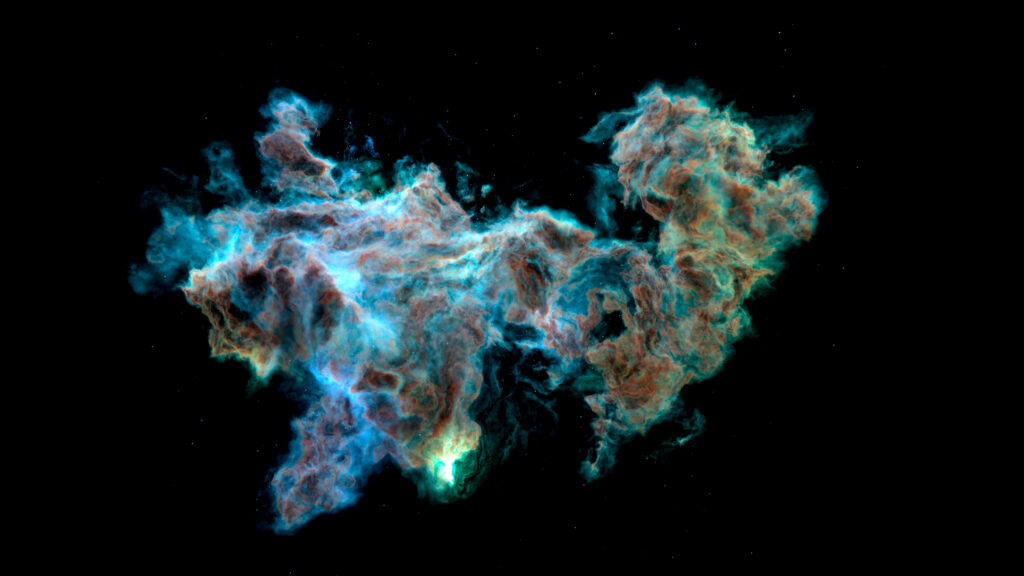
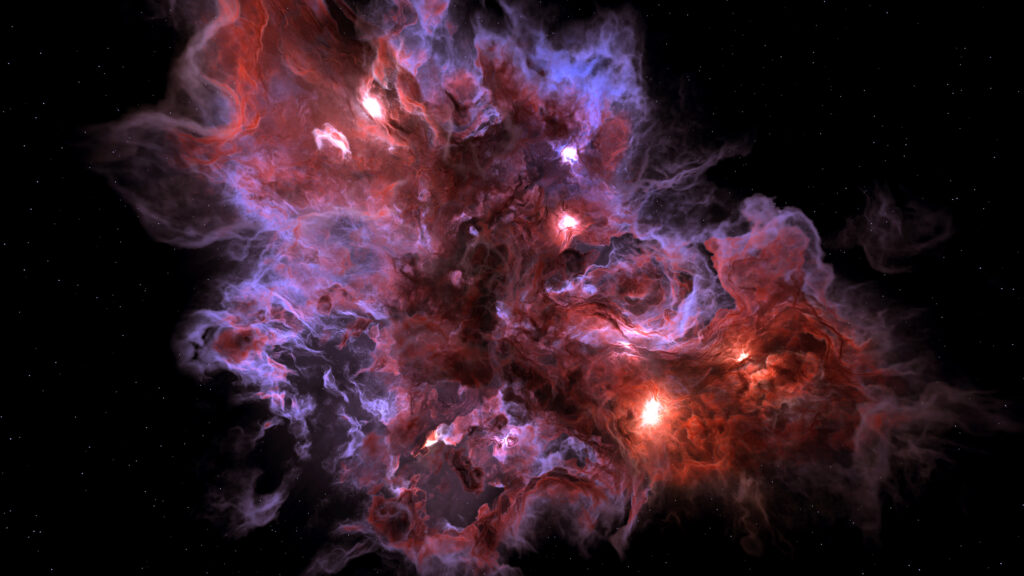
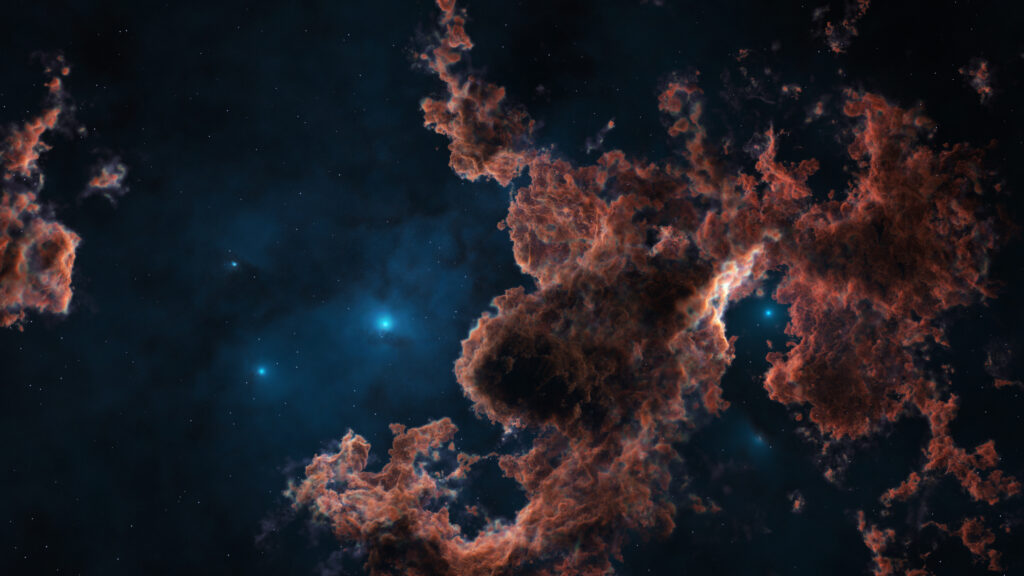
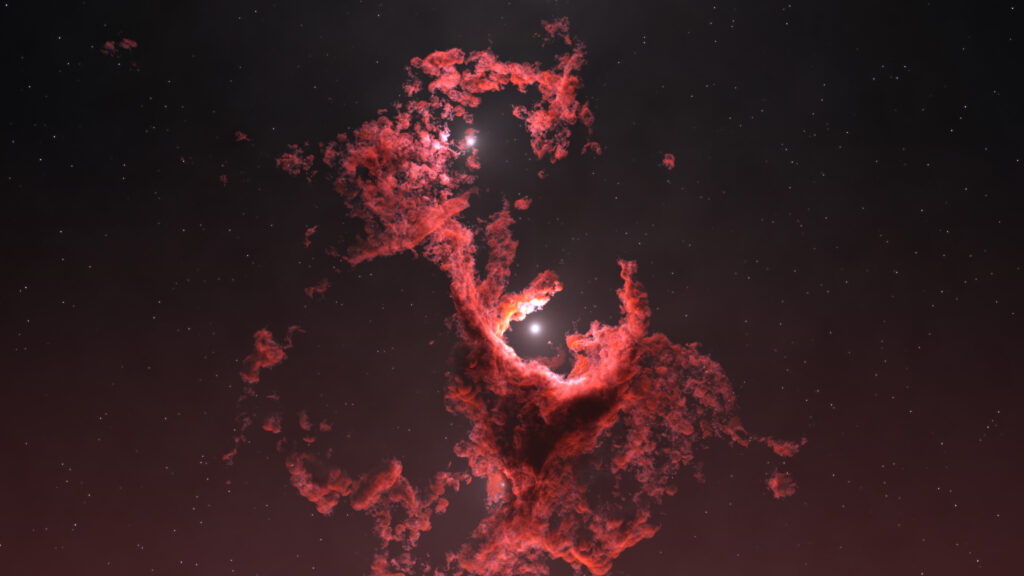
Here are some of the more successful examples using this technique. In some cases, I used the still image as a heavily weighted seed to create another still. The last one was rendered in Houdini with the Redshift renderer using a Houdini course I created some time ago.

This last one was created in Houdini and Redshift

Here are a few failures, especially when attempting looped animations – which, in all fairness, would be a challenge for human or machine:

Pros, Cons, and Applications

This Blender + Midjourney workflow offers:

Speed — animations in under a minute.
Uniqueness — still images designed in Blender give your animations a personal touch.
Flexibility — you can prototype quickly, then refine later in Blender if needed.

But there are trade-offs:

⚠️ Less control — you can’t direct the camera as precisely as in Blender.
⚠️ Mixed results — especially with looping animations, some attempts won’t quite work.

Despite this, it’s an excellent way to rapidly prototype or generate atmospheric background sequences.

Wrap Up

By combining Blender’s creative control with Midjourney’s speed, you can create unique nebula animations — both straightforward flythroughs and seamless loops — in a fraction of the time it would take using traditional volumetric rendering alone.

If you’d like to try this workflow yourself, you can check out the Nebula Generator add-on. You don’t have to use it — any still nebula image will work — but it’s a great way to get started.
Have you tried mixing Blender with AI tools like Midjourney? It might feel a little unsettling, but after spending hours myself rendering animations, I must say the results are undeniably impressive.

Shape Generator Update: Applying Design Theory

3 years ago I built the 3D Shape Generator to automatically create a variety of unique 3D shapes and objects. 

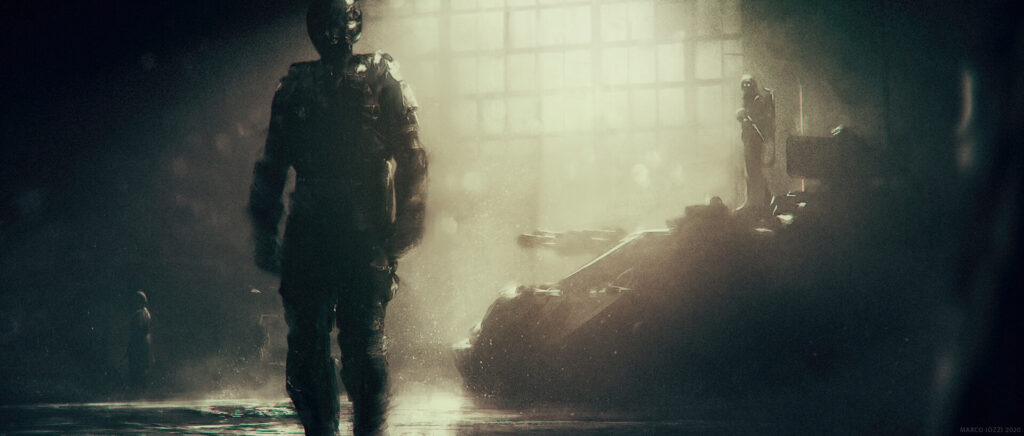
For the latest update I got talking with Marco Iozzi, a professional who has been working in the industry since 1998 as a 3D Artist, Matte Painter and now Concept Artist on productions like Harry Potter, Elysium, Game of Thrones and is currently doing concept art and design on Thor: Love and Thunder

He downloaded the Shape Generator to help him with his own design work.

He pointed me at Sinix Design, who provides a set of videos on the topic of Design Theory describing the best methods for creating shapes that are appealing and unique.  

Sinix spoke about the concept of Big/Medium/Small; the theory that the majority of good designs can be broken down into one large main shape; a medium shape or shapes taking up a smaller amount of the design; and some smaller shapes taking up an even smaller area:

This got me thinking about the Shape Generator; if I can first generate just one large object, automatically scatter medium objects across that, and then scatter smaller random objects across that, I might be onto something.

Once I set this up, it was surprising how many more unique and interesting designs I could quickly generate with the change of a single number. 

A sample of the generated shapes using the Shape Generator’s Big/Medium/Small settings
A Screenshot of the Shape Generator’s Big/Medium/Small settings in Blender (Also available in Houdini)

With the help of Marco’s feedback, I’ve also introduced a host of other improvements:

  • Along with the Big/Medium/Small controls, a new integrated panel allows you to easily revisit and change your settings which now include more material controls, Boolean settings, and easier to install Presets. 
  • A new Iterator function, much like the one I coded with Chipp Walters in KIT OPS SYNTH, allows you to quickly render out countless variations to quickly let you pick a design to take forward.
  • The new Bake feature allows you to combine all the individual shapes into one so you can continue to model or sculpt your chosen design to the next level of detail. I’ll talk about each of these new features more in the next few videos.  I hope you’ll enjoy these updates to the Shape Generator and find it useful in developing your own designs.

Each of these features are covered in the following videos:

I hope you’ll enjoy these updates to the Shape Generator and find it useful in developing your own designs.

The Shape Generator is available for:

Blender

Houdini

Nebula Creation Course

Hi everyone,

Building on my popular Nebula Generator in Blender, last year I decided to take things even further and used Houdini to create sophisticated nebula effects, deciding on the Redshift Renderer for its speed when rendering 3D volumes. The results are on my ArtStation:

The course itself is a culmination of that learning over the year, and after some long hours in the editing room, it certainly has been a labor of love.

So, I present to you the 3D Nebula Creation Course – here is the trailer:

The course videos start by assuming a very basic knowledge of Houdini and Redshift, building in complexity as time goes on.  

The 3 hours of step-by-step 4K videos have sample Houdini Indie files for each stage of my process, including:

  • Creation of customizable cloud set ups using VDBs and Volume VOPs.
  • Adding customizable effects such as stars and volumetric gas.
  • Setting up an automated lighting rig.
  • Using meta-ball objects and particles to shape the nebula.
  • Rendering the nebula for both stills and animation.
  • Post processing techniques on the final result.

I hope you’ll find it useful – for more info, screenshots and pre-requisites, visit the course page on Gumroad, and if you have any questions do get in touch.

Using L Systems to model cities

I’d been meaning to research L Systems in Houdini for some time, and wow had I been missing something. I first came across them in some of Akira Saito‘s posts where he had made some interesting mech-like beings using their organic structure:

A recent tweet from Akira Saito

I’d squinted at them before in Houdini’s L System documentation but didn’t really make sense of it. I then came across a great in-depth tutorial (if you’re as geeky as me it’s well worth the time) by the eloquent houdinikitchen who overviews the theory well with lots of examples to give a good understanding:

HoudiniKitchen’s tutorial on L-Systems

The basic idea is that you provide a set of simpl(ish) instructions called Turtle commands that describe a starting state, such as:

F+FF

…which means “Branch up one (F), rotate 90 degrees (+), and then branch up twice (FF)

Then you give it more ‘simple’ rules using the same language that alter this basic structure every generation, such as:

F=FF++F++F+F++F-F

…which says “next generation, replace all the Fs in the previous statement with the instructions here”.

This can give rise to some complex plant-like structures like the ones shipped with Houdini:

Basic L-System Tree

But interestingly you can create things like hexagonal structures as well. After a little experimentation I quickly got what looks like a snowflake:

I then tweaked the “Generations” parameter so that Houdini was part-way through a generation, which gives a more distorted structure like this:

The same hexaganol structure but at generation 4.8

I then used my own random 3D Shape Generator node and a Copy to Points node to randomly create building like structures for each point in the ‘tree’ and got this effect:

Zoomed out…
…zoomed in a bit more….
…and closer

You can download the sample file here – it will require the Shape Generator asset to work, which maybe you’ll humbly consider supporting me by taking a look at it on Gumroad here: