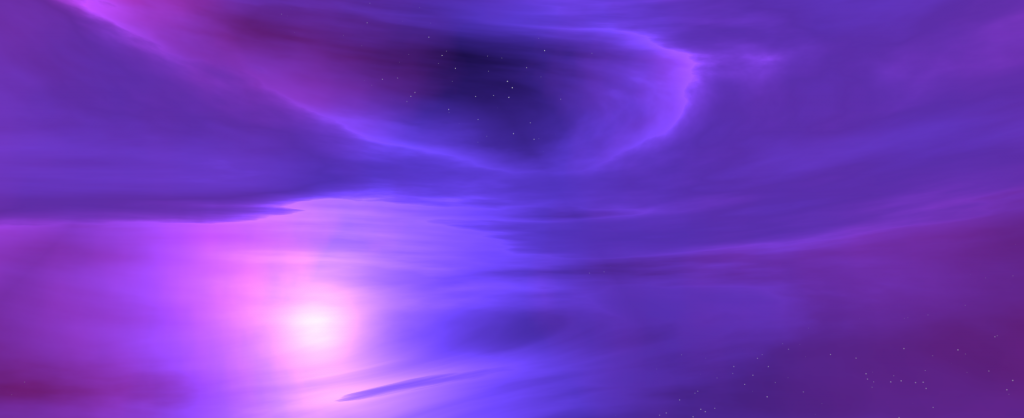
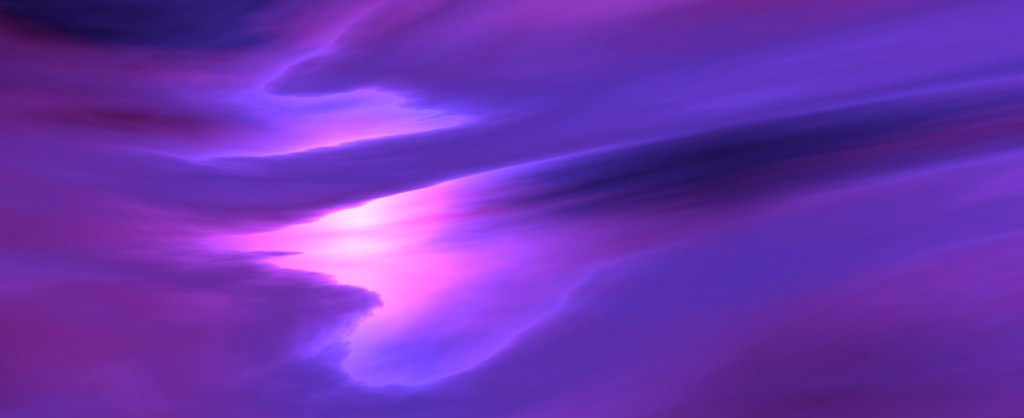
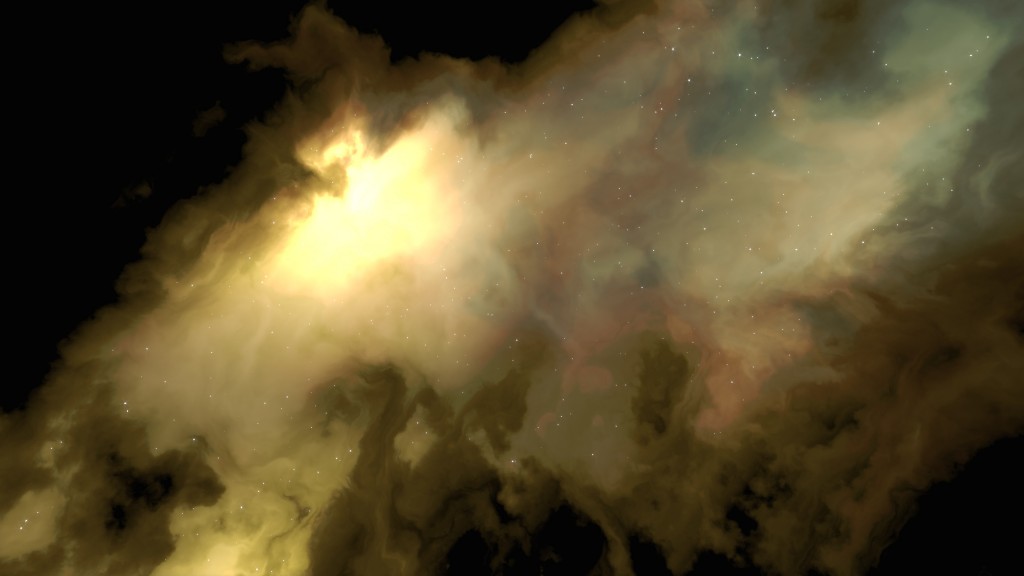
Setting aside the controversies around generative AI tools like Midjourney, this post explores a practical workflow for combining Blender with Midjourney to create volumetric nebula animations more quickly than traditional rendering techniques.

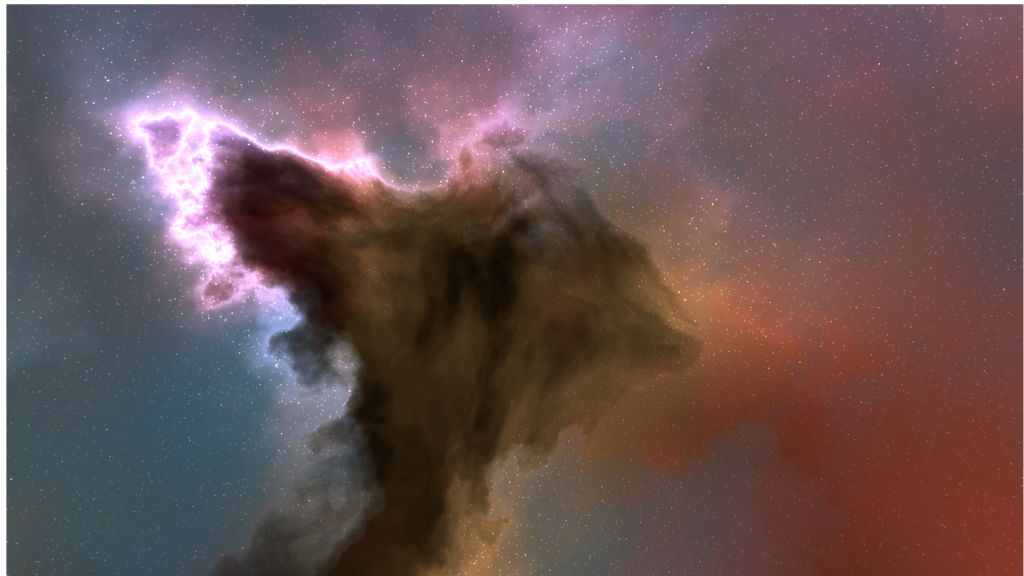
Volumetric nebulae can look fantastic in Blender, but animating them can be time-consuming and prone to artifacts in both EEVEE and Cycles. Midjourney, on the other hand, can generate animations quickly — especially flythroughs of cloud-like structures. In this post, I’ll walk through a workflow that combines both tools: using Blender’s Nebula Generator to create a unique still image, and then feeding that into Midjourney to produce animations — including seamless(ish) loops.
Why Use Midjourney for Animation?
Blender’s Eevee renderer is excellent for creating volumetric still images, but animating those volumes often requires lots of samples to avoid flicker. That translates to long render times, and even then, some artifacts can remain. The same goes for Cycles, which can be more accurate but can take much longer to render.
Midjourney, however, has been trained on massive amounts of cloud-like images and videos. This makes it surprisingly good at generating flythroughs of nebulae. While you lose some fine control over the camera, you gain speed — producing a short animation in seconds instead of hours.

Step 1: Create a Seed Image in Blender
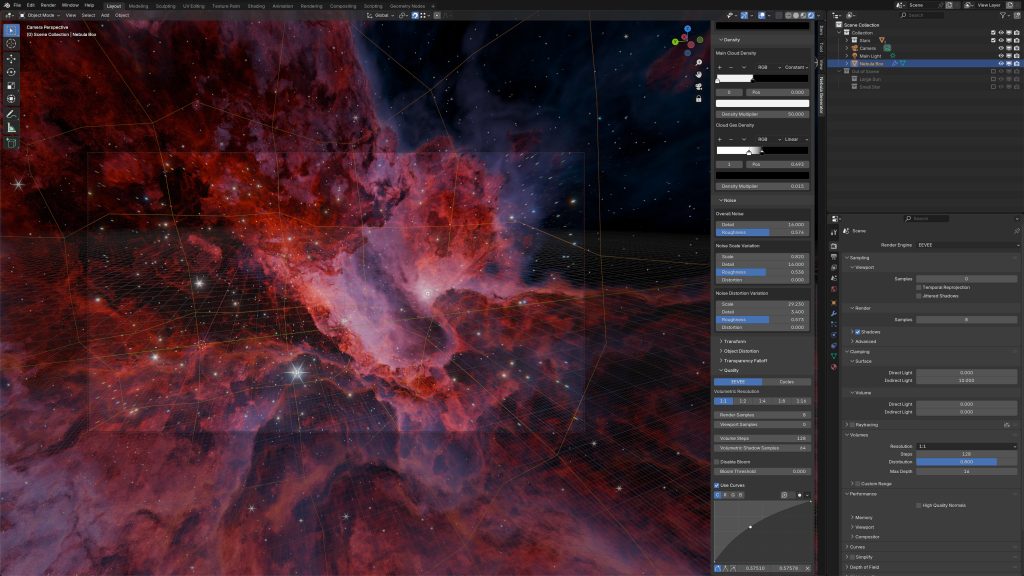
I start with my Nebula Generator add-on in Blender.
- Tweak noise and lighting parameters to shape the nebula.
- Adjust the coloring to get the atmosphere you want.
- Increase the volumetric resolution for higher detail.
- Render out a single still image.
I confess that I find this stage the most enjoyable – it lets you stay in control of the artistic look before moving into the scarily efficient world of AI-driven animation.
Step 2: Generate a Flythrough in Midjourney
With the Blender still rendered, I switch to Midjourney.
- Upload the image into the Creation tab.
- Use it not as a finished still, but as a starting frame for an animation.
- A simple prompt like “nebula flythrough, NASA image of the day” works well — the phrase flythrough seems to make a big difference.
After hitting generate, Midjourney takes about 30 seconds to produce four short animations. Some will be better than others, but usually at least one is more than workable.

Step 3: Create a Looping Animation
One question I was asked when I first shared this workflow was: Can you make it loop?
The answer is yes — with mixed results.
If you set the end frame equal to the start frame and optionally set the Motion to High, Midjourney will attempt to generate a seamless loop. Sometimes it works beautifully, sometimes it doesn’t. A few retries usually yield at least one good loop.

Here’s an example where the nebula flythrough loops smoothly, making it perfect for background visuals.
Other examples
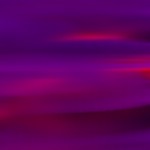
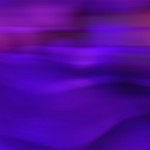
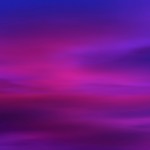
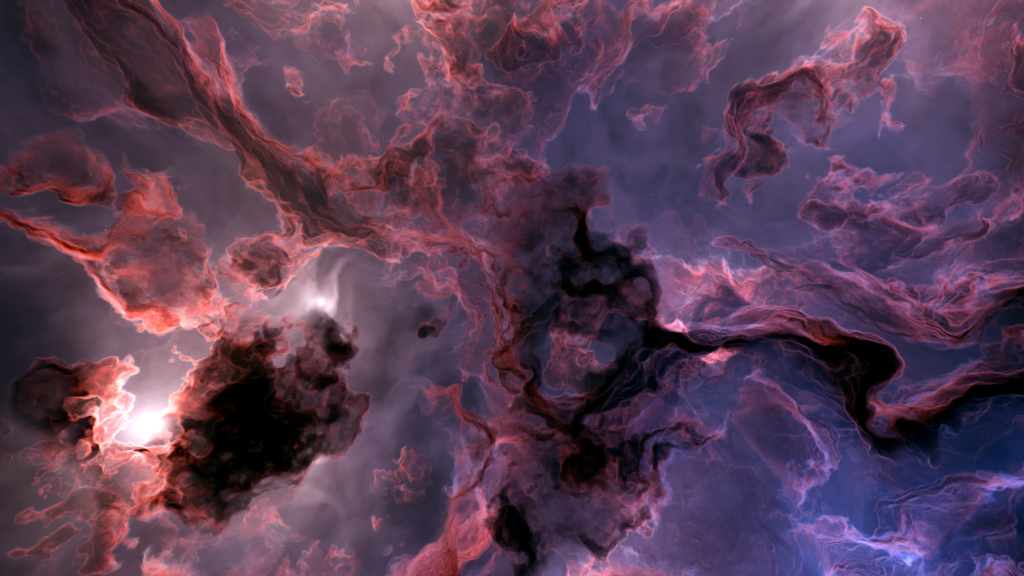
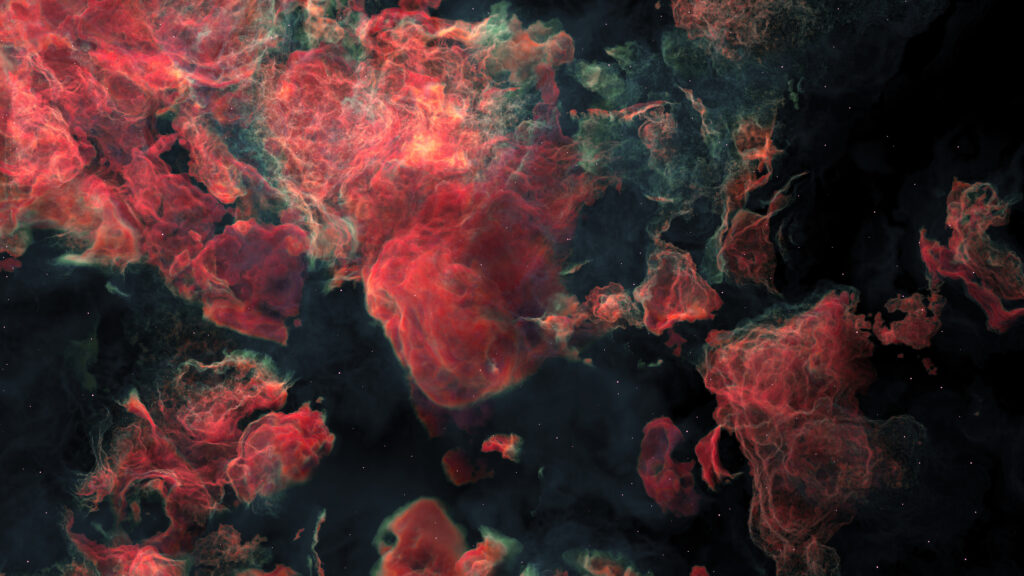
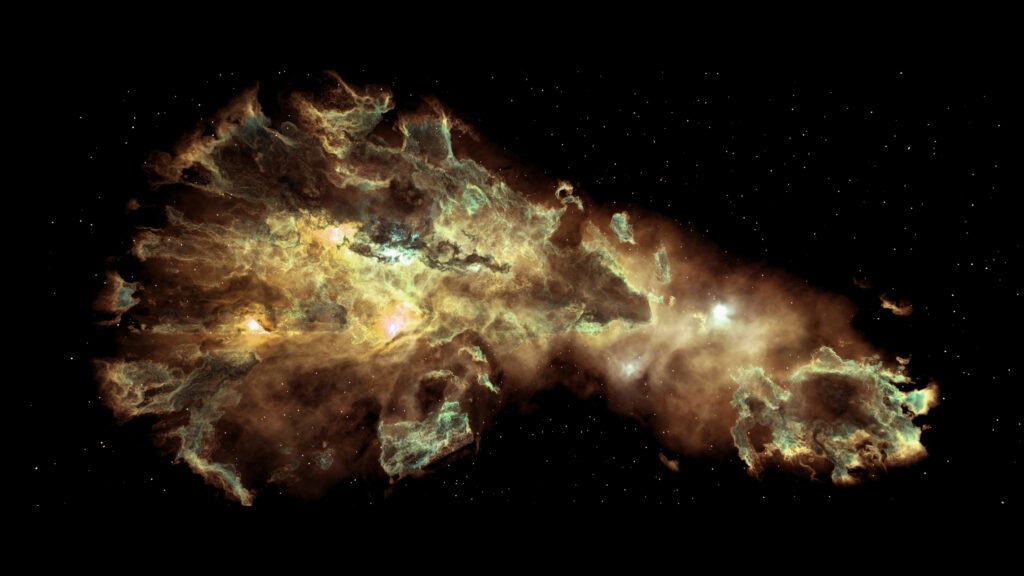
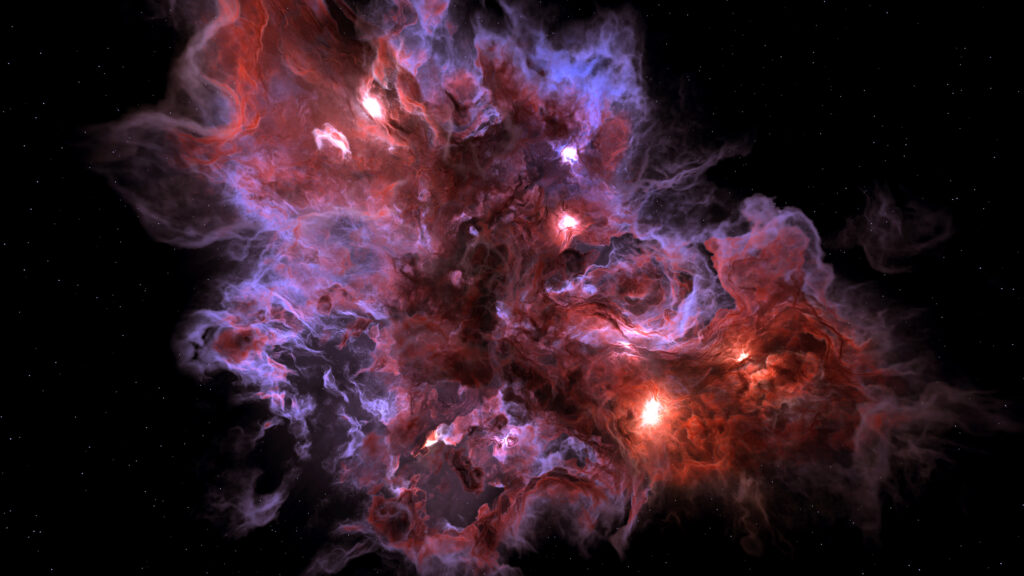
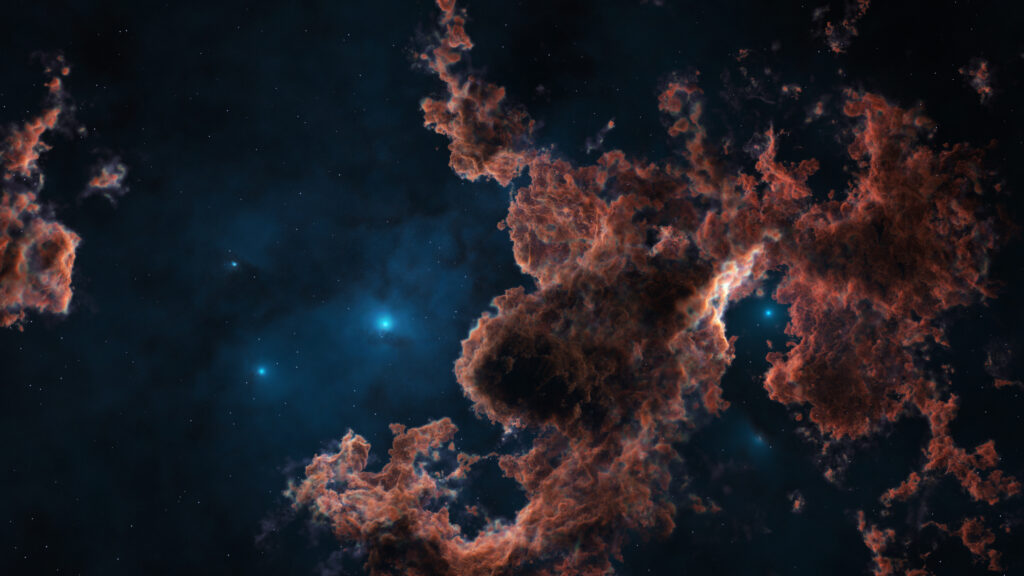
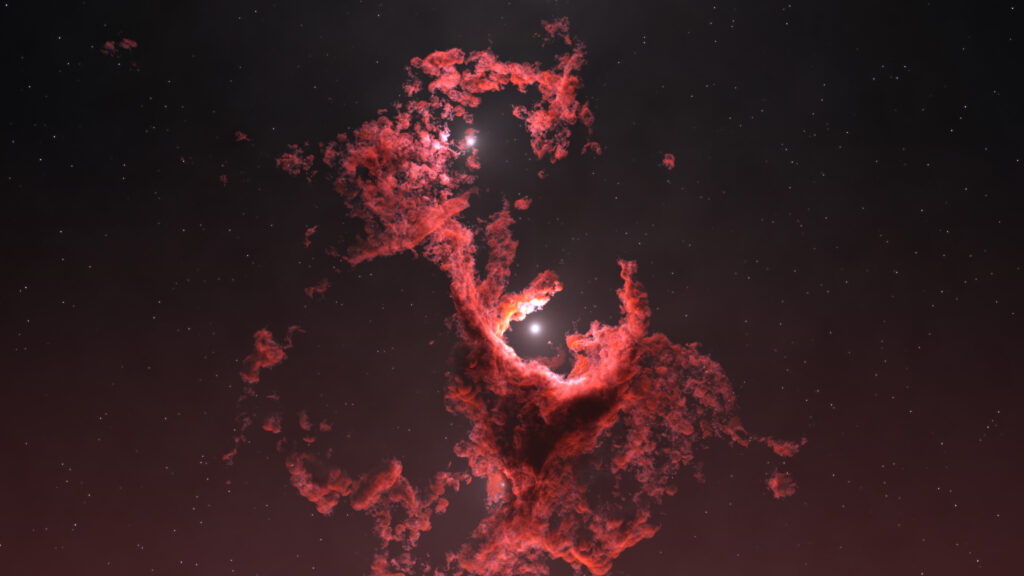
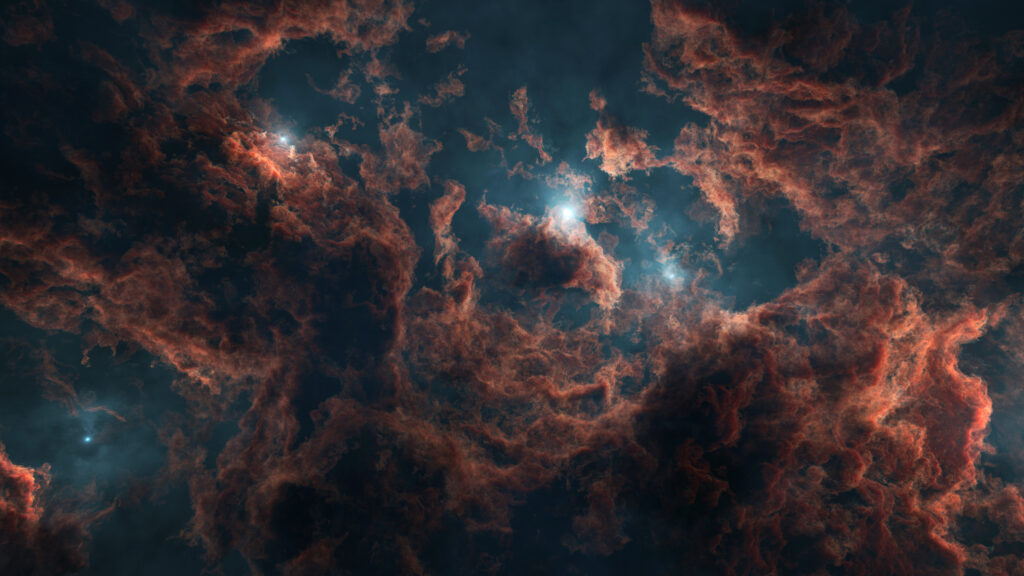
Here are some of the more successful examples using this technique. In some cases, I used the still image as a heavily weighted seed to create another still. The last one was rendered in Houdini with the Redshift renderer using a Houdini course I created some time ago.
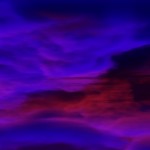
Here are a few failures, especially when attempting looped animations – which, in all fairness, would be a challenge for human or machine:
Pros, Cons, and Applications
This Blender + Midjourney workflow offers:
✅ Speed — animations in under a minute.
✅ Uniqueness — still images designed in Blender give your animations a personal touch.
✅ Flexibility — you can prototype quickly, then refine later in Blender if needed.
But there are trade-offs:
⚠️ Less control — you can’t direct the camera as precisely as in Blender.
⚠️ Mixed results — especially with looping animations, some attempts won’t quite work.
Despite this, it’s an excellent way to rapidly prototype or generate atmospheric background sequences.
Wrap Up
By combining Blender’s creative control with Midjourney’s speed, you can create unique nebula animations — both straightforward flythroughs and seamless loops — in a fraction of the time it would take using traditional volumetric rendering alone.
If you’d like to try this workflow yourself, you can check out the Nebula Generator add-on. You don’t have to use it — any still nebula image will work — but it’s a great way to get started.

Have you tried mixing Blender with AI tools like Midjourney? It might feel a little unsettling, but after spending hours myself rendering animations, I must say the results are undeniably impressive.





 My latest add-on will create many windows at once on the faces of a mesh:
 The add-on has applications beyond just modelling spaceships, and would also apply when needing to quickly model many windows onto architectural buildings.




 My first attempt.