Animating Nebulae with Blender and Midjourney Video

Tutorial Video

Setting aside the controversies around generative AI tools like Midjourney, this post explores a practical workflow for combining Blender with Midjourney to create volumetric nebula animations more quickly than traditional rendering techniques.

Volumetric nebulae can look fantastic in Blender, but animating them can be time-consuming and prone to artifacts in both EEVEE and Cycles. Midjourney, on the other hand, can generate animations quickly — especially flythroughs of cloud-like structures. In this post, I’ll walk through a workflow that combines both tools: using Blender’s Nebula Generator to create a unique still image, and then feeding that into Midjourney to produce animations — including seamless(ish) loops.

Why Use Midjourney for Animation?

Blender’s Eevee renderer is excellent for creating volumetric still images, but animating those volumes often requires lots of samples to avoid flicker. That translates to long render times, and even then, some artifacts can remain. The same goes for Cycles, which can be more accurate but can take much longer to render.

Midjourney, however, has been trained on massive amounts of cloud-like images and videos. This makes it surprisingly good at generating flythroughs of nebulae. While you lose some fine control over the camera, you gain speed — producing a short animation in seconds instead of hours.

Blender-rendered still image
Midjourney flythrough video frame

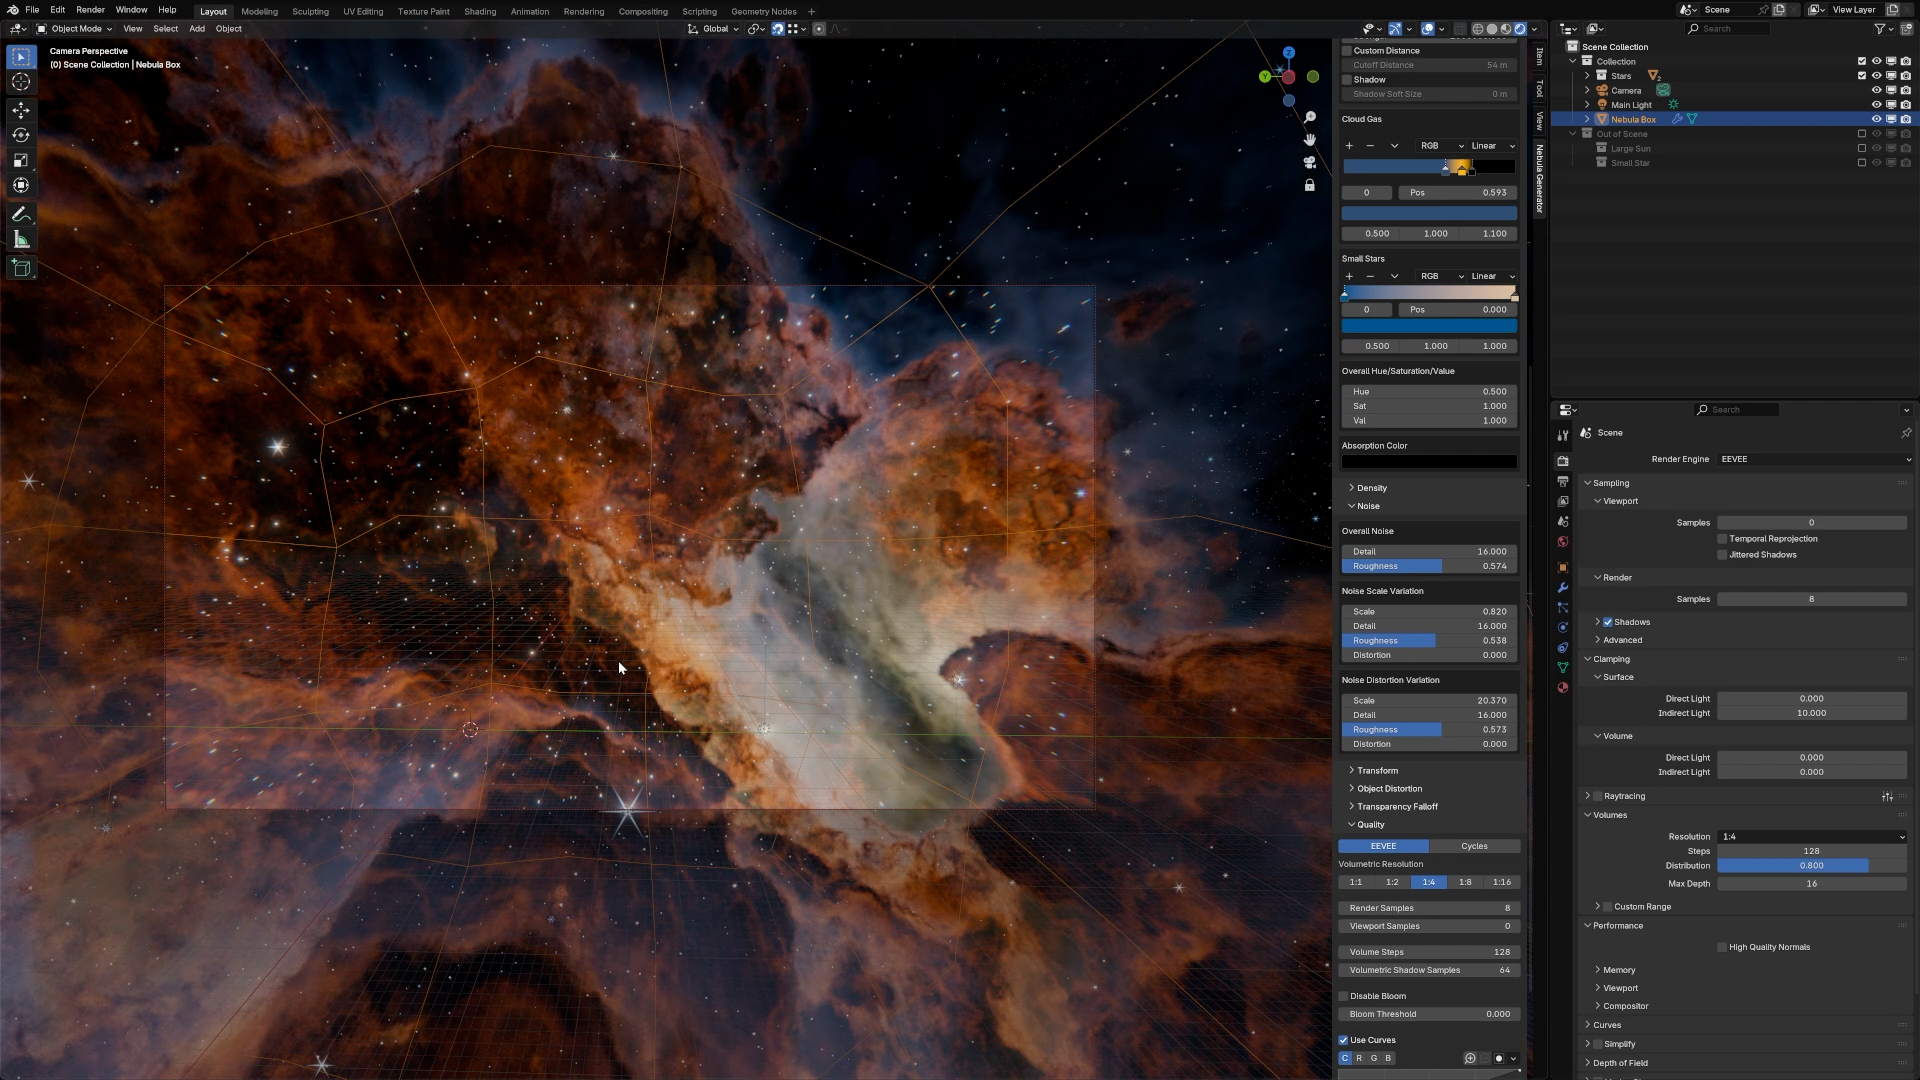
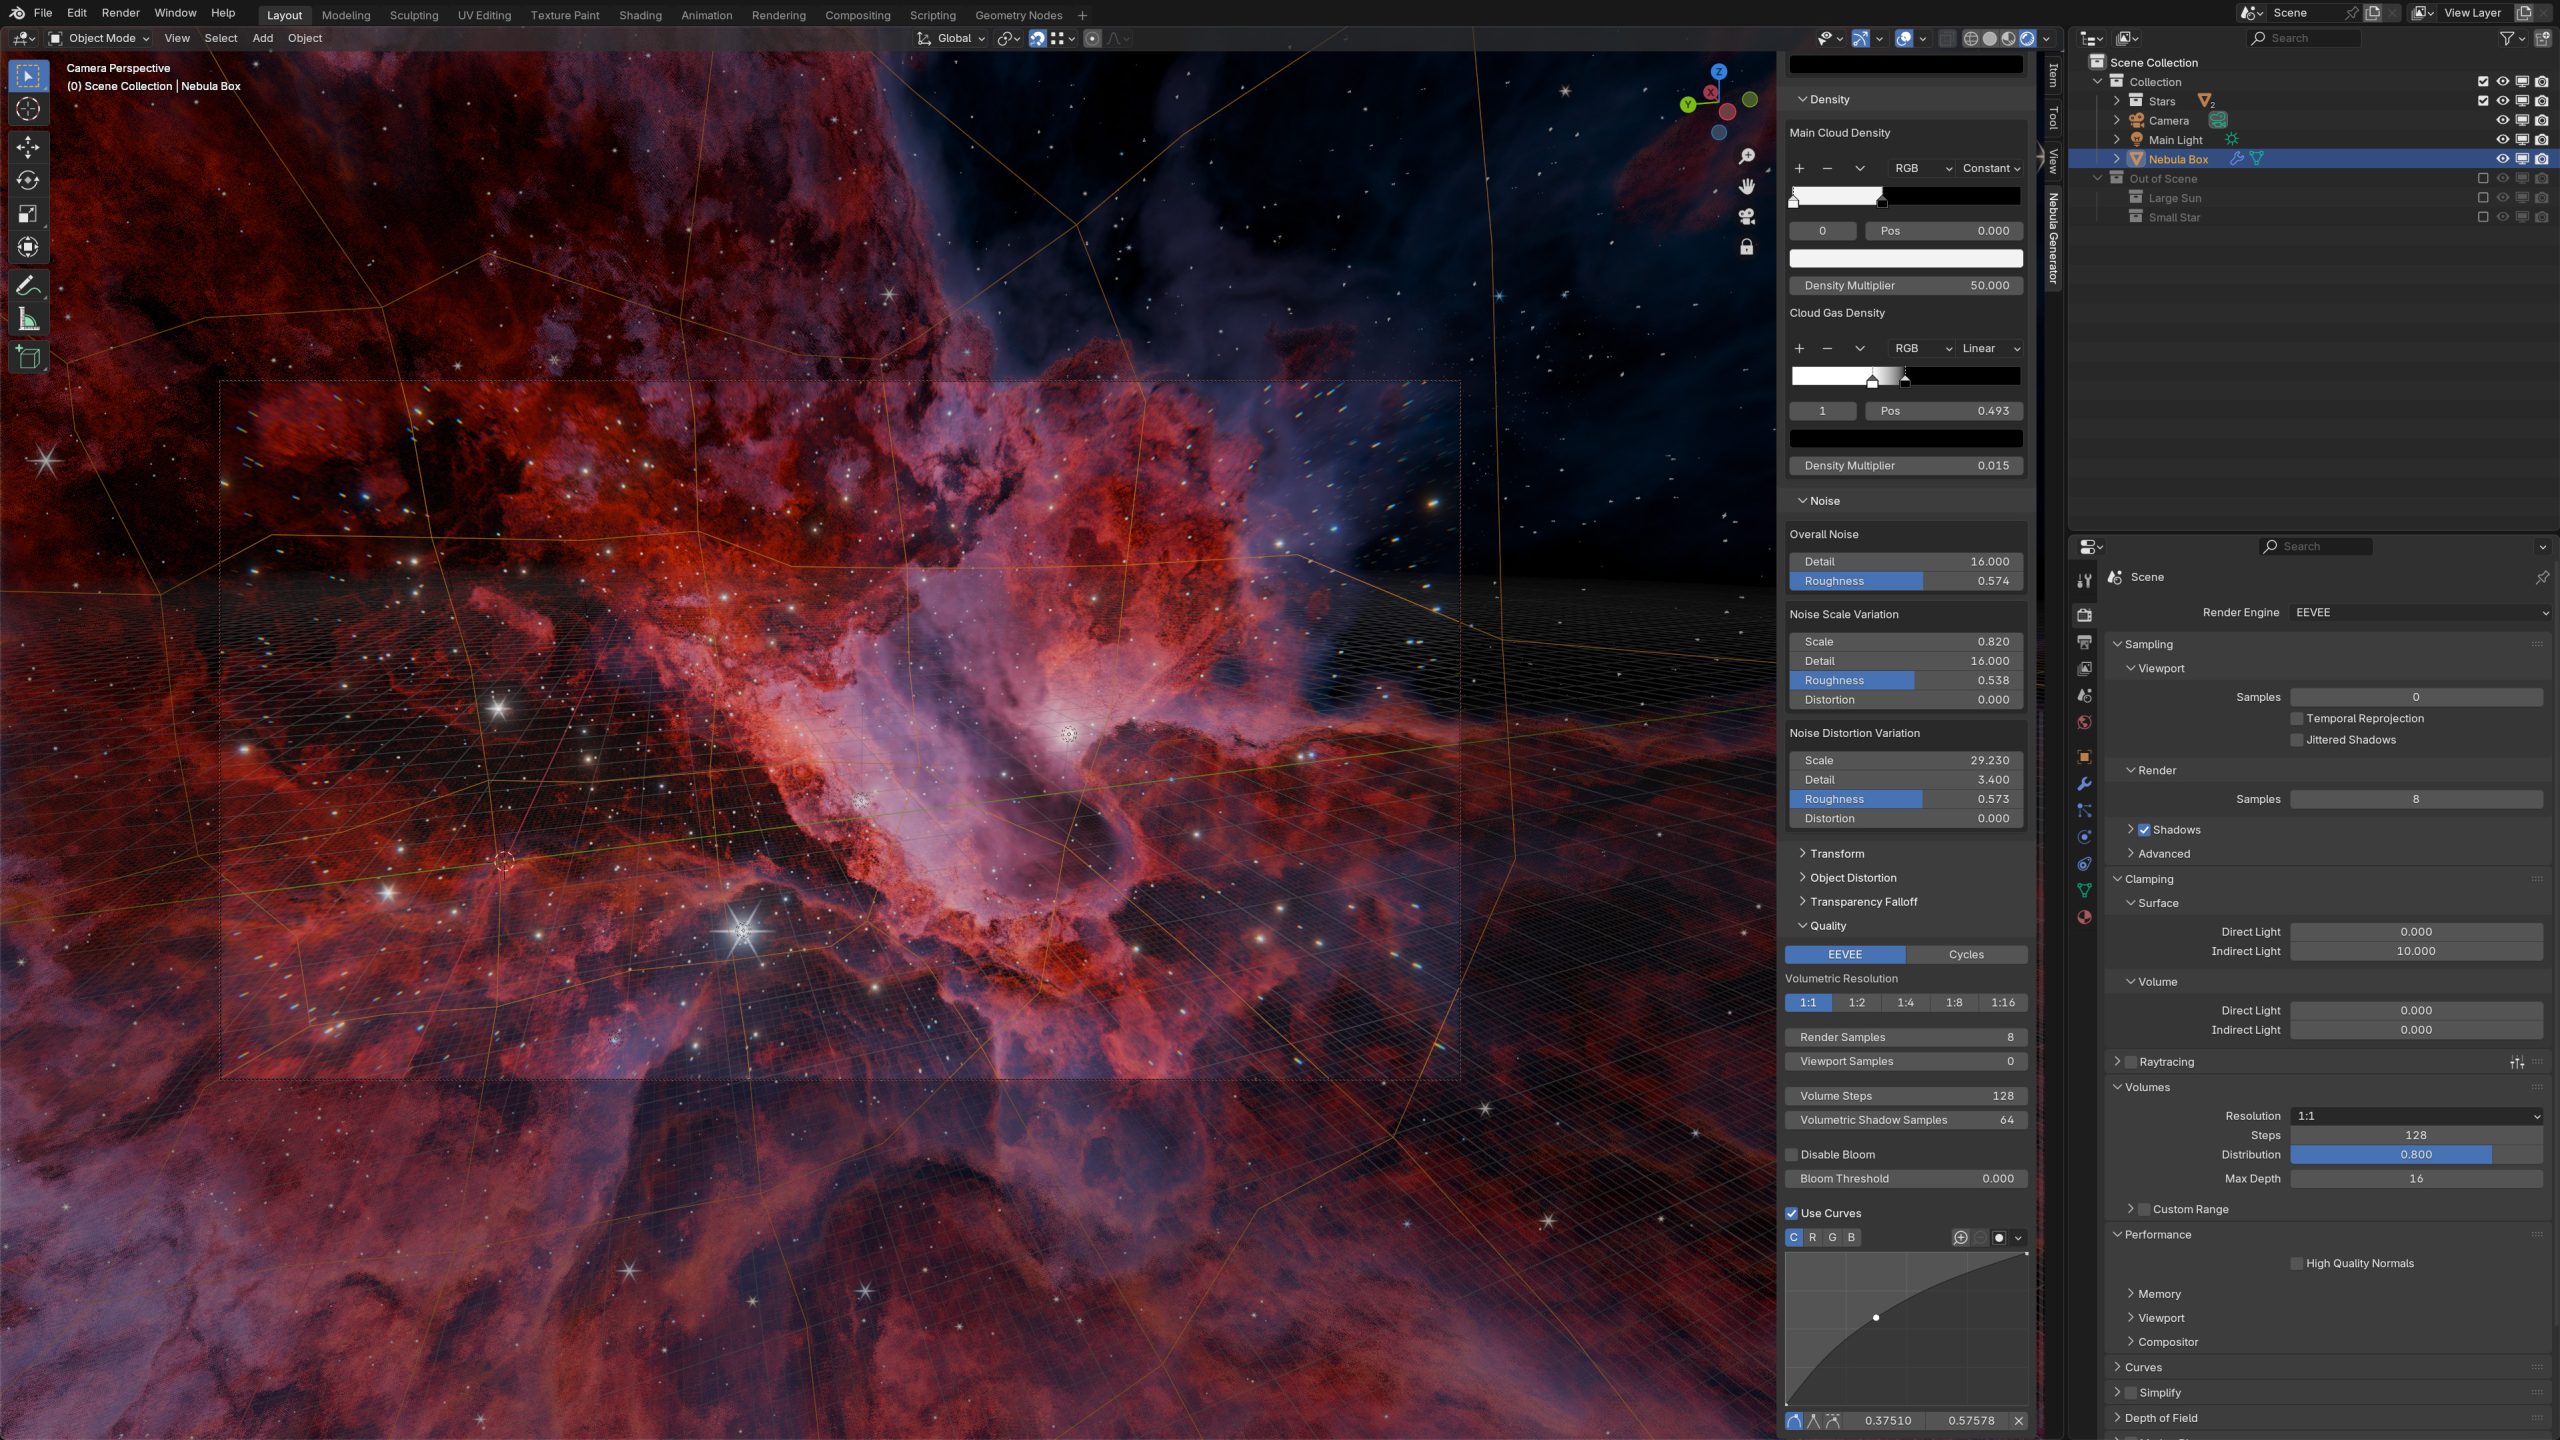
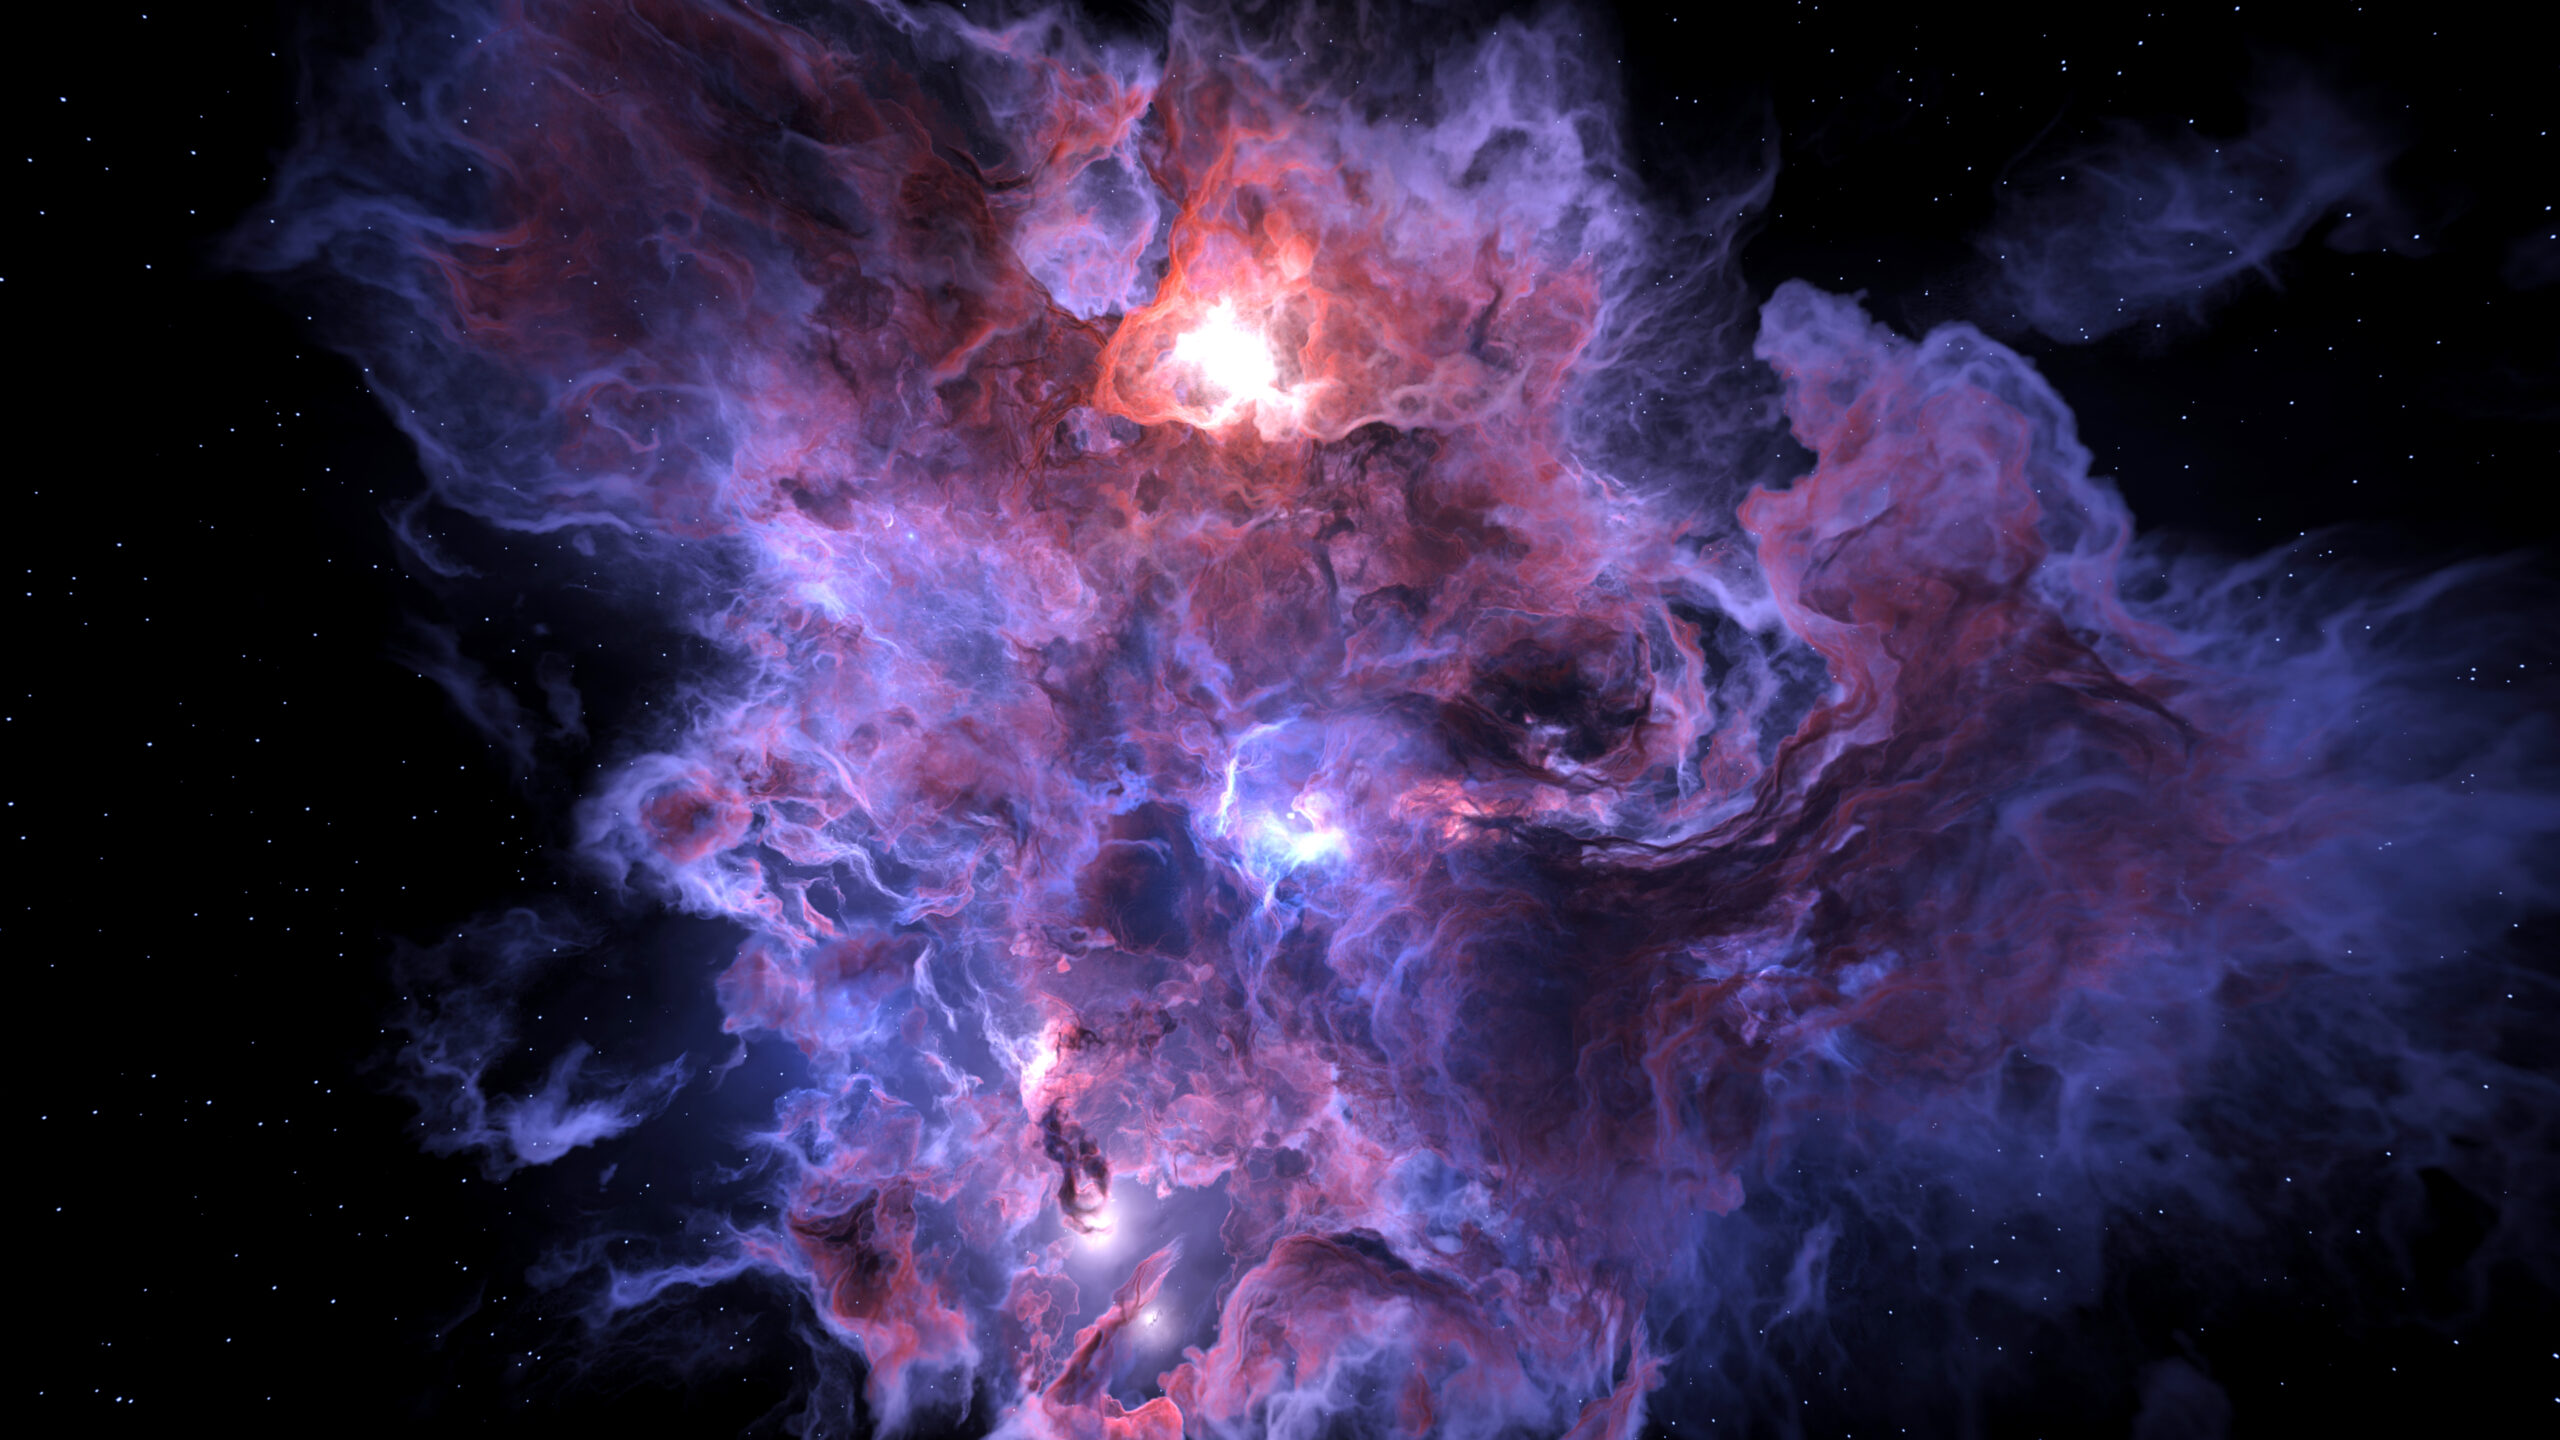
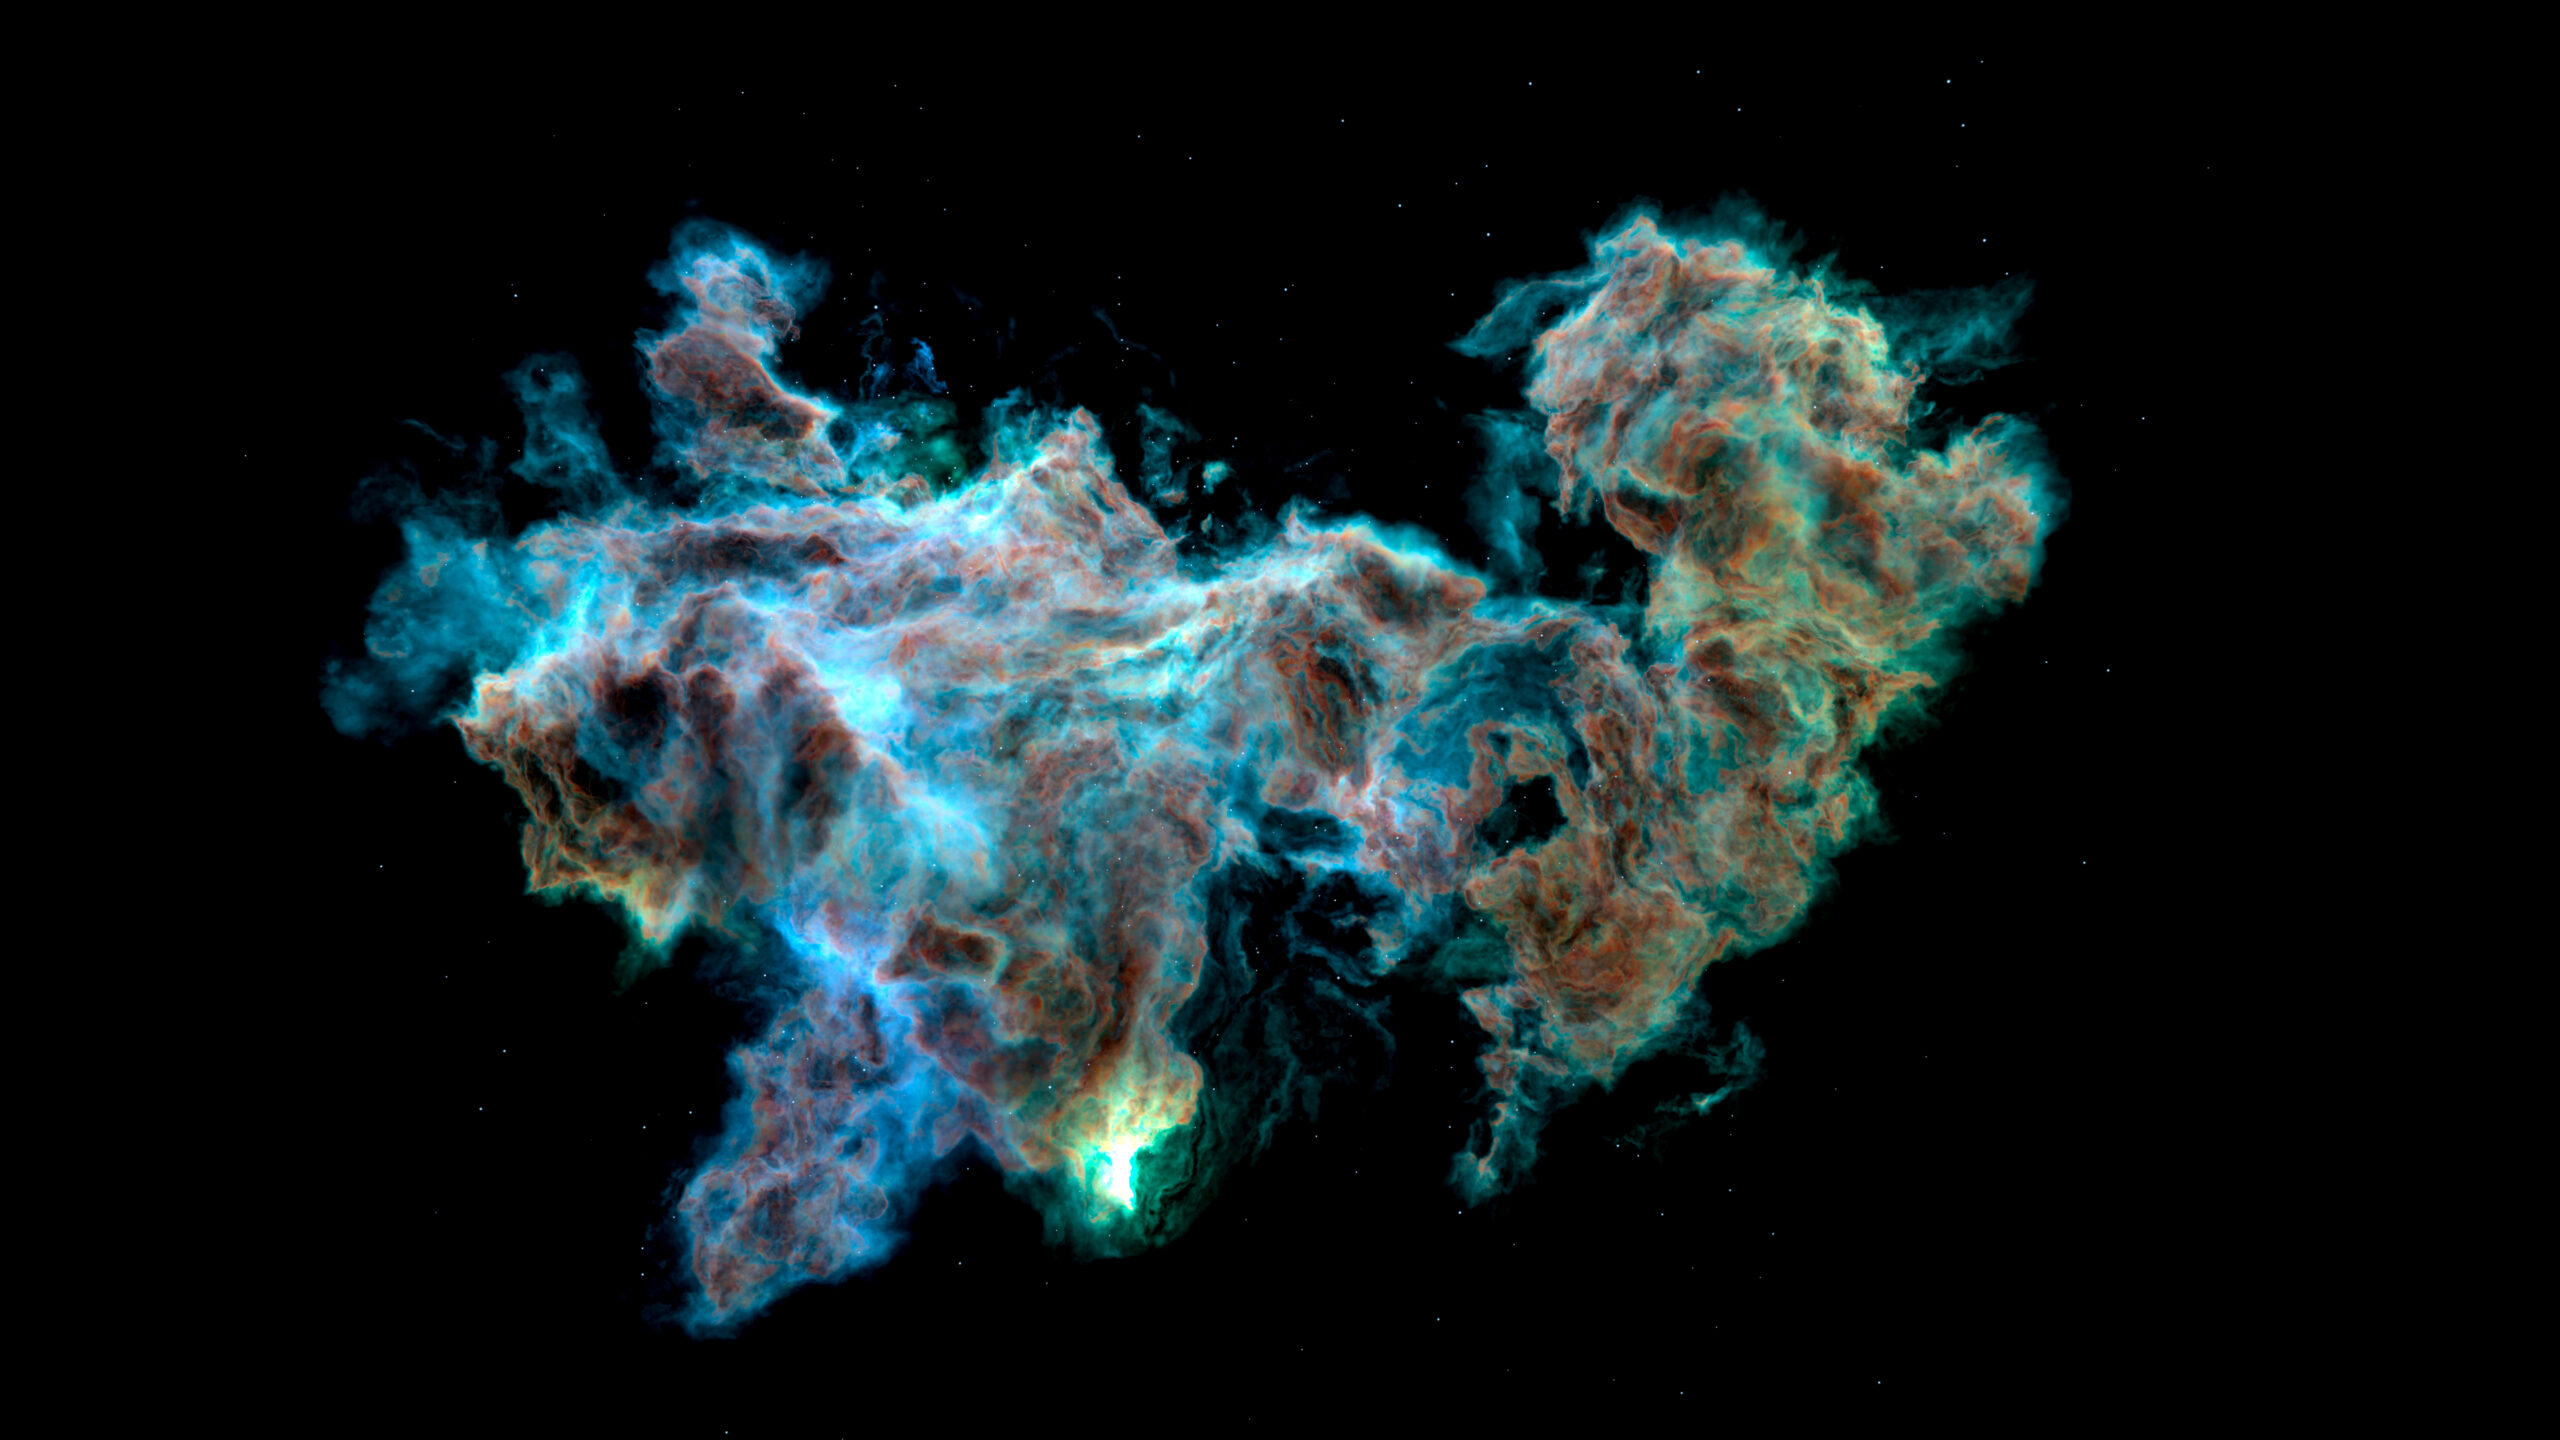
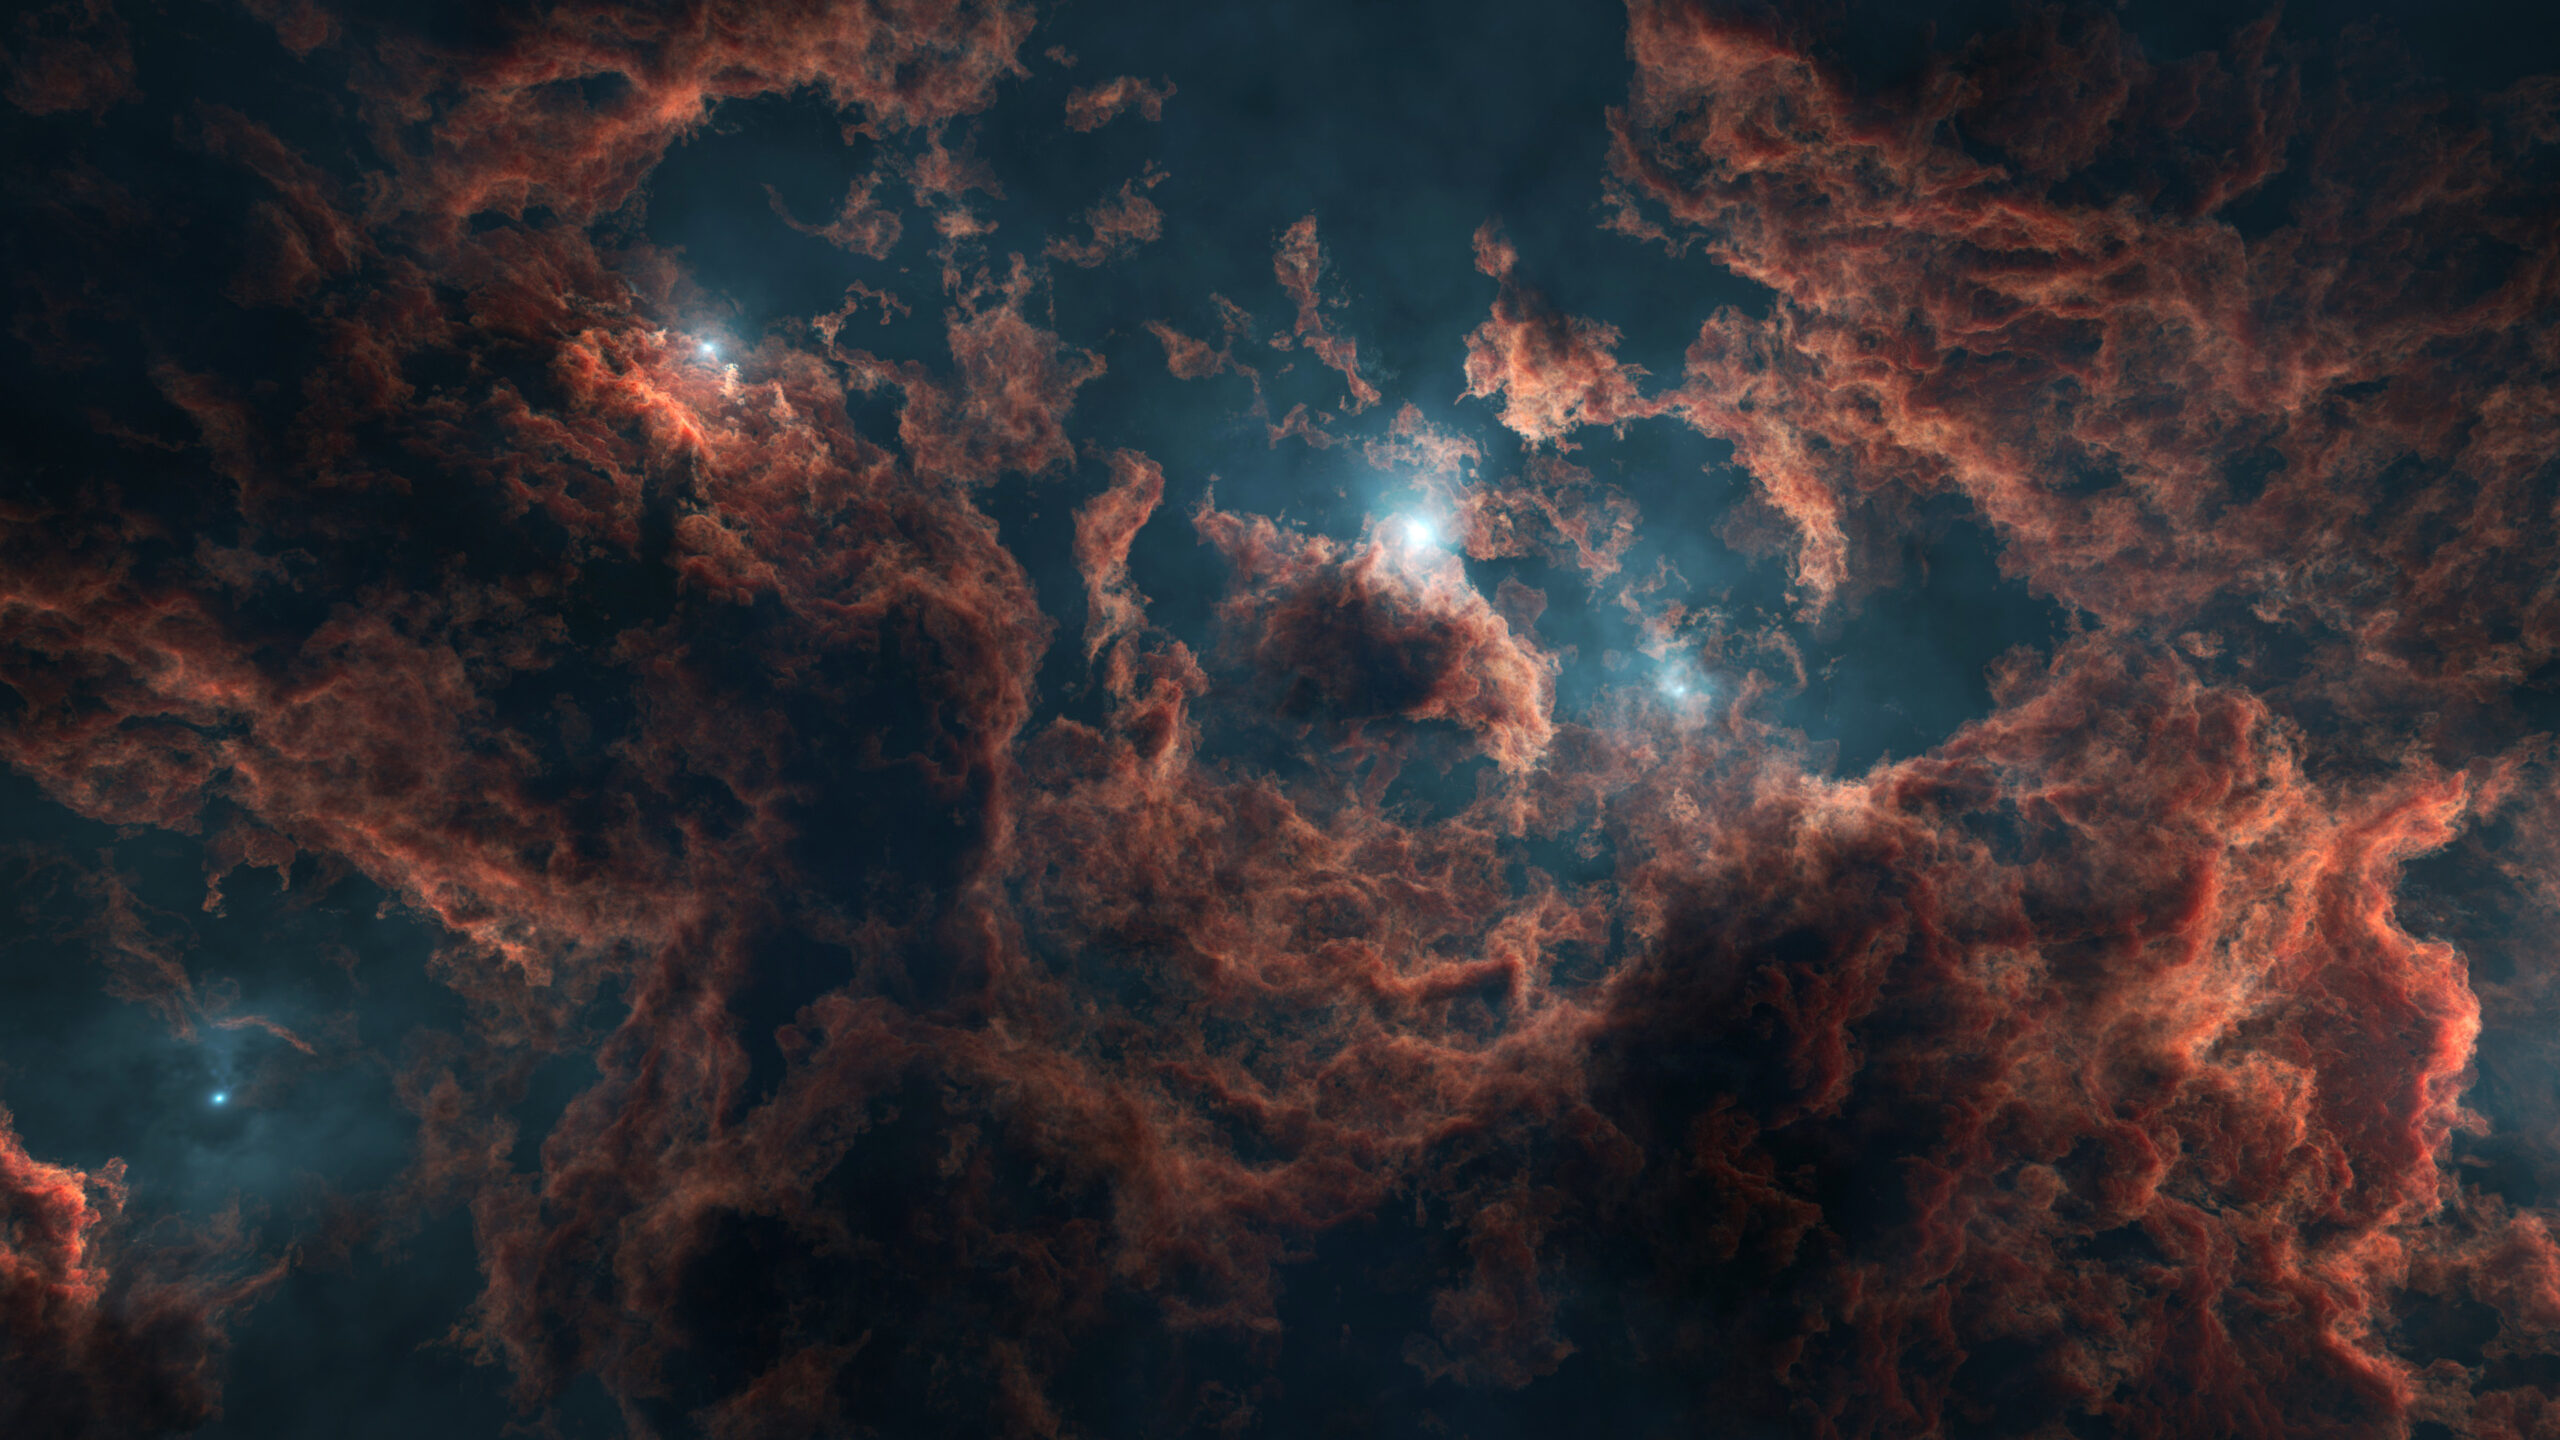
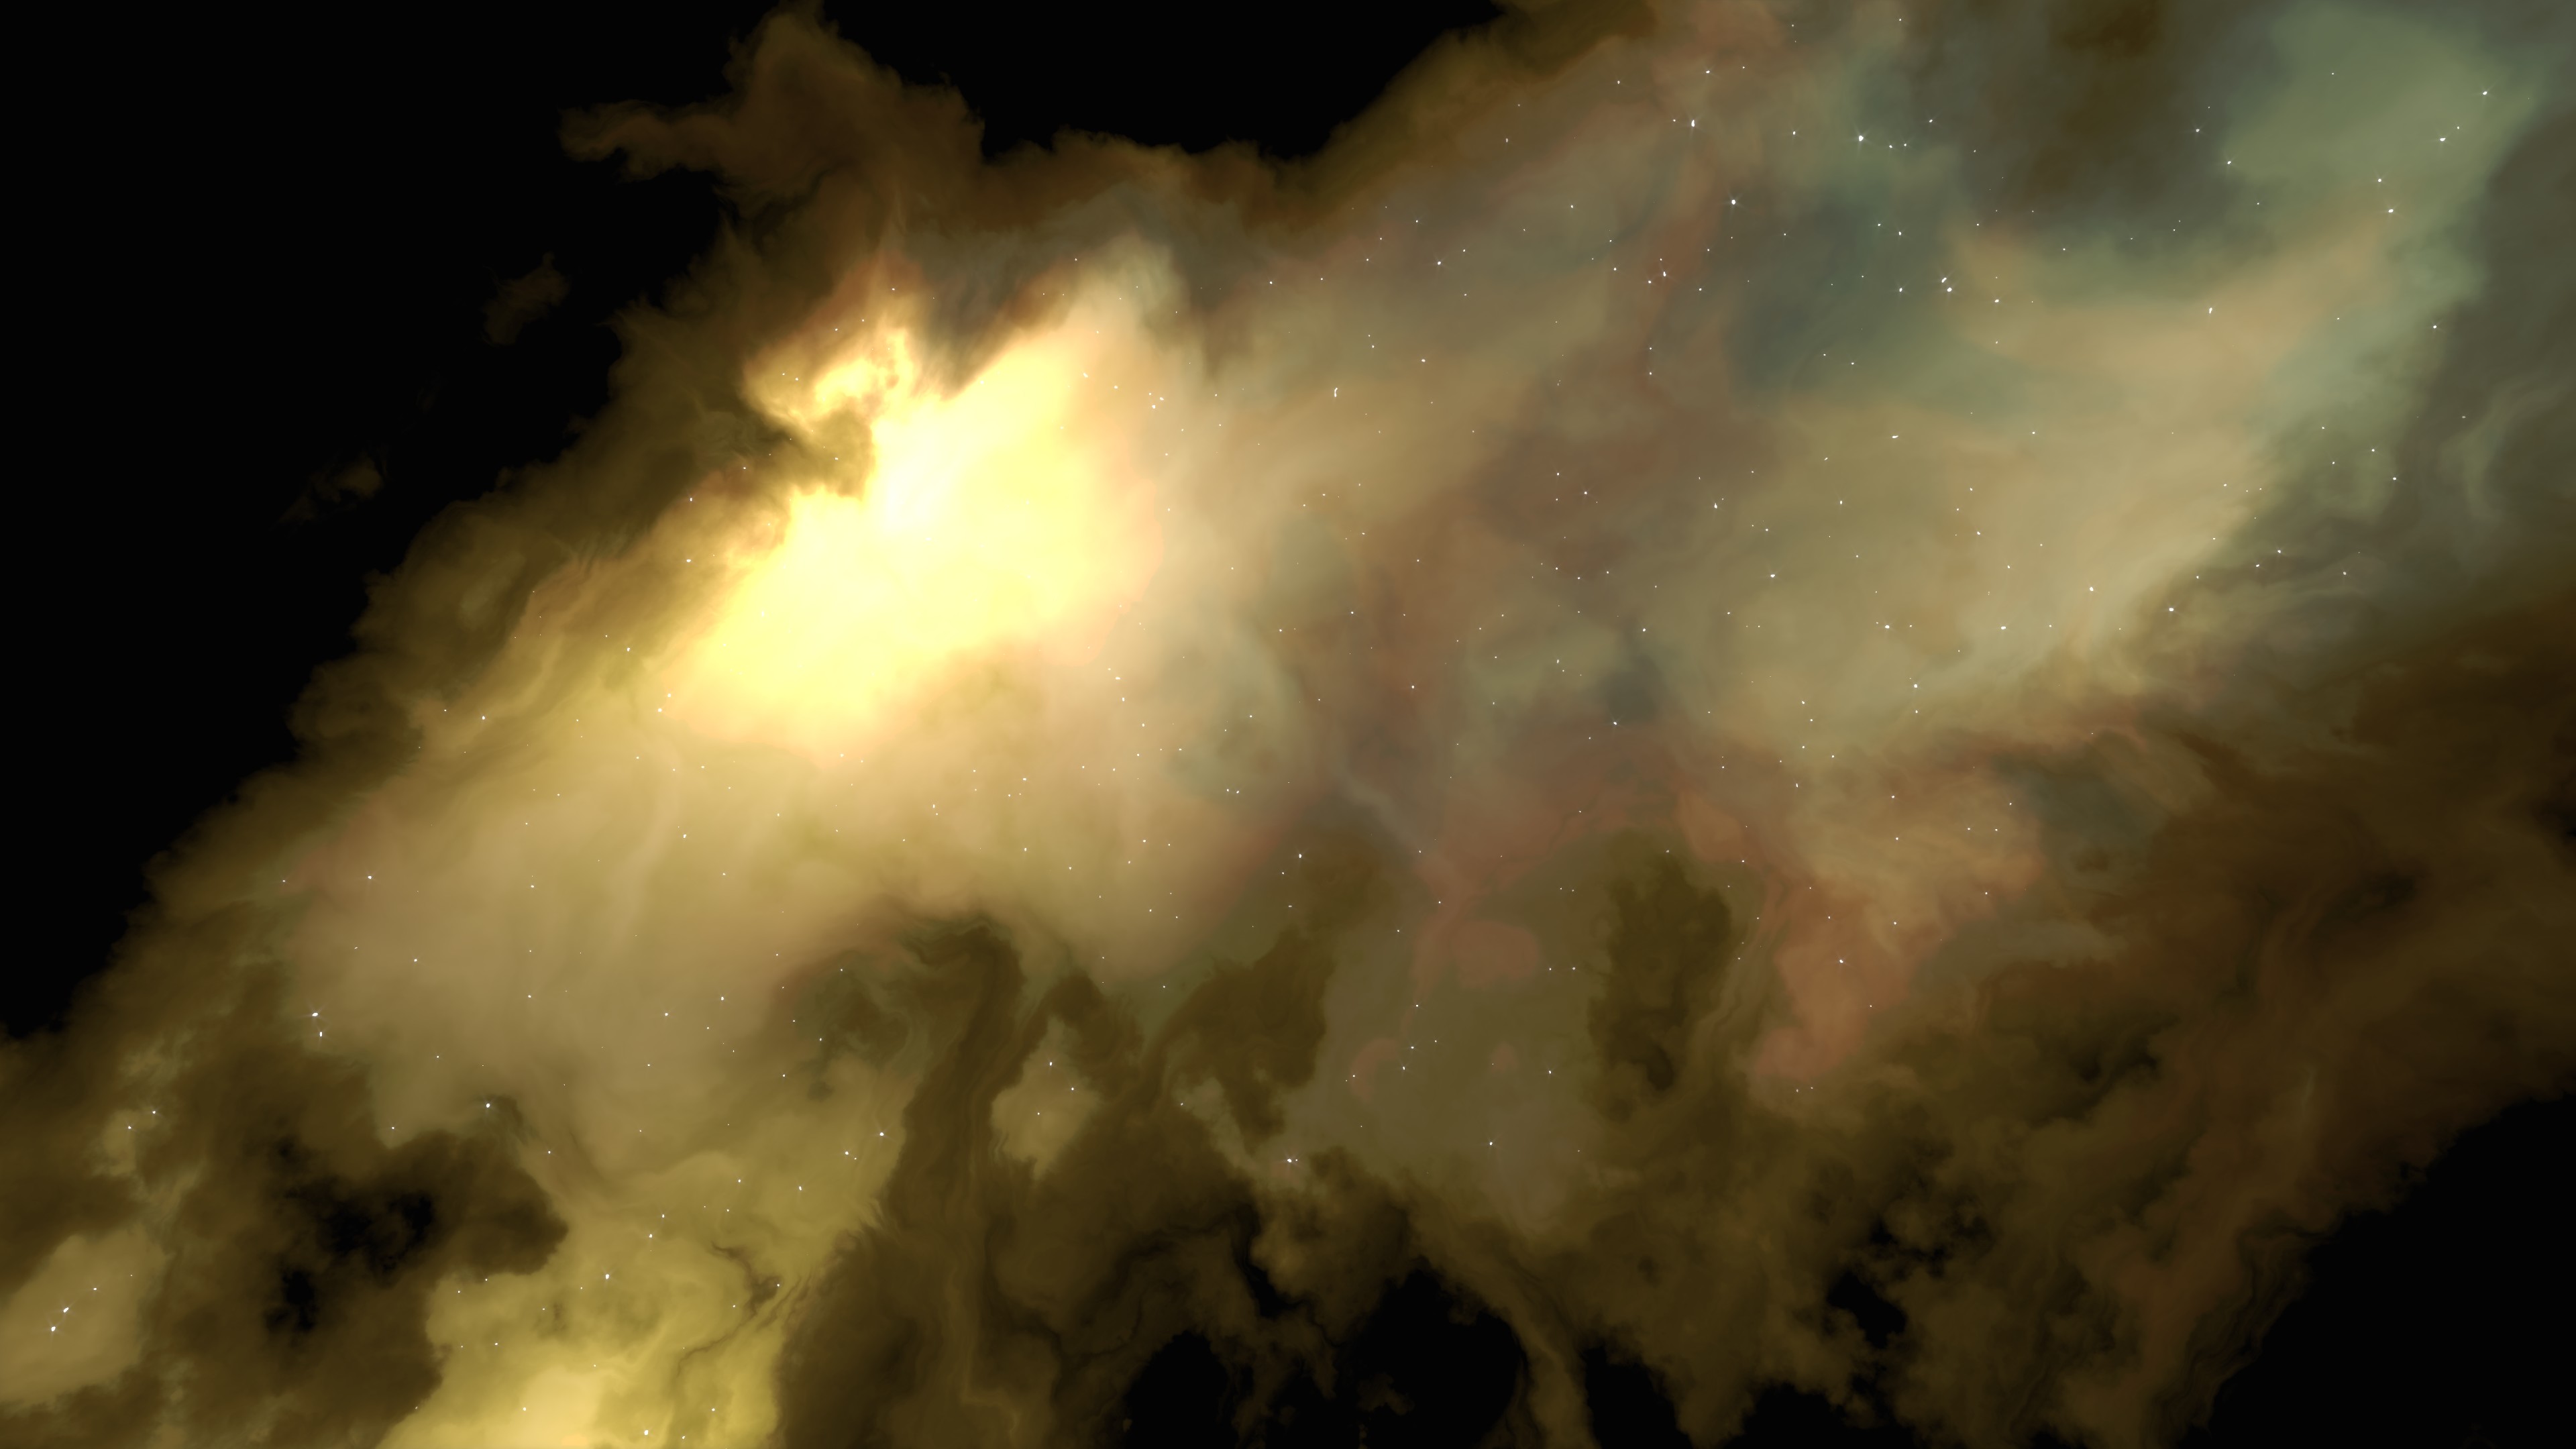
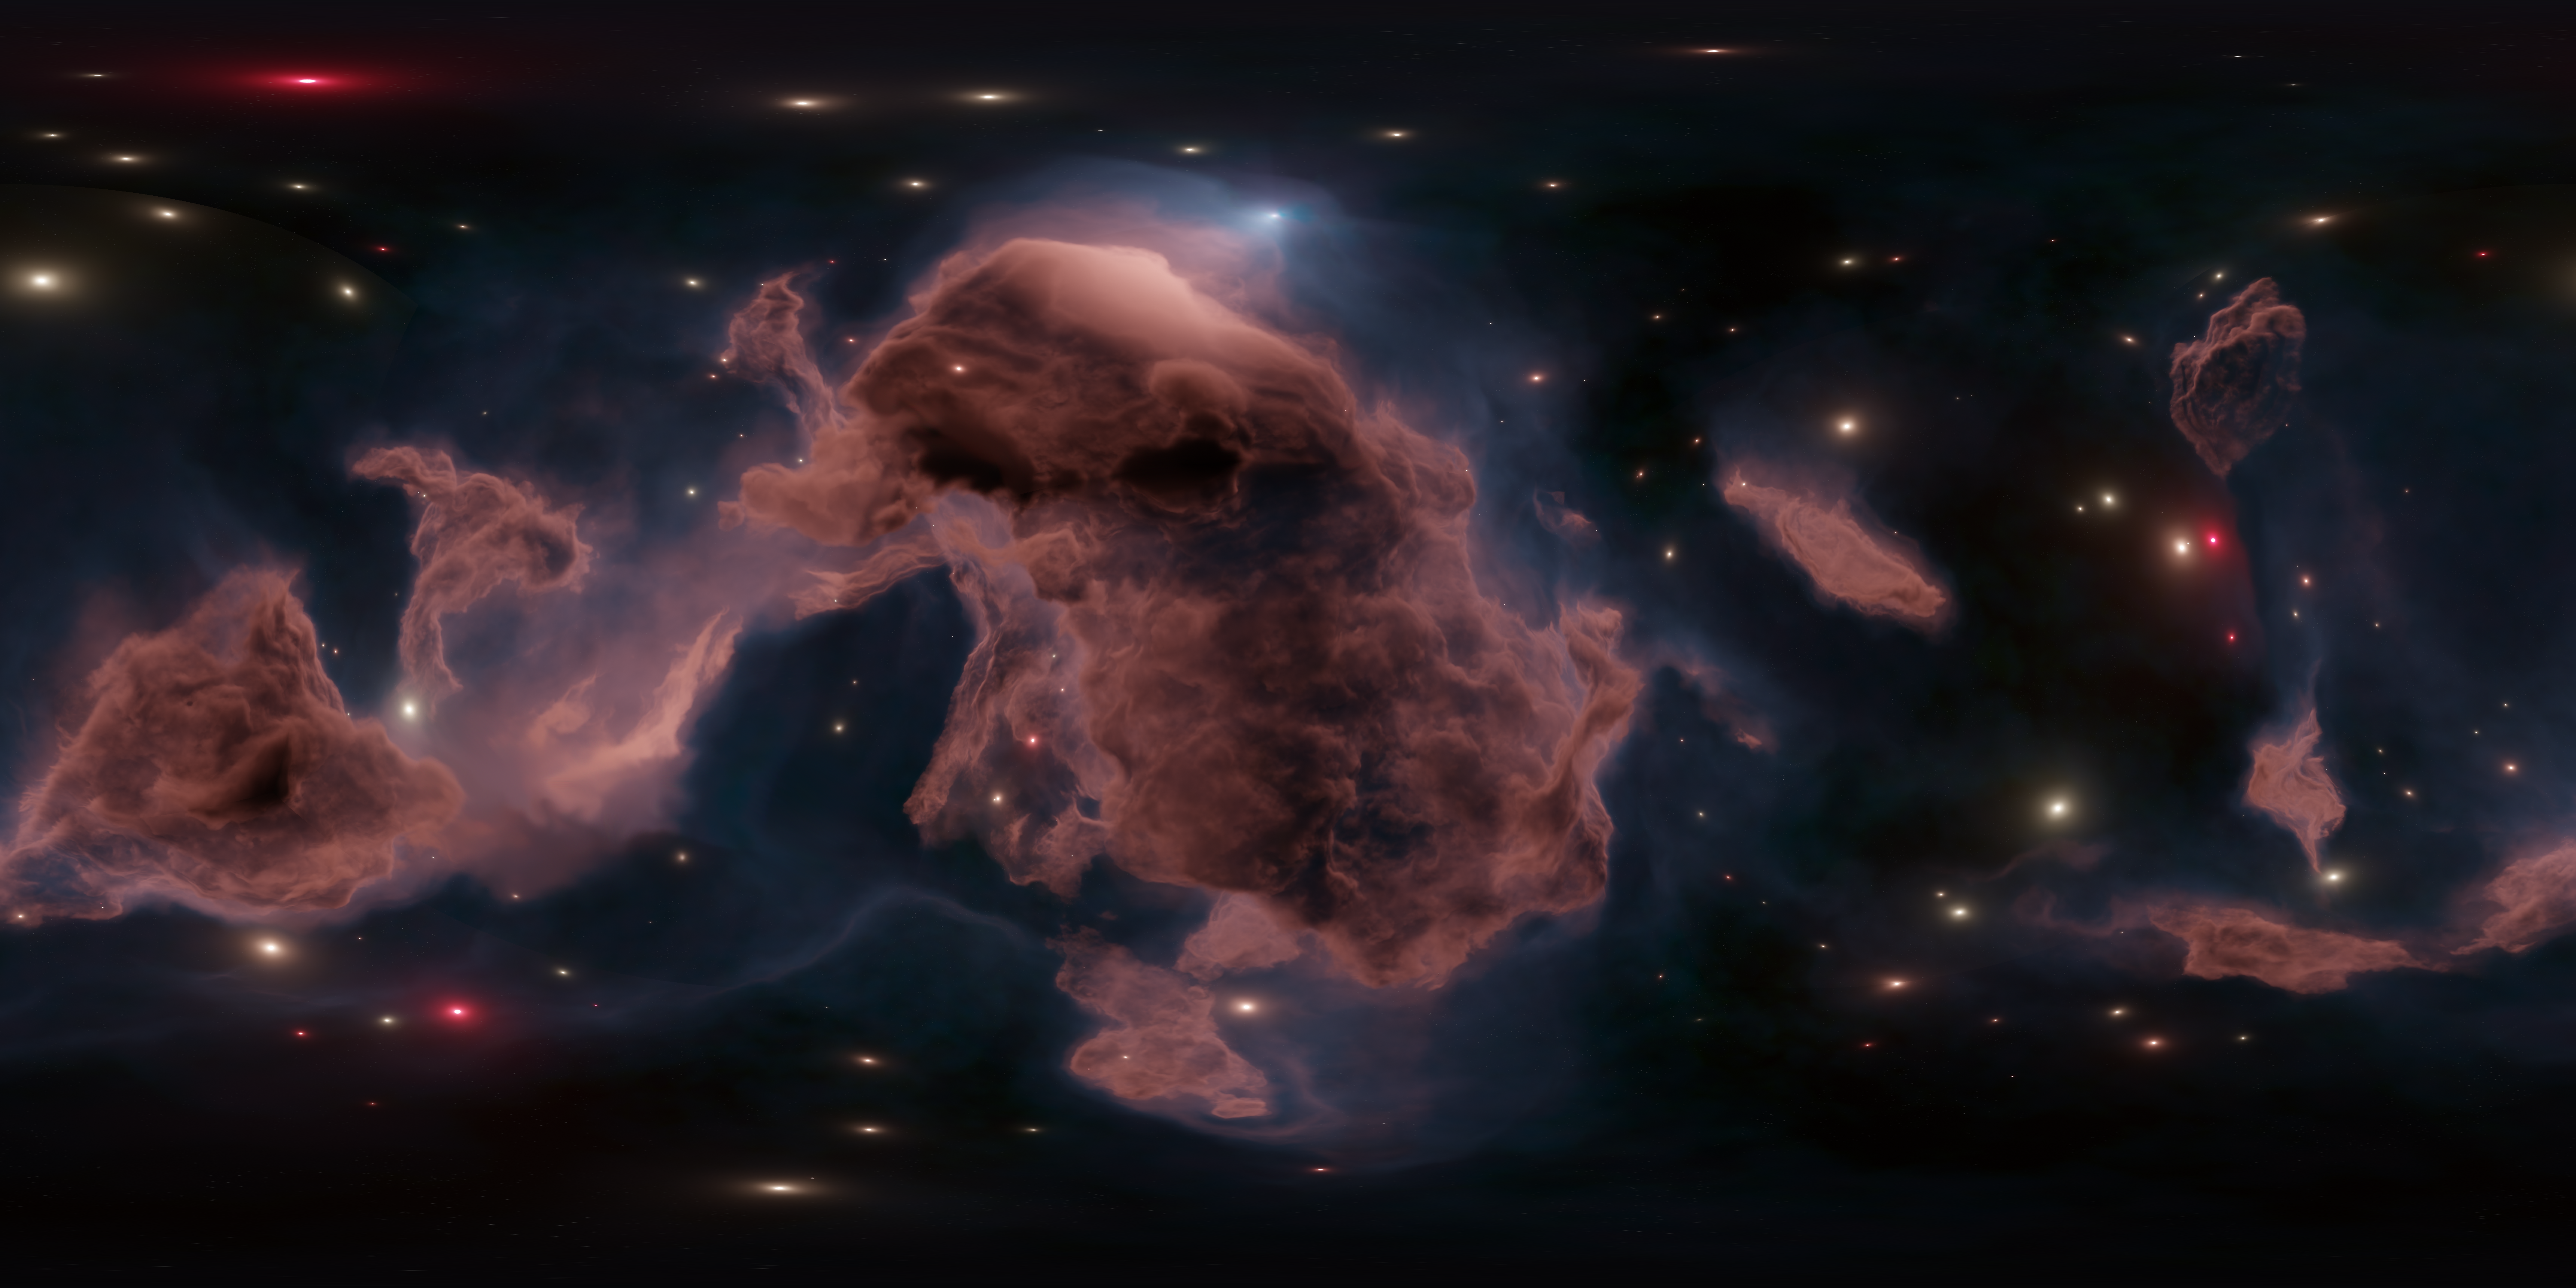
Step 1: Create a Seed Image in Blender

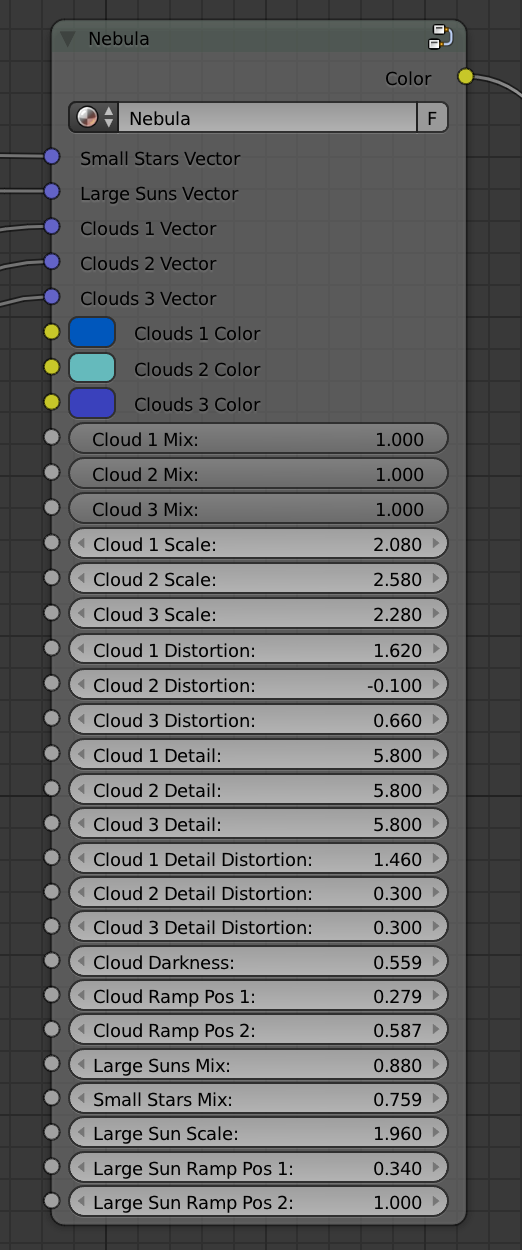
I start with my Nebula Generator add-on in Blender.

  • Tweak noise and lighting parameters to shape the nebula.
  • Adjust the coloring to get the atmosphere you want.
  • Increase the volumetric resolution for higher detail.
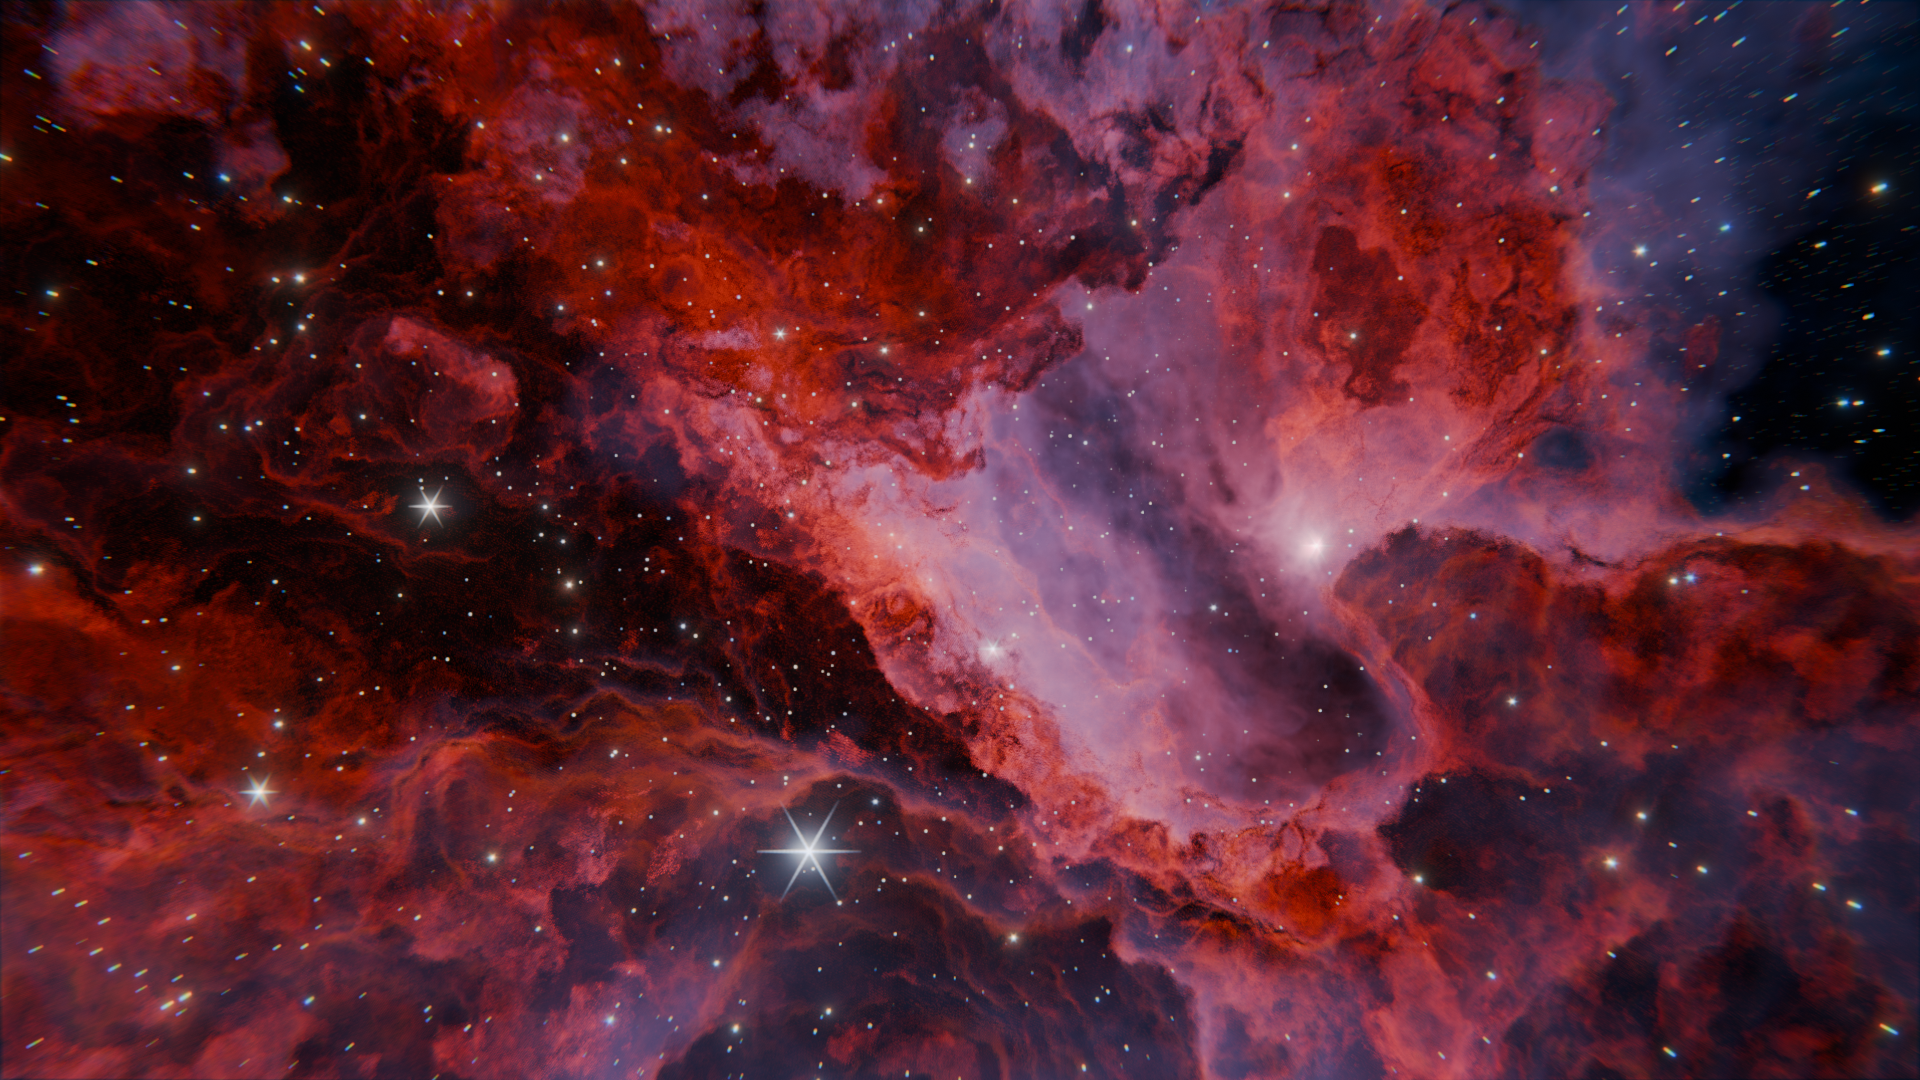
  • Render out a single still image.

I confess that I find this stage the most enjoyable – it lets you stay in control of the artistic look before moving into the scarily efficient world of AI-driven animation.

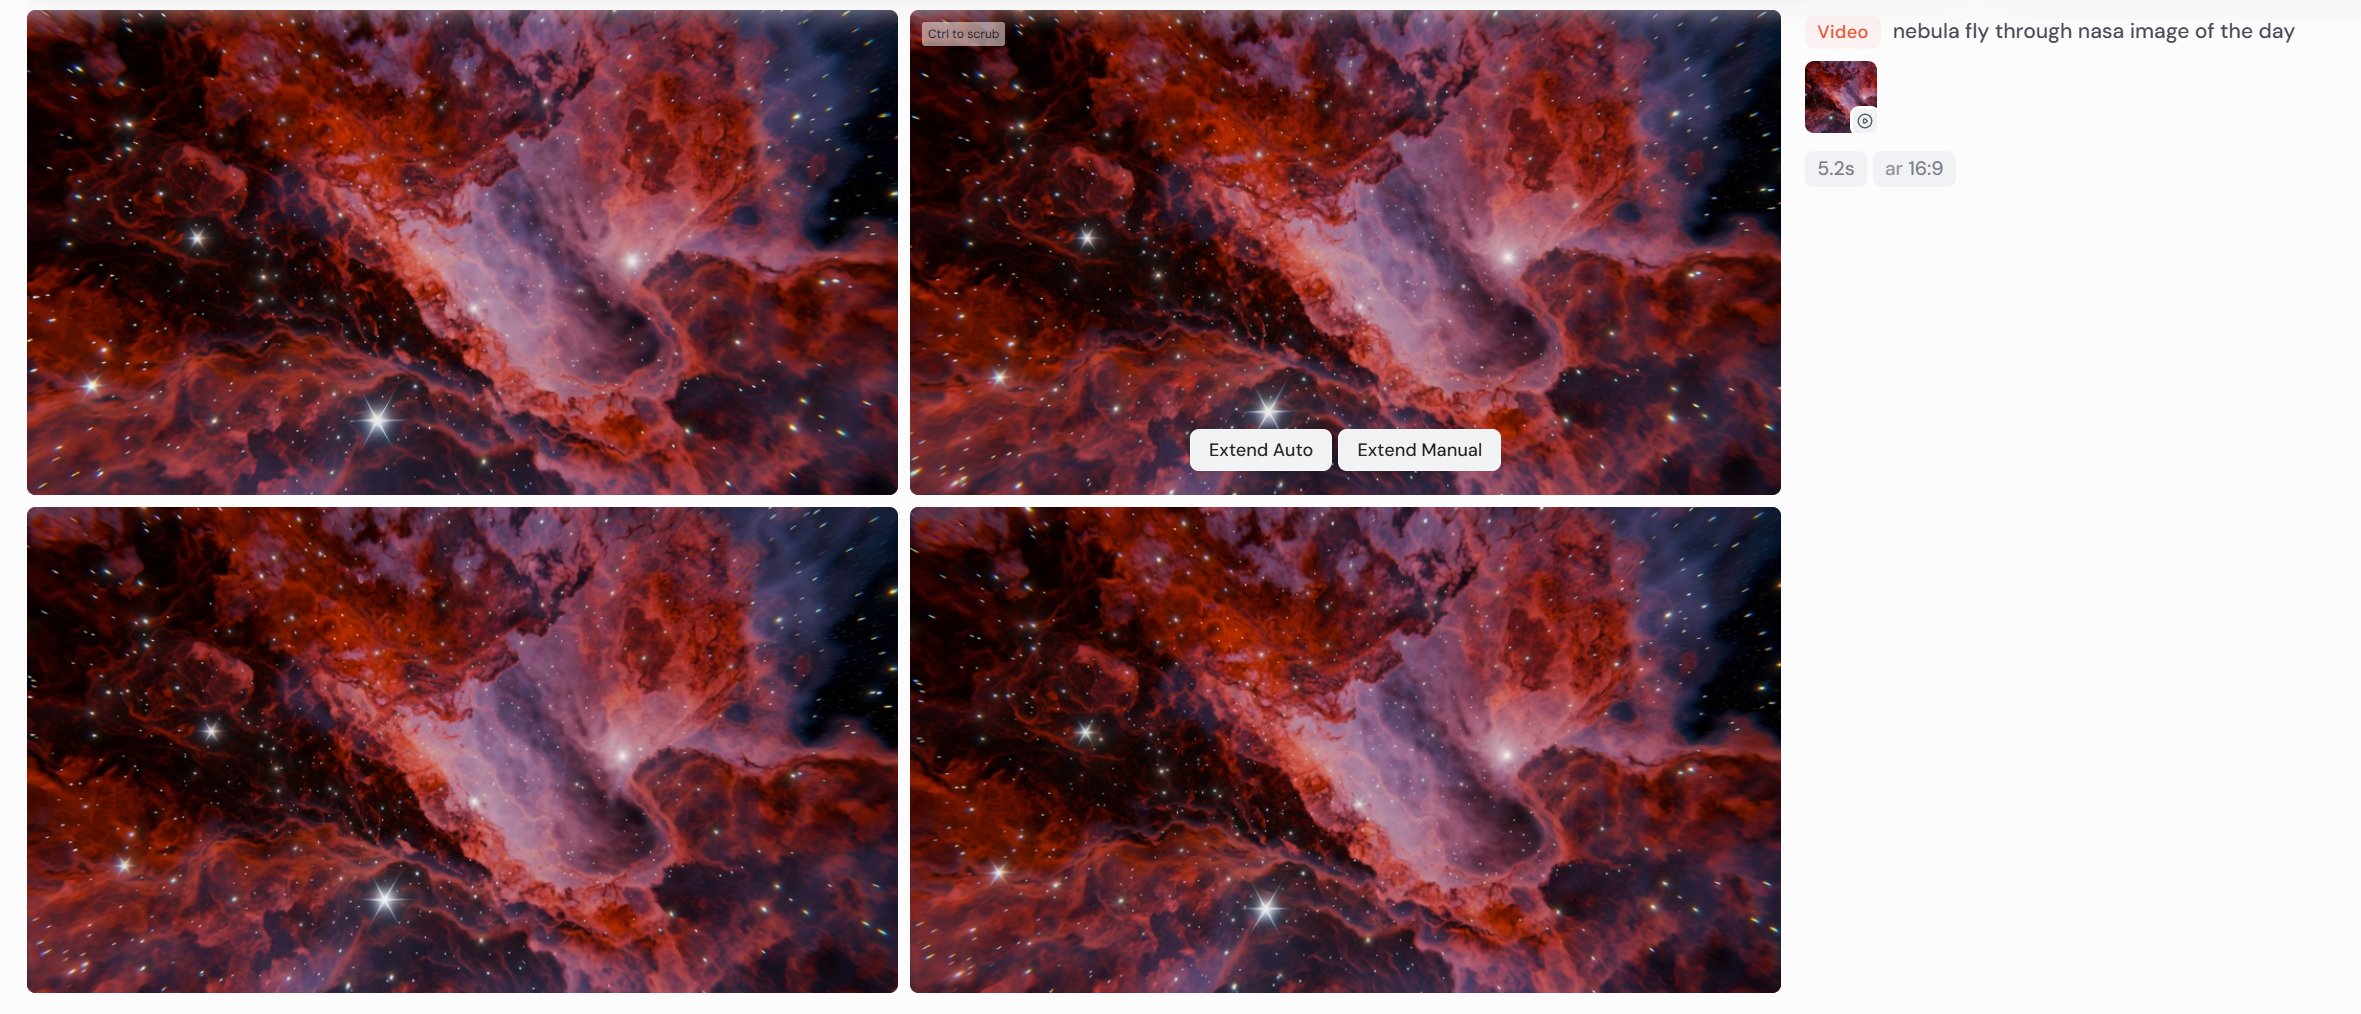
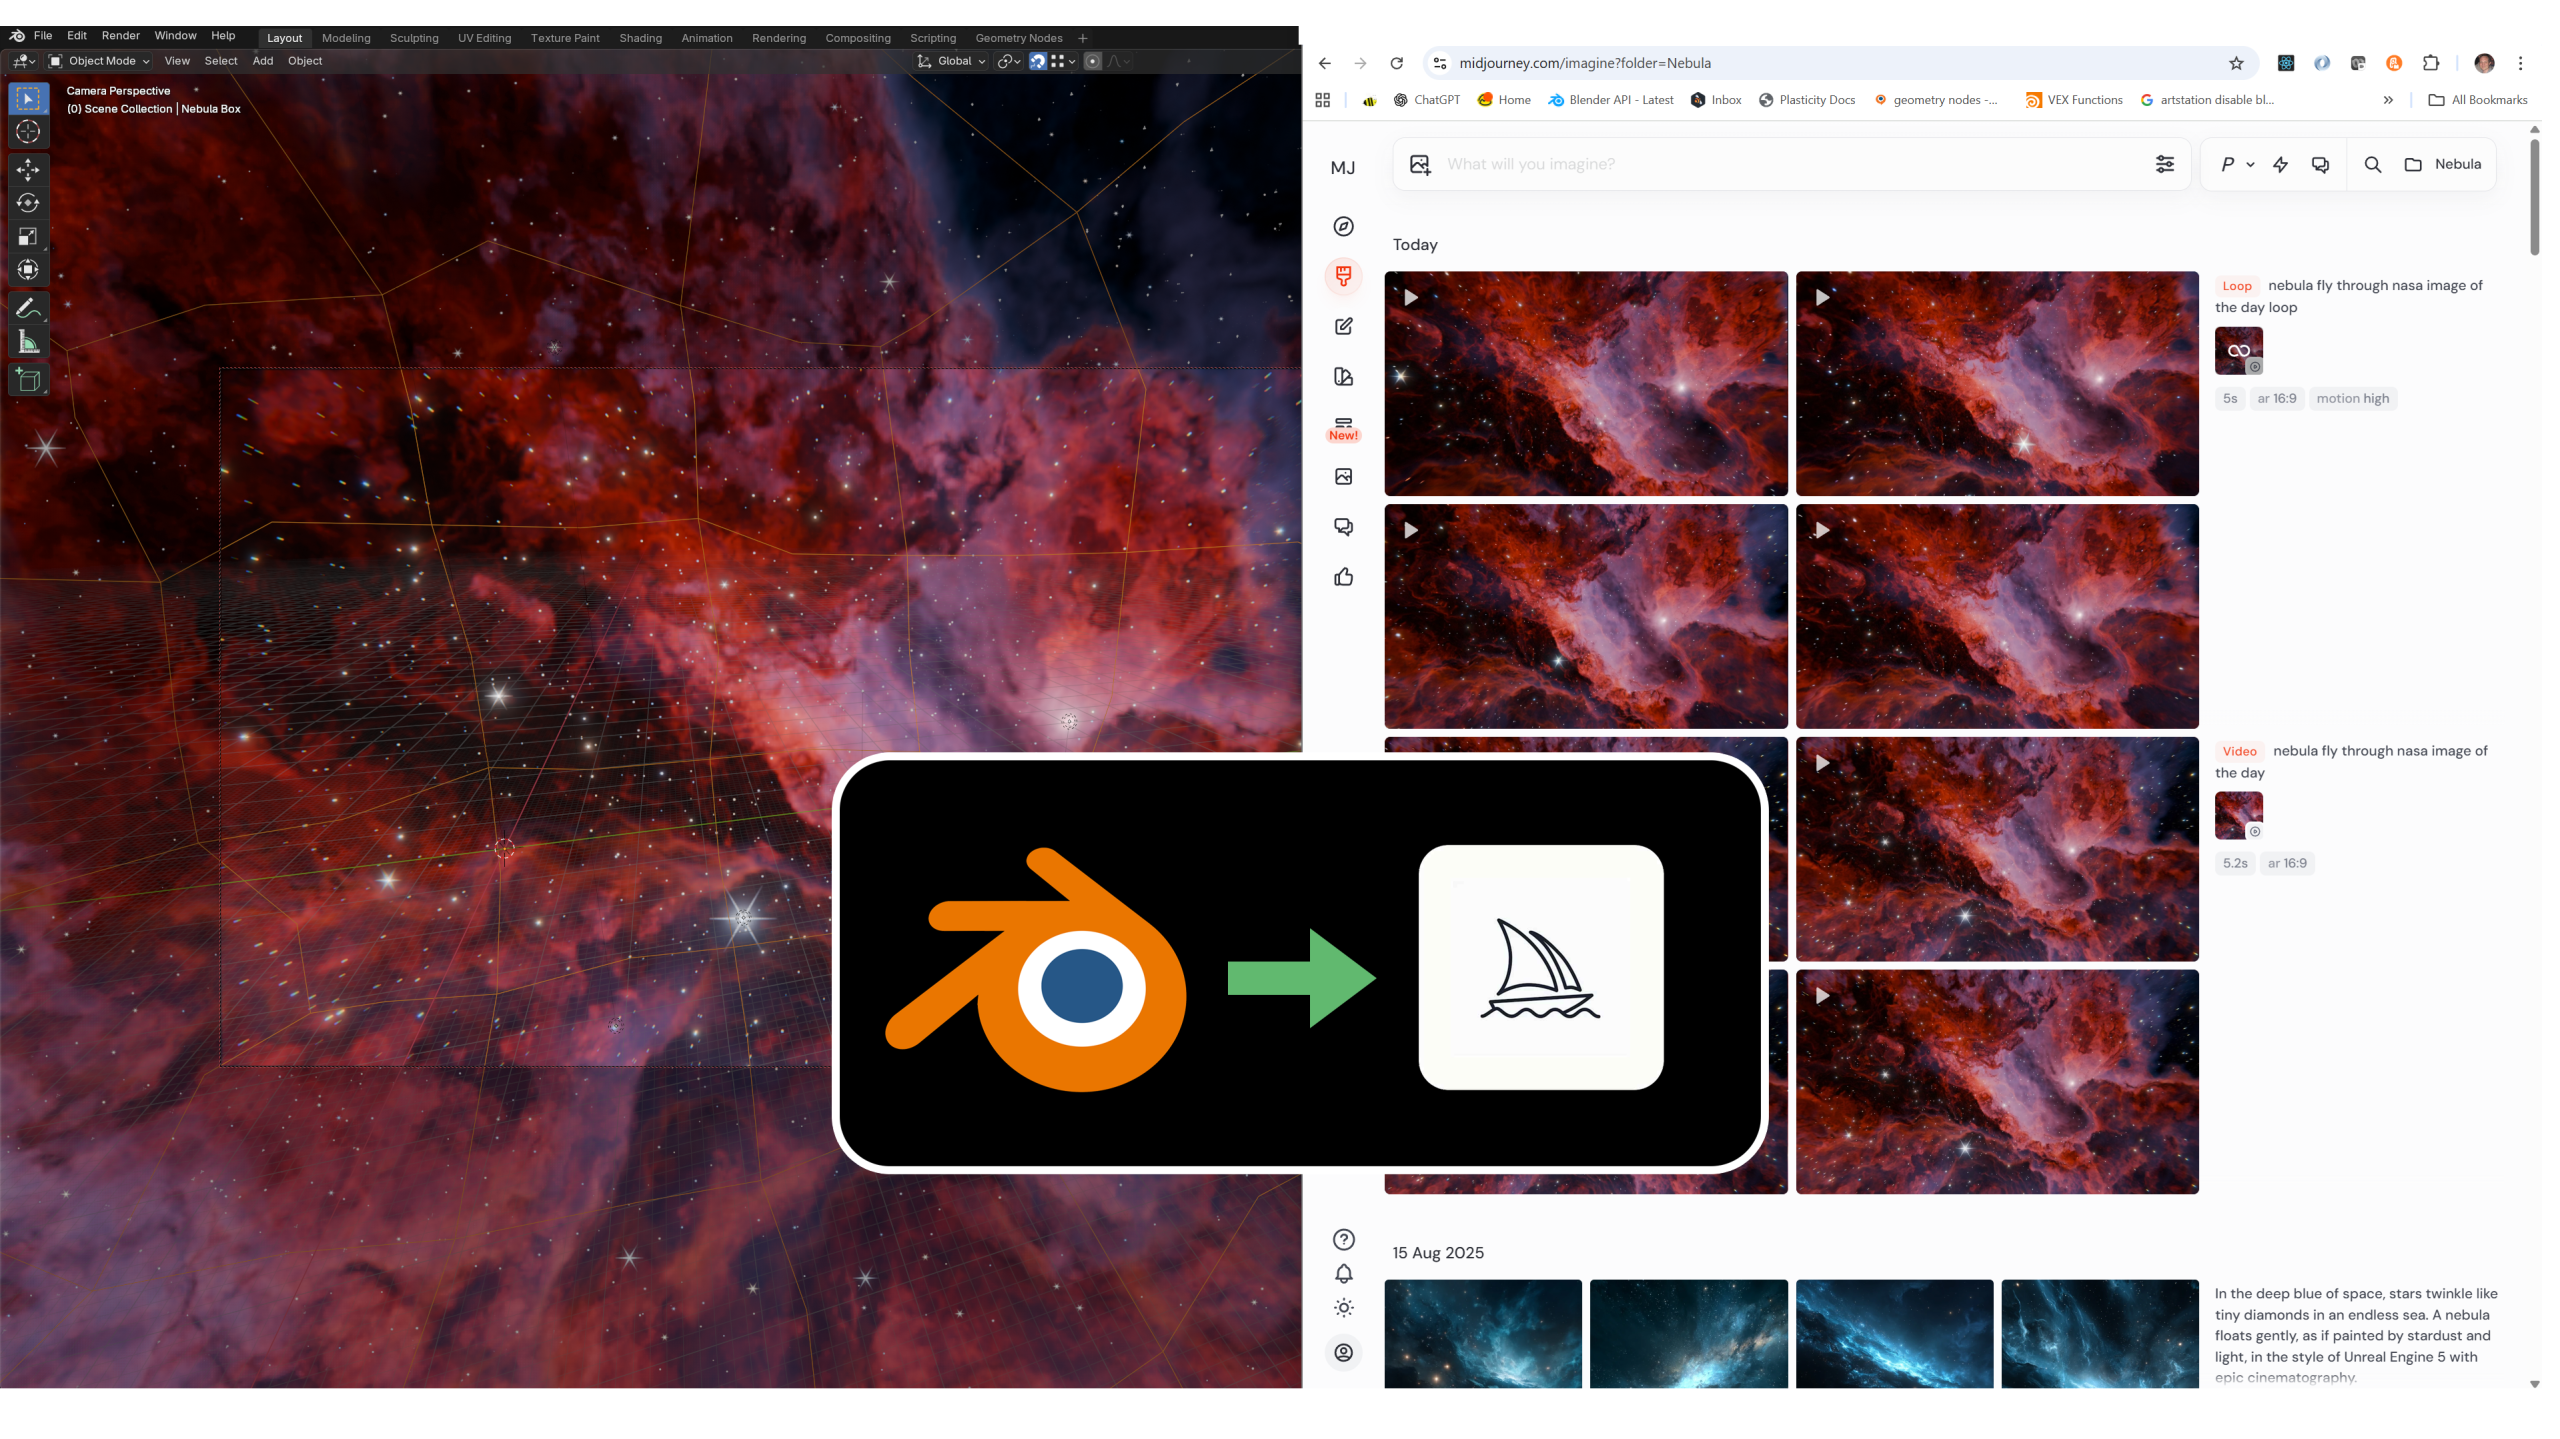
Step 2: Generate a Flythrough in Midjourney

With the Blender still rendered, I switch to Midjourney.

  • Upload the image into the Creation tab.
  • Use it not as a finished still, but as a starting frame for an animation.
  • A simple prompt like “nebula flythrough, NASA image of the day” works well — the phrase flythrough seems to make a big difference.

After hitting generate, Midjourney takes about 30 seconds to produce four short animations. Some will be better than others, but usually at least one is more than workable.

Midjourney interface showing prompt + animation previews

Step 3: Create a Looping Animation

One question I was asked when I first shared this workflow was: Can you make it loop?
The answer is yes — with mixed results.

If you set the end frame equal to the start frame and optionally set the Motion to High, Midjourney will attempt to generate a seamless loop. Sometimes it works beautifully, sometimes it doesn’t. A few retries usually yield at least one good loop.

Start vs end frame comparison, showing matching images

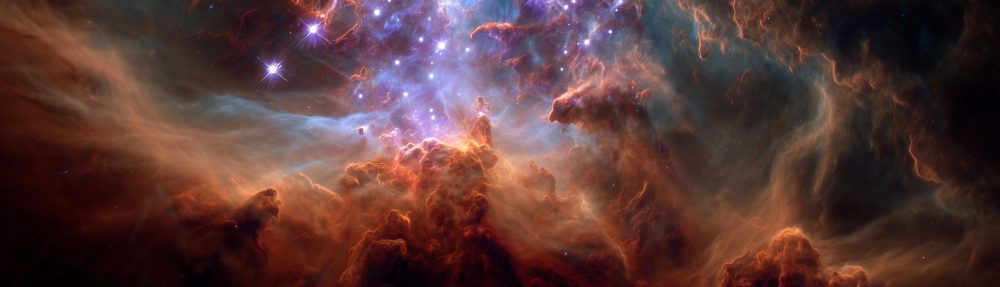
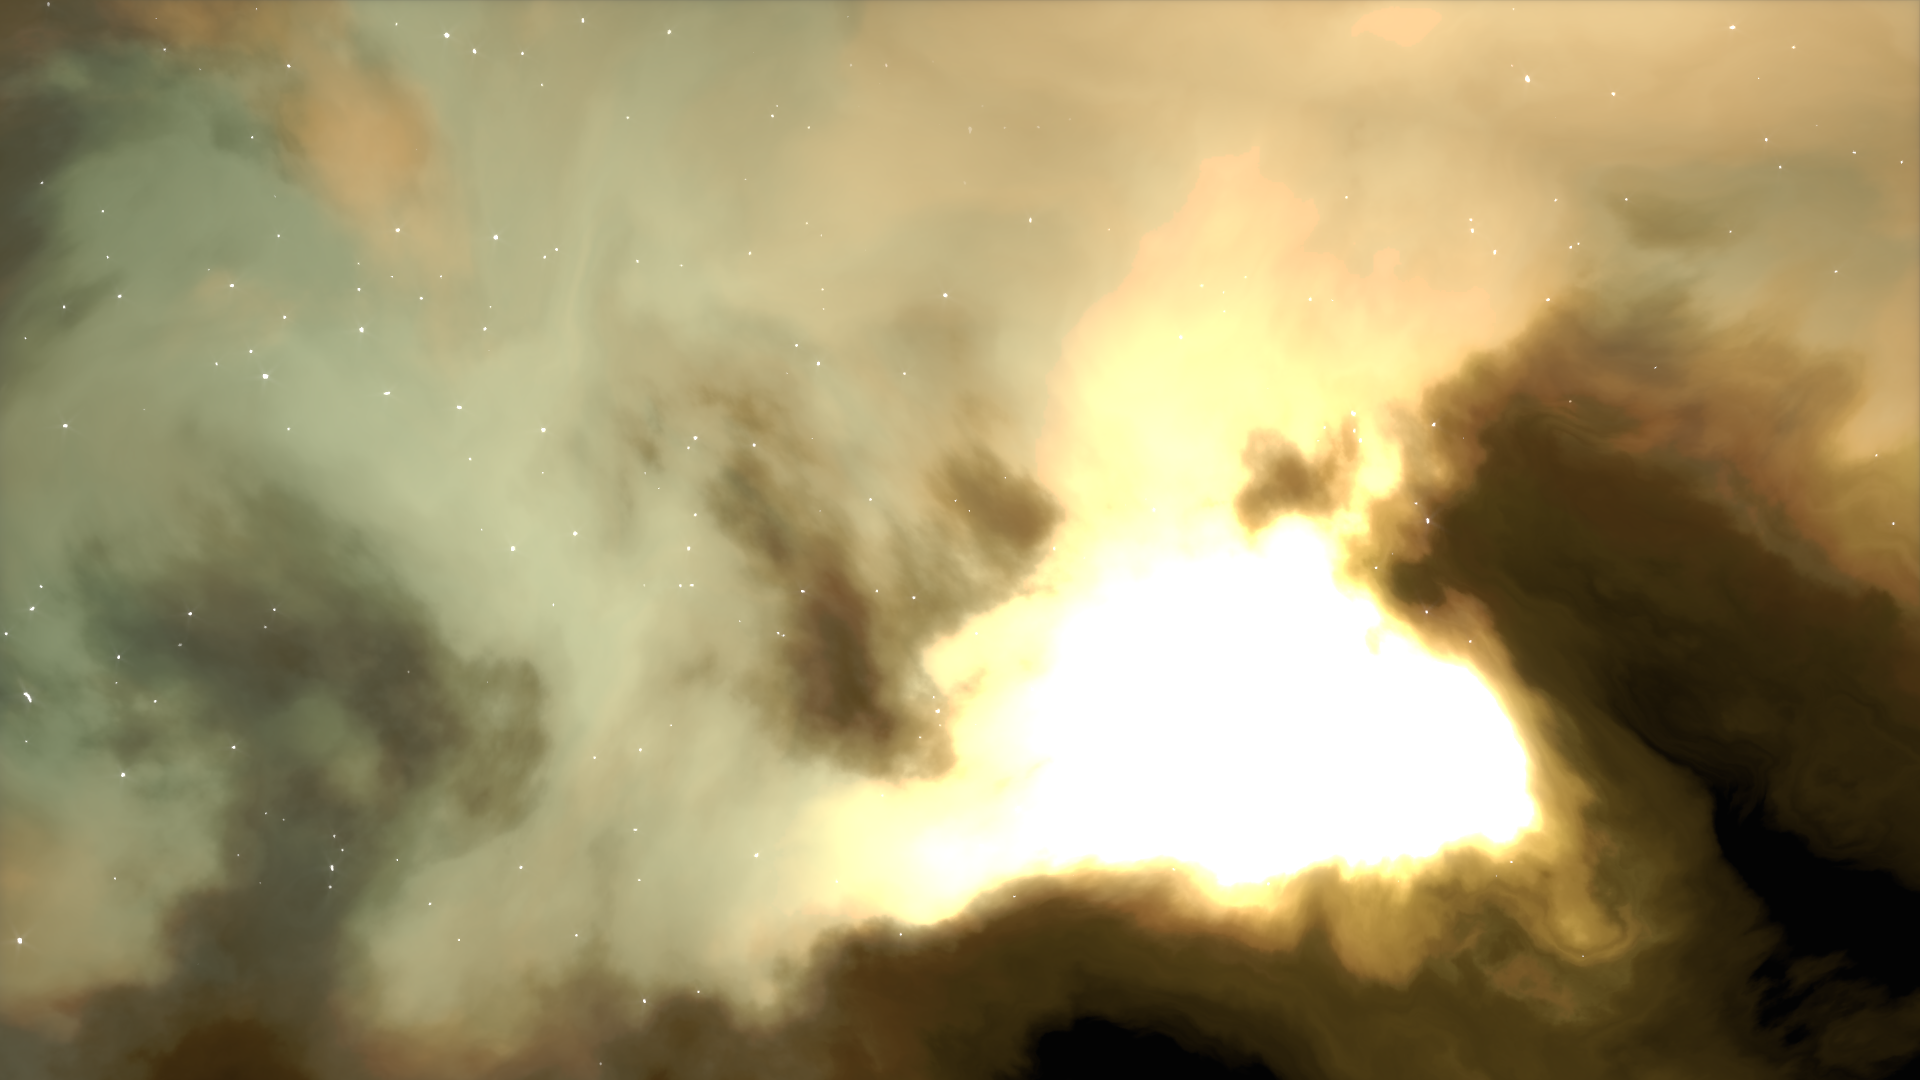
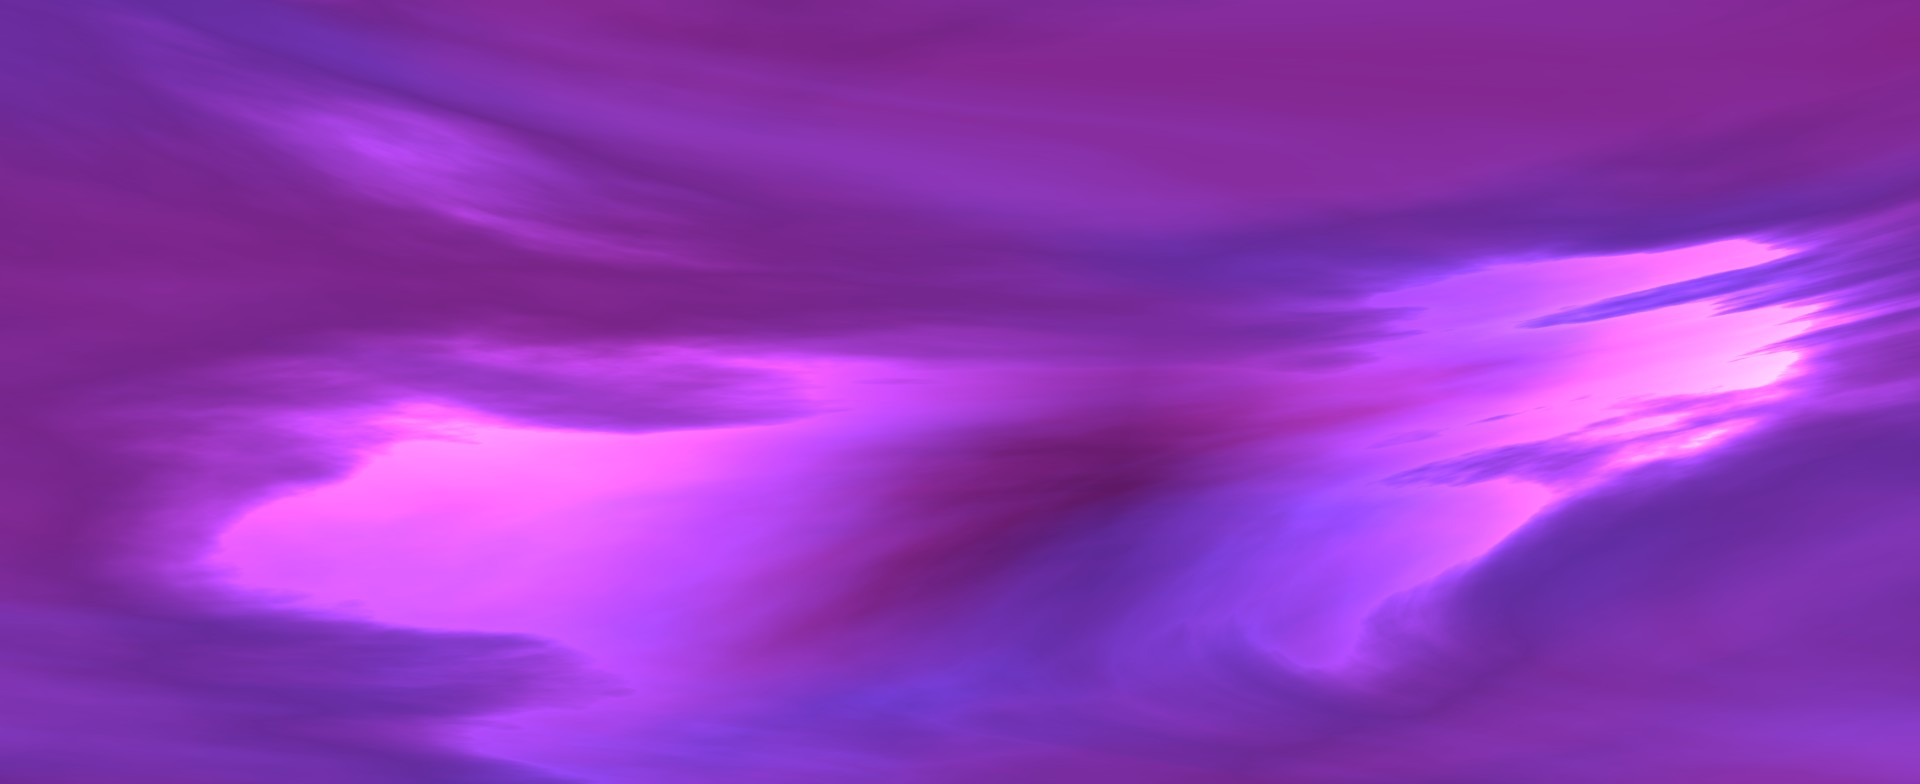
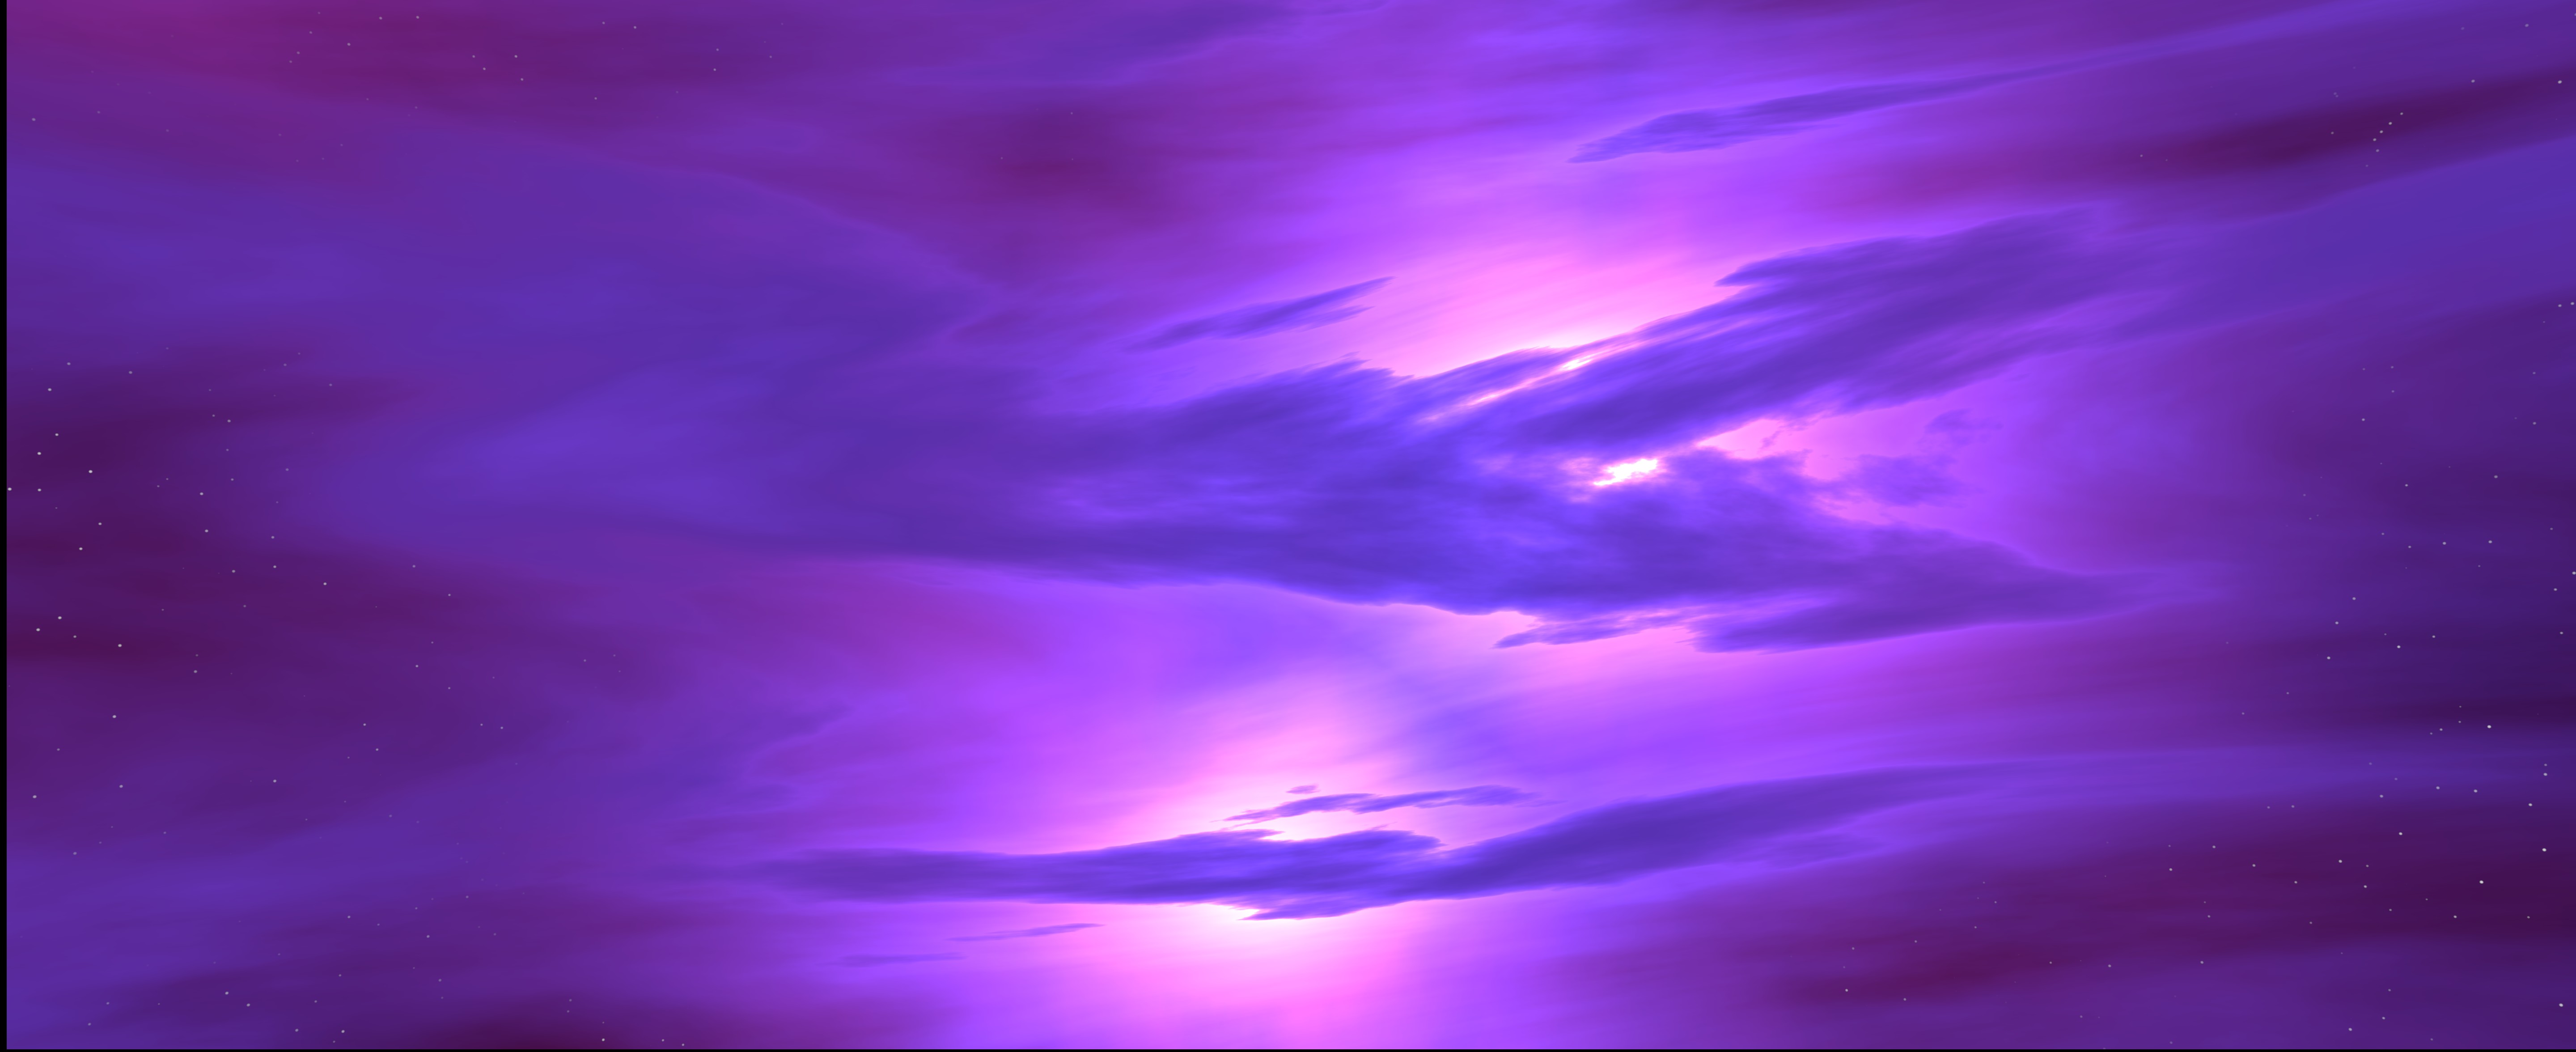
Here’s an example where the nebula flythrough loops smoothly, making it perfect for background visuals.
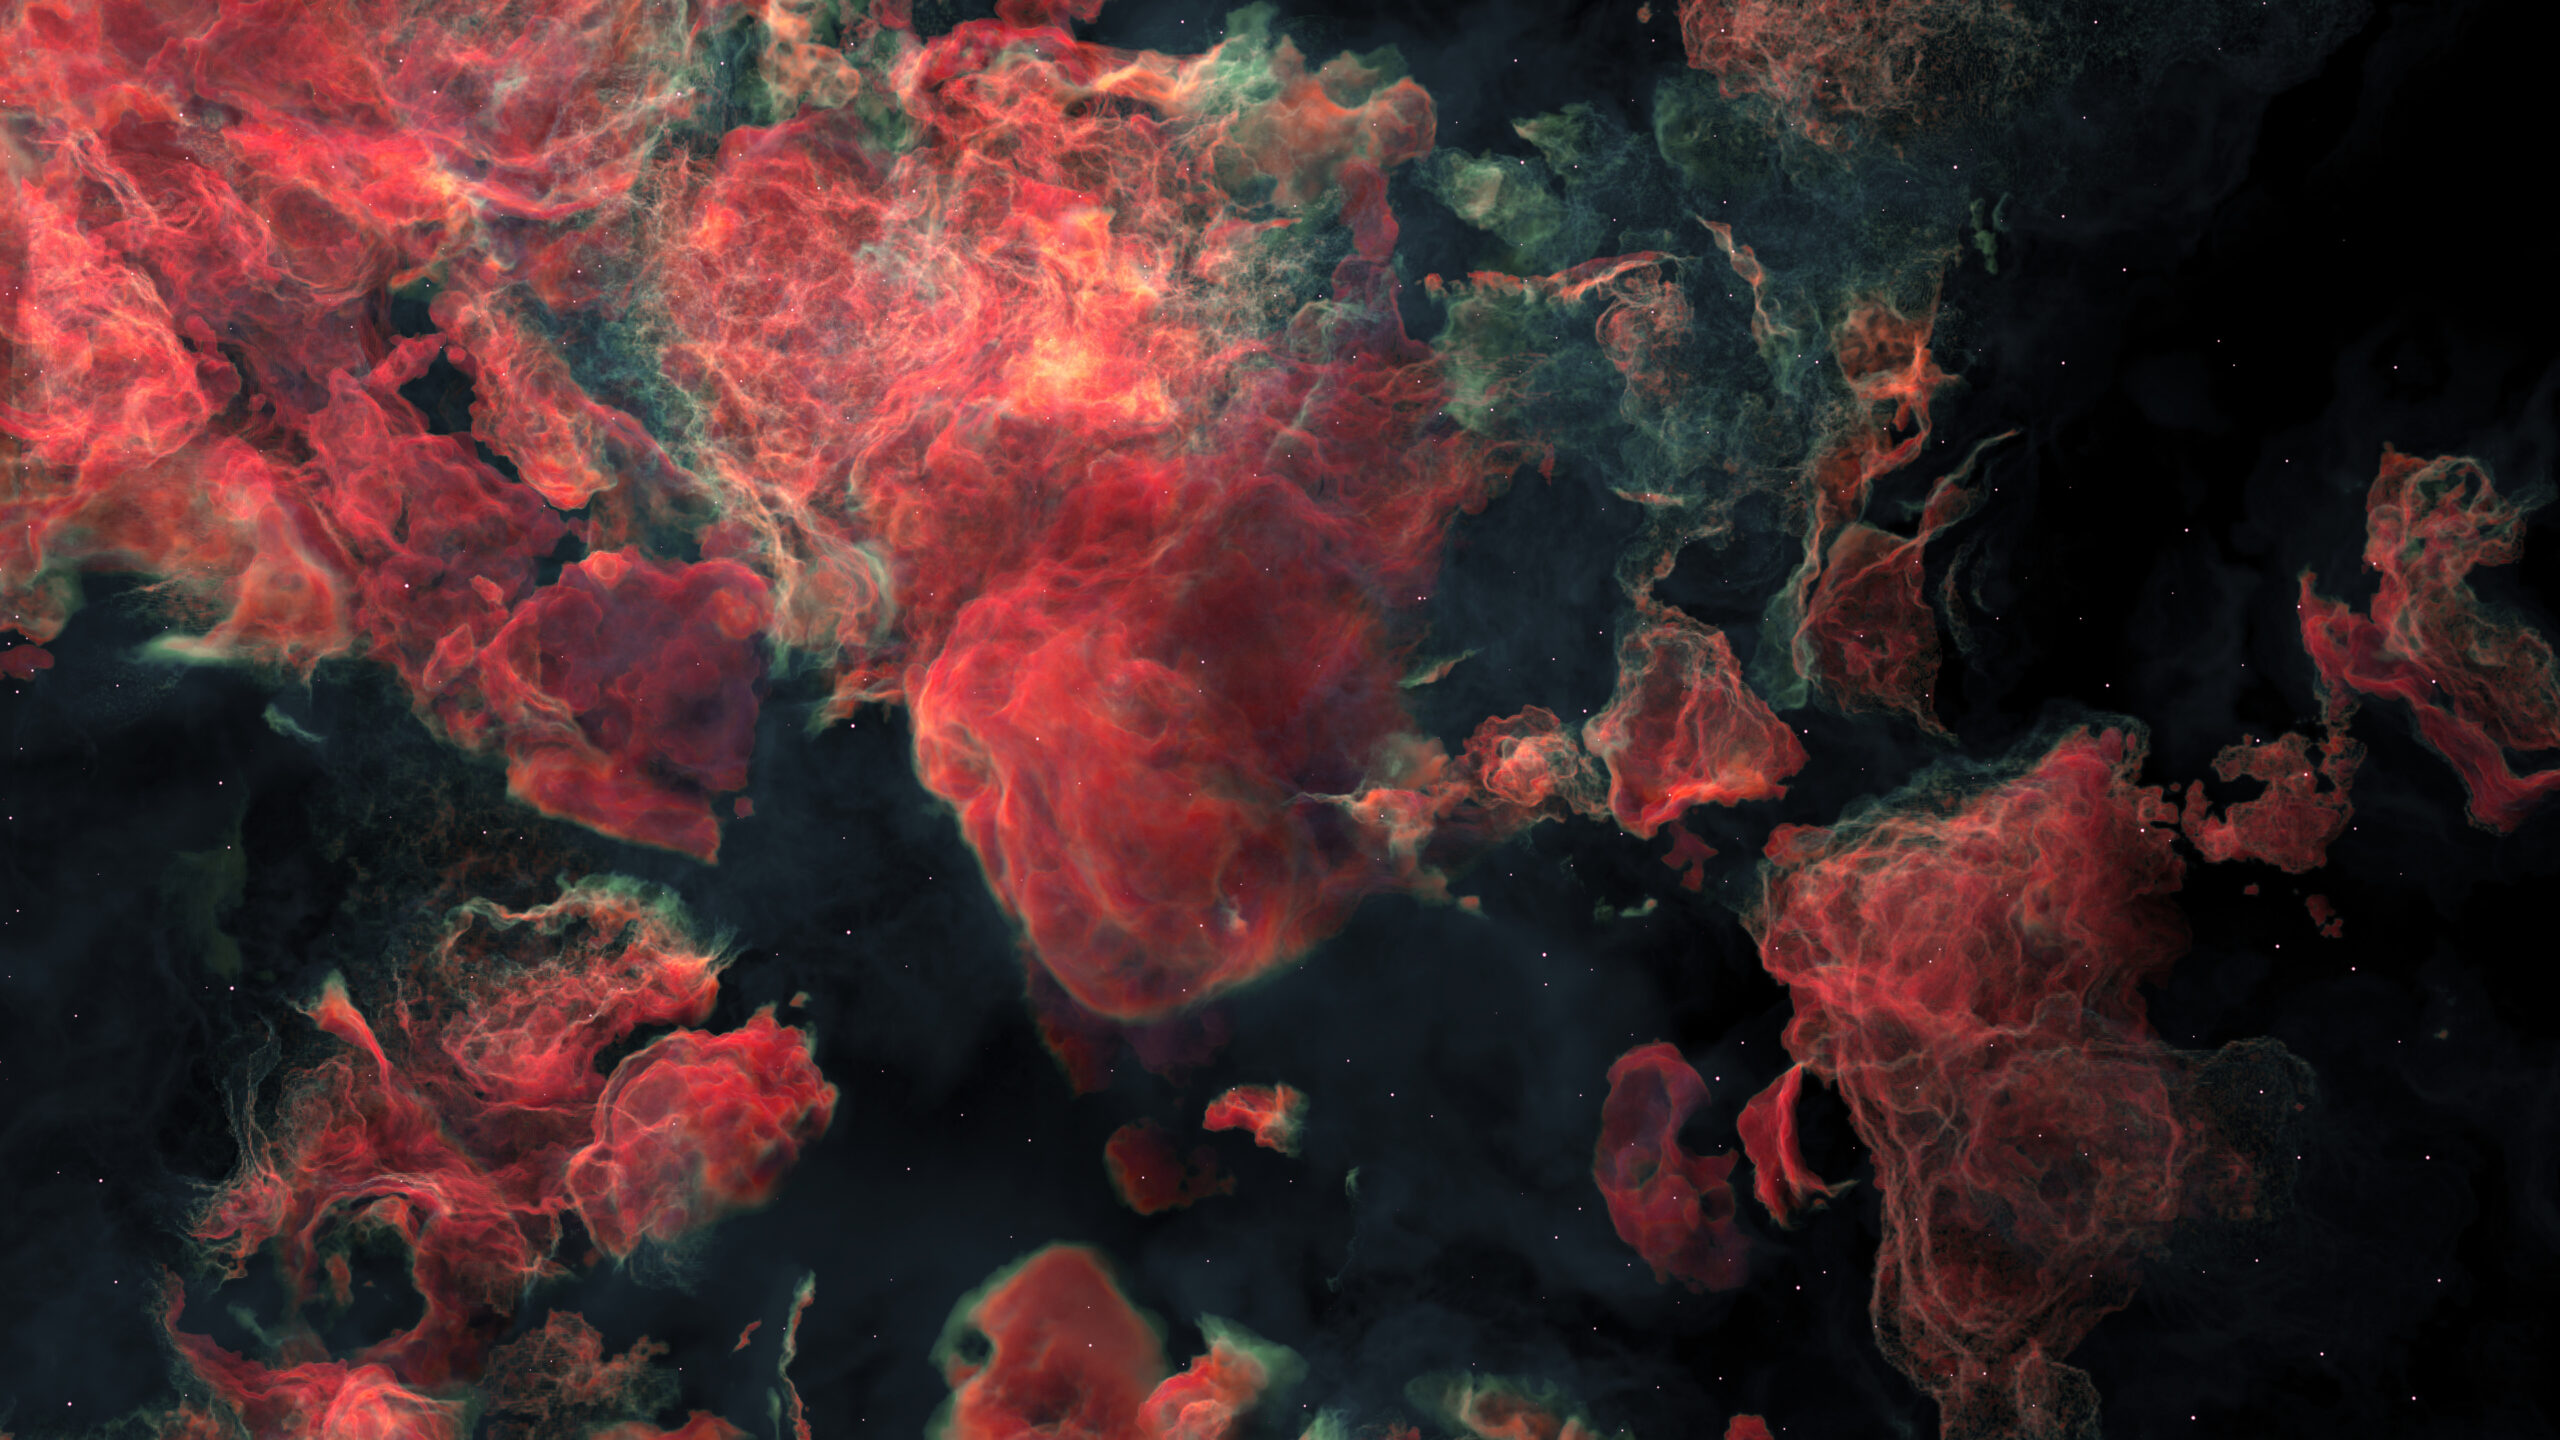
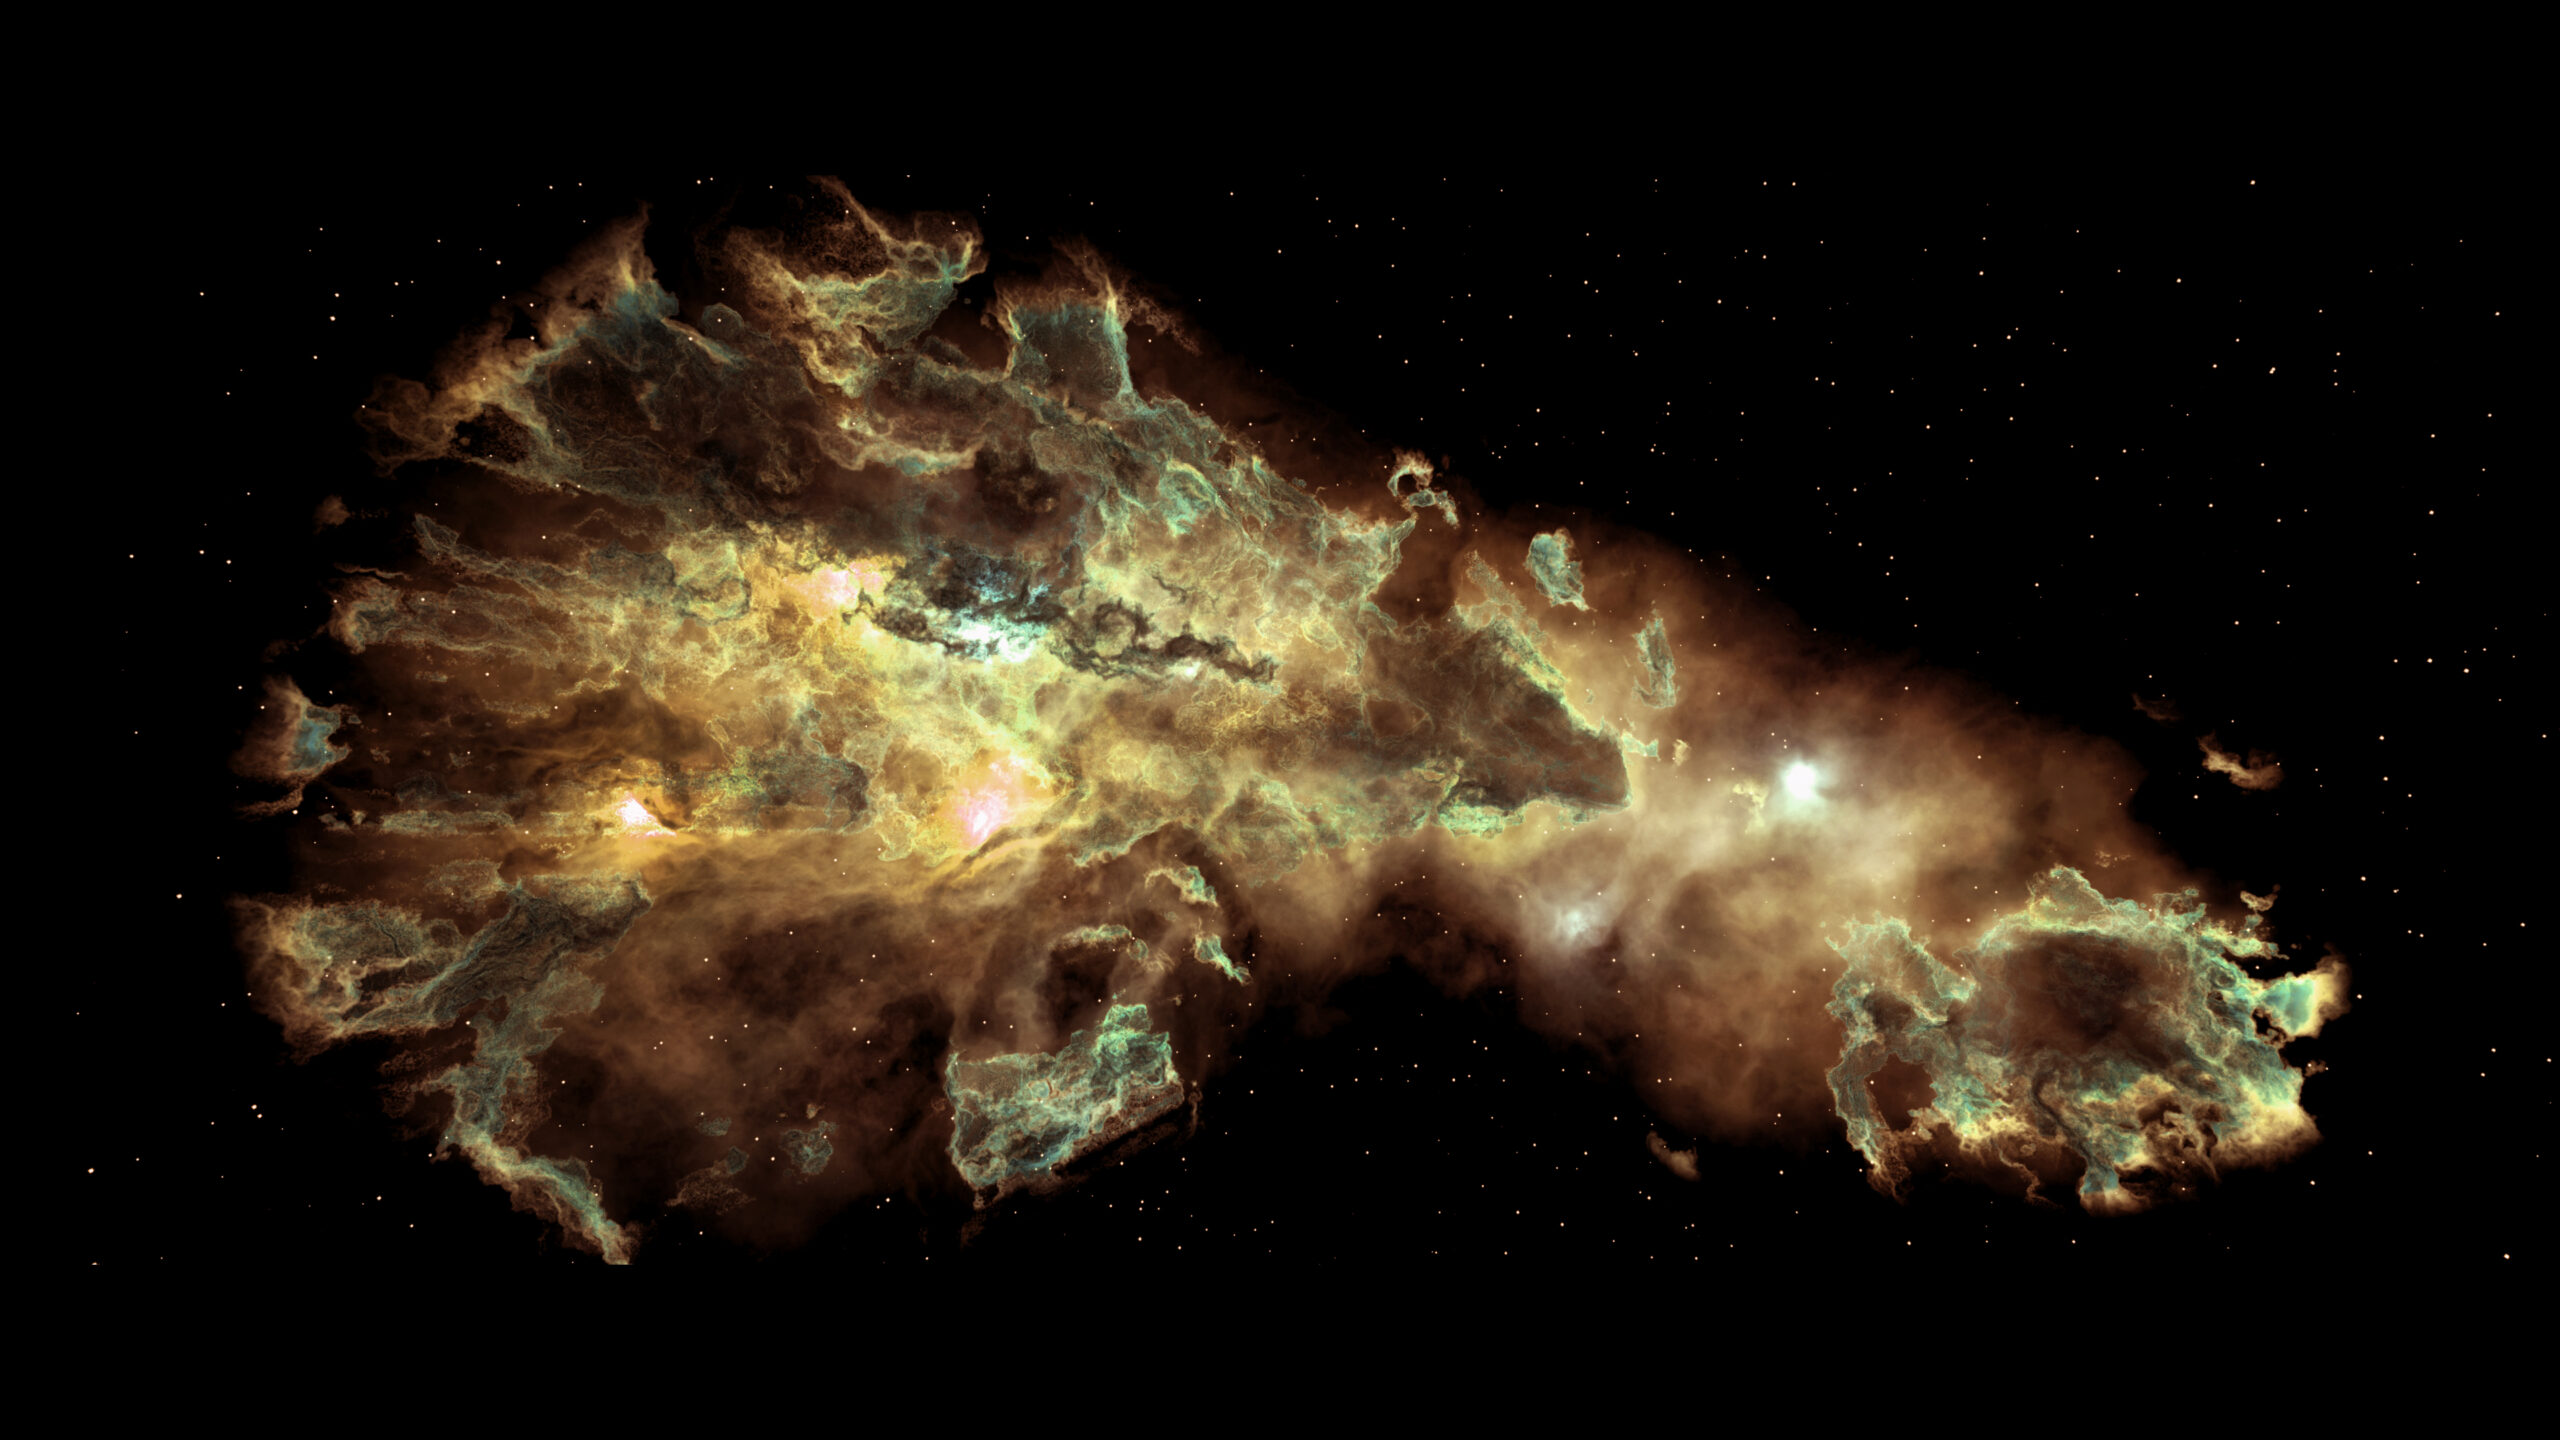
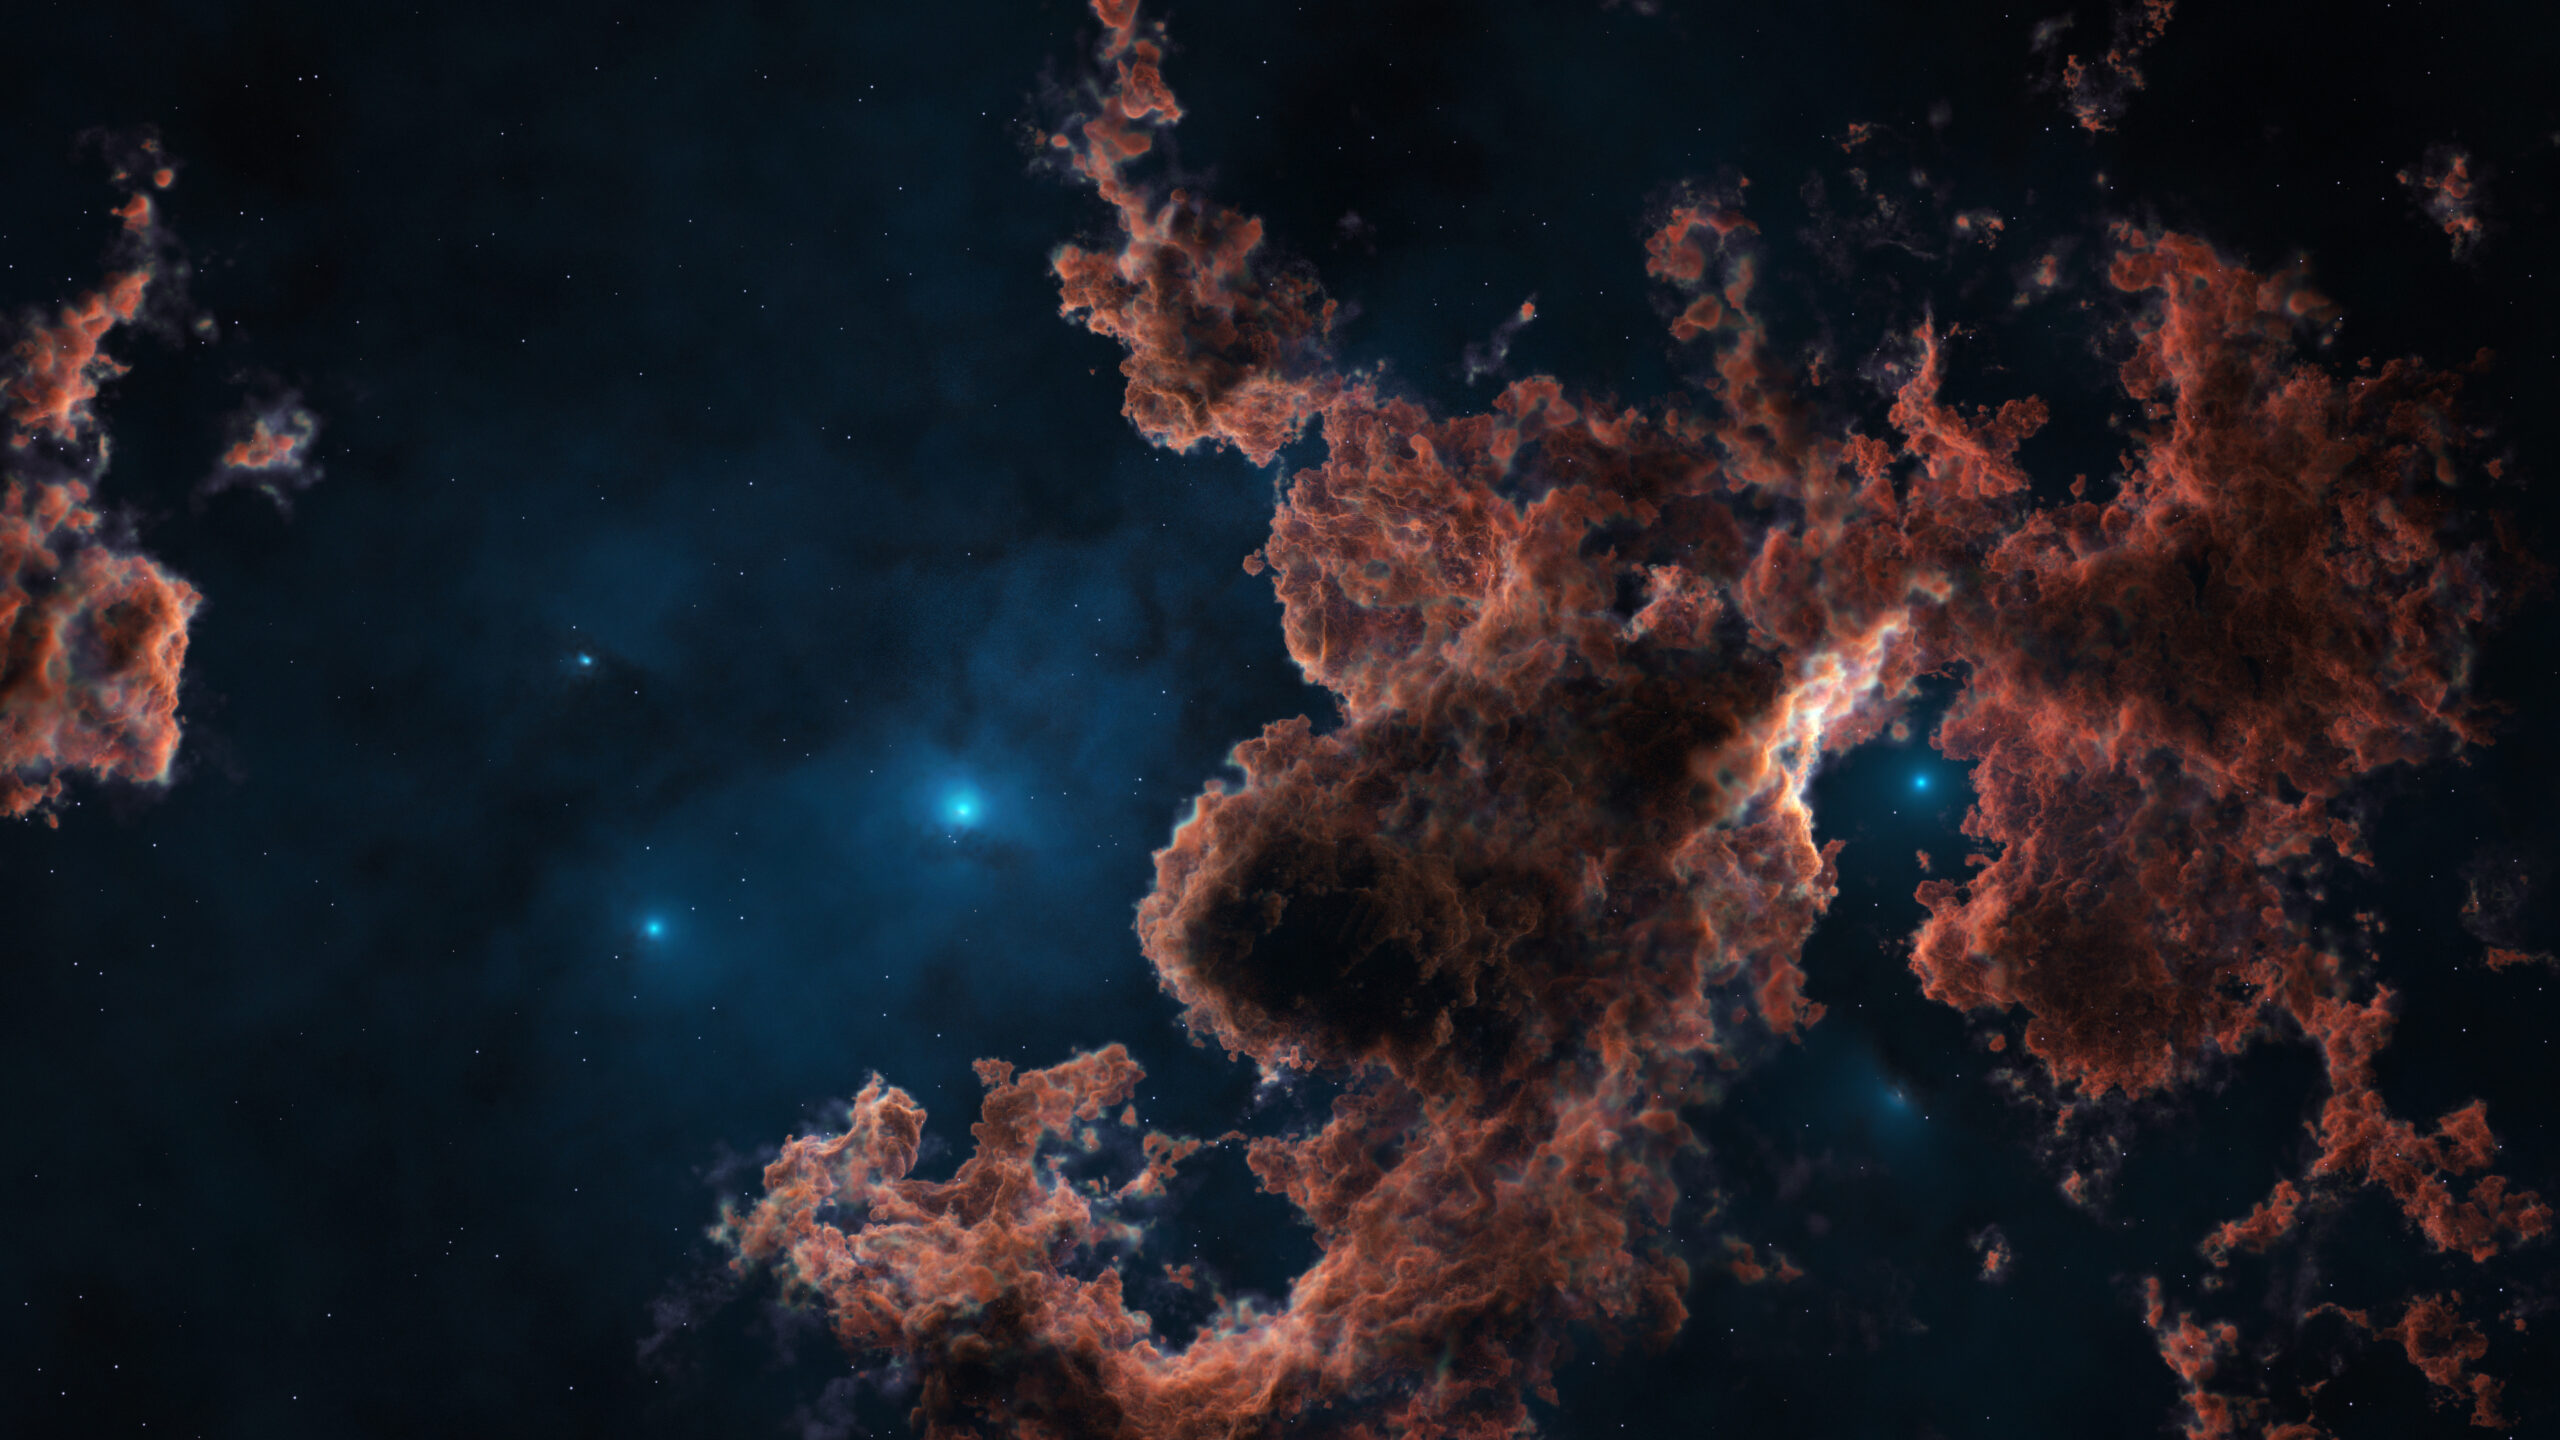
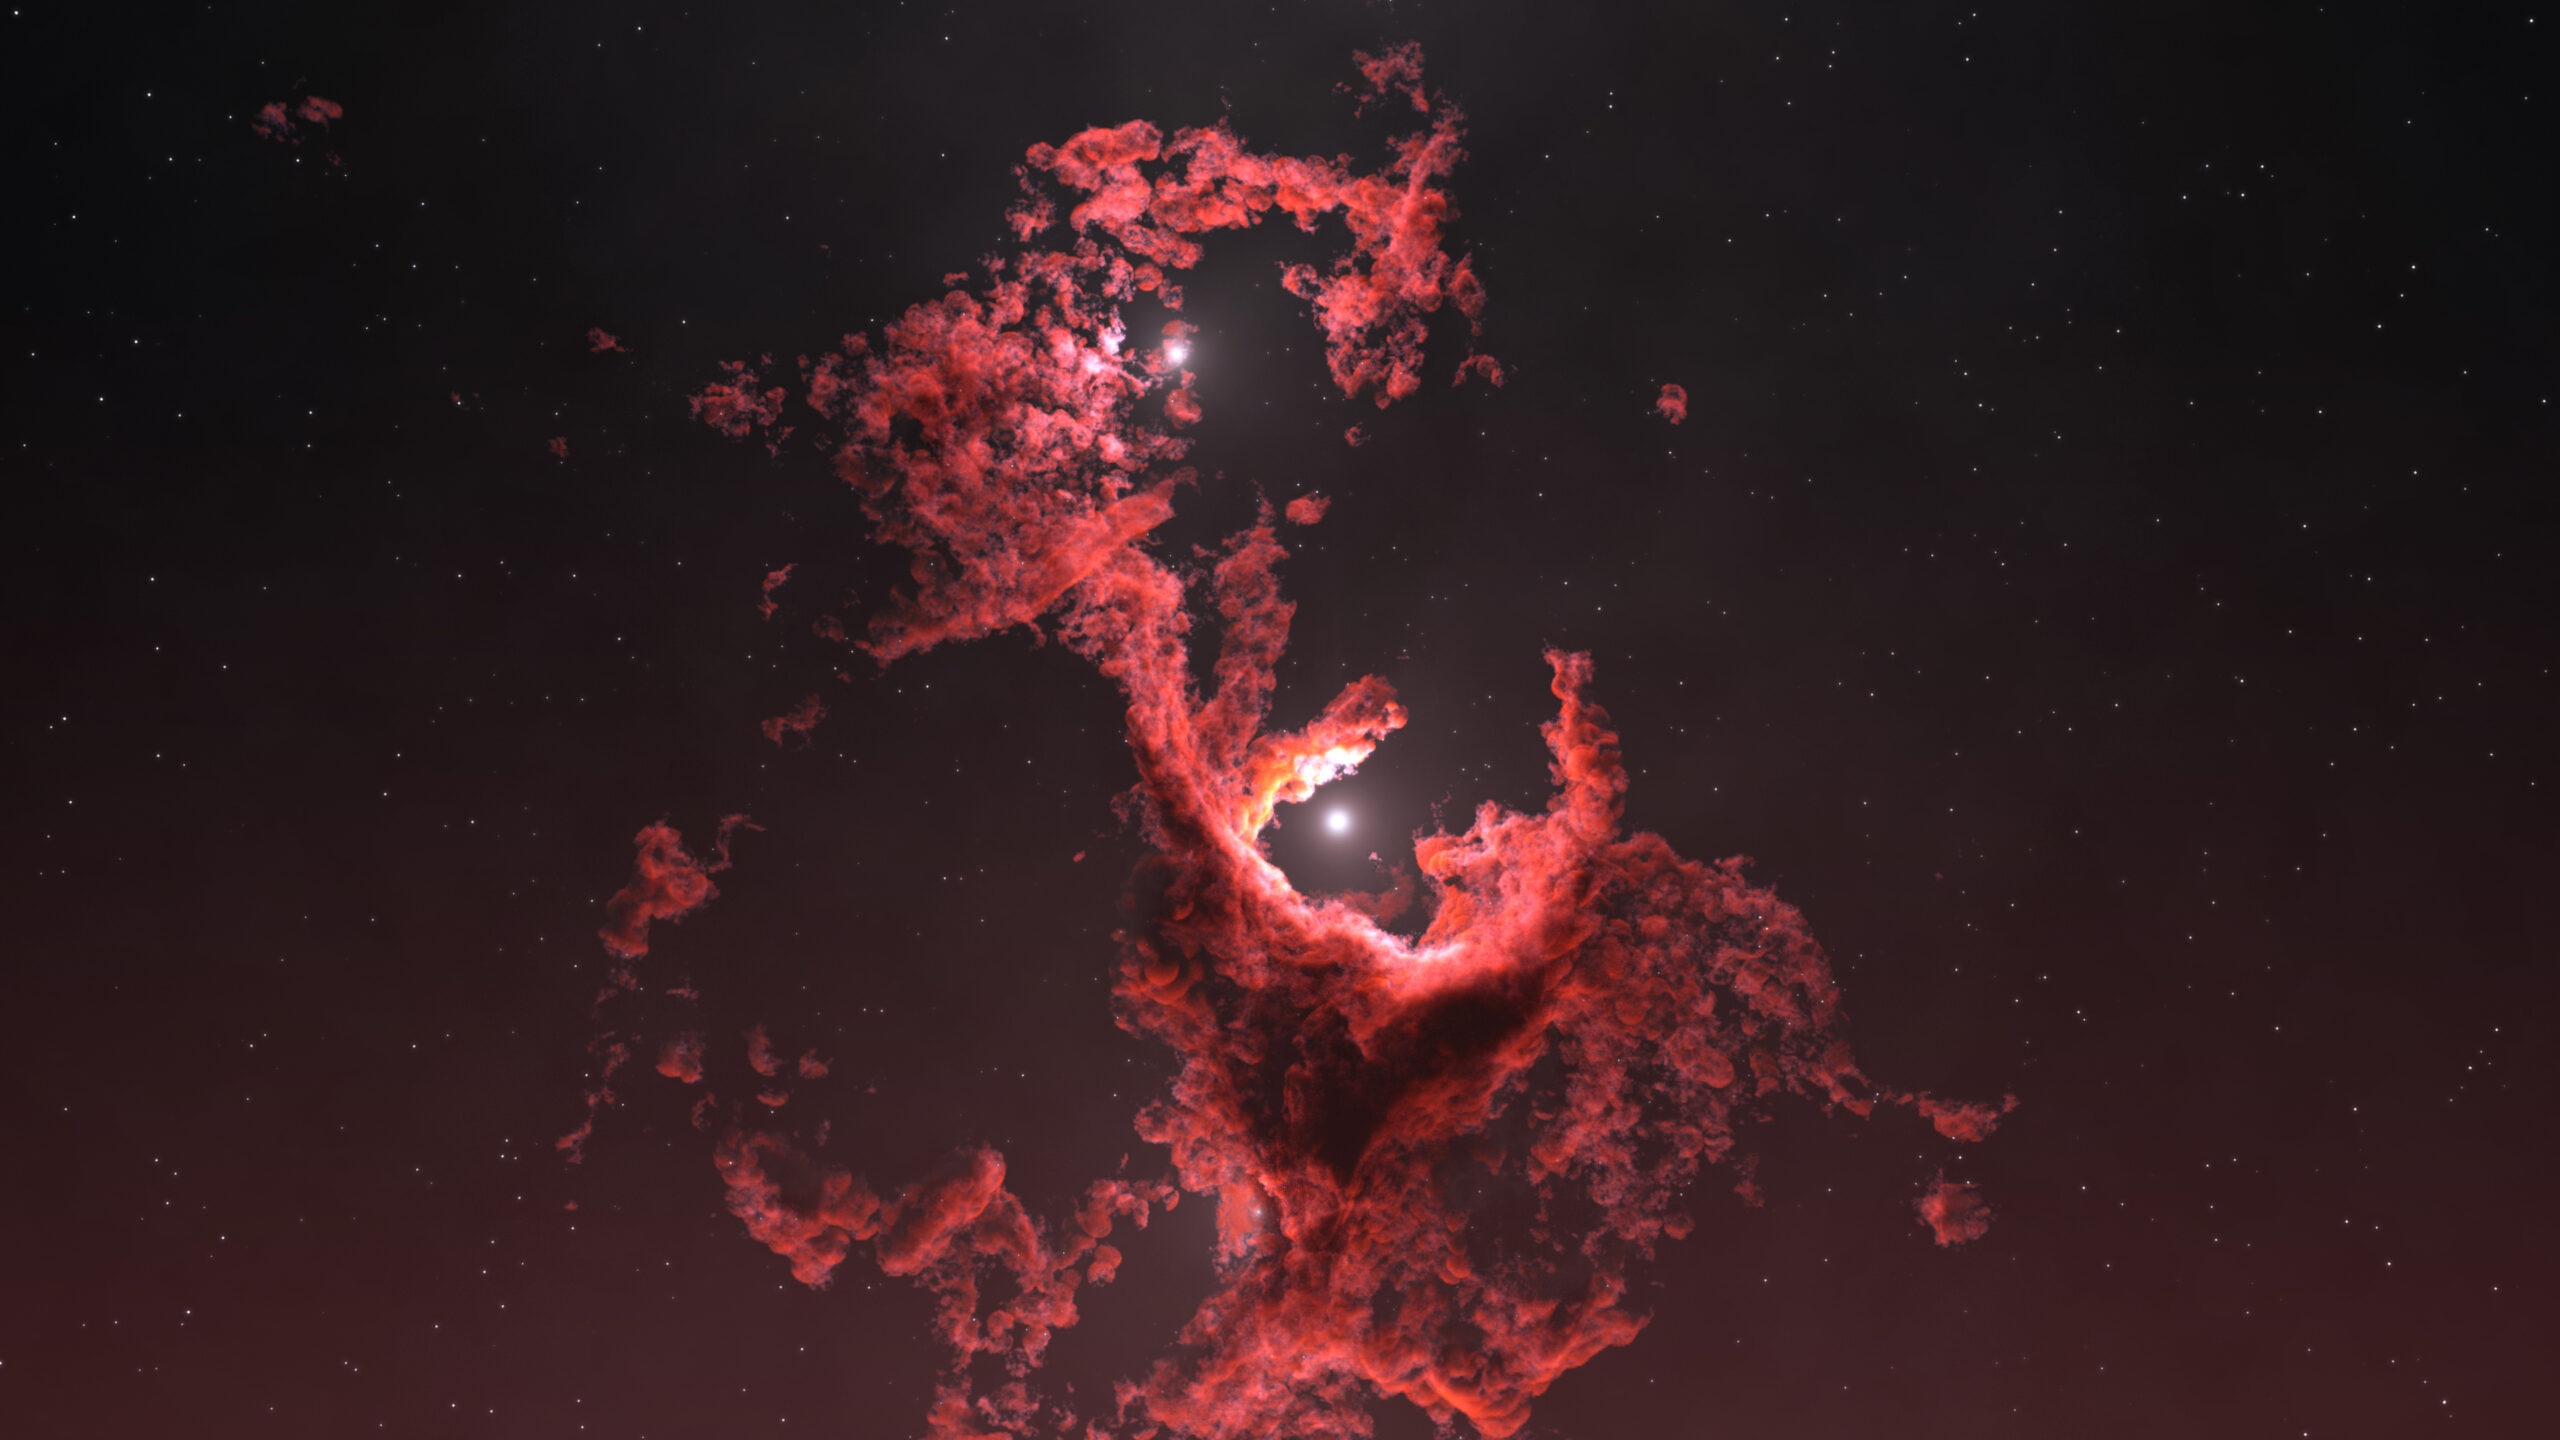
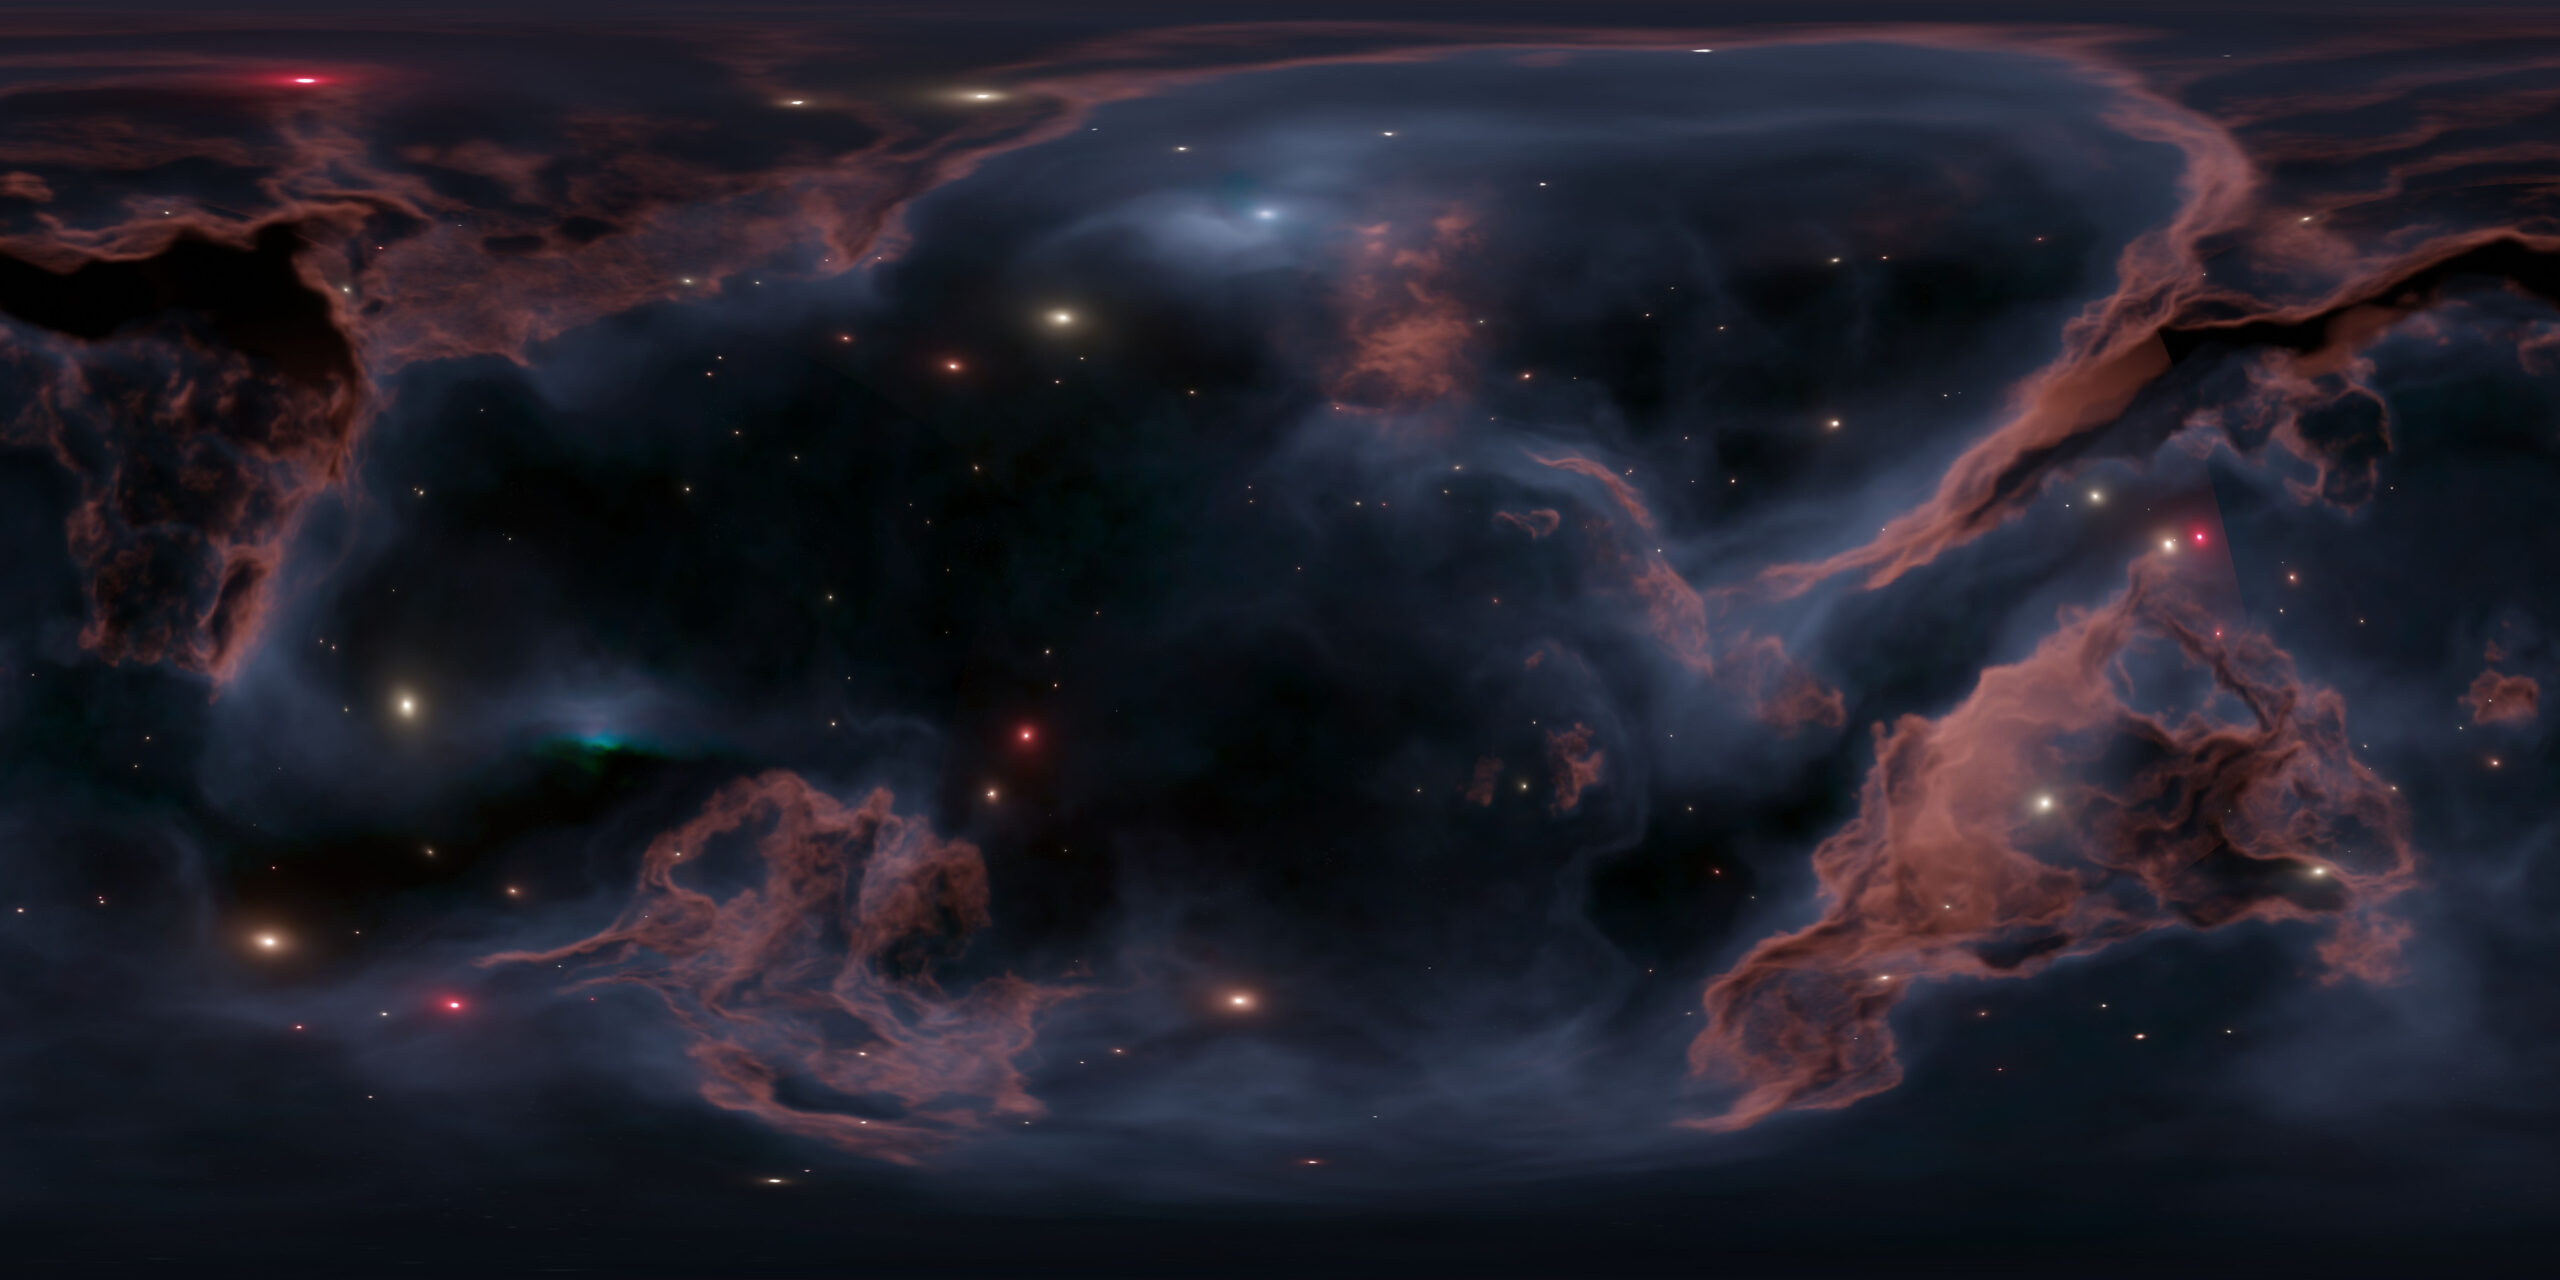
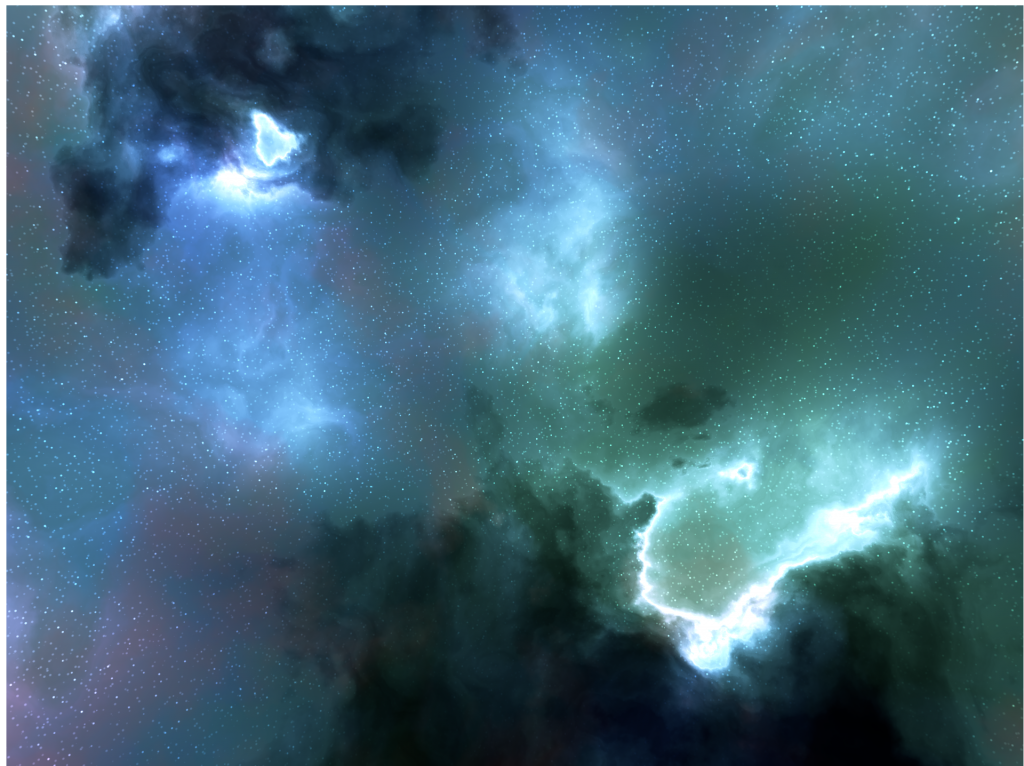
Other examples

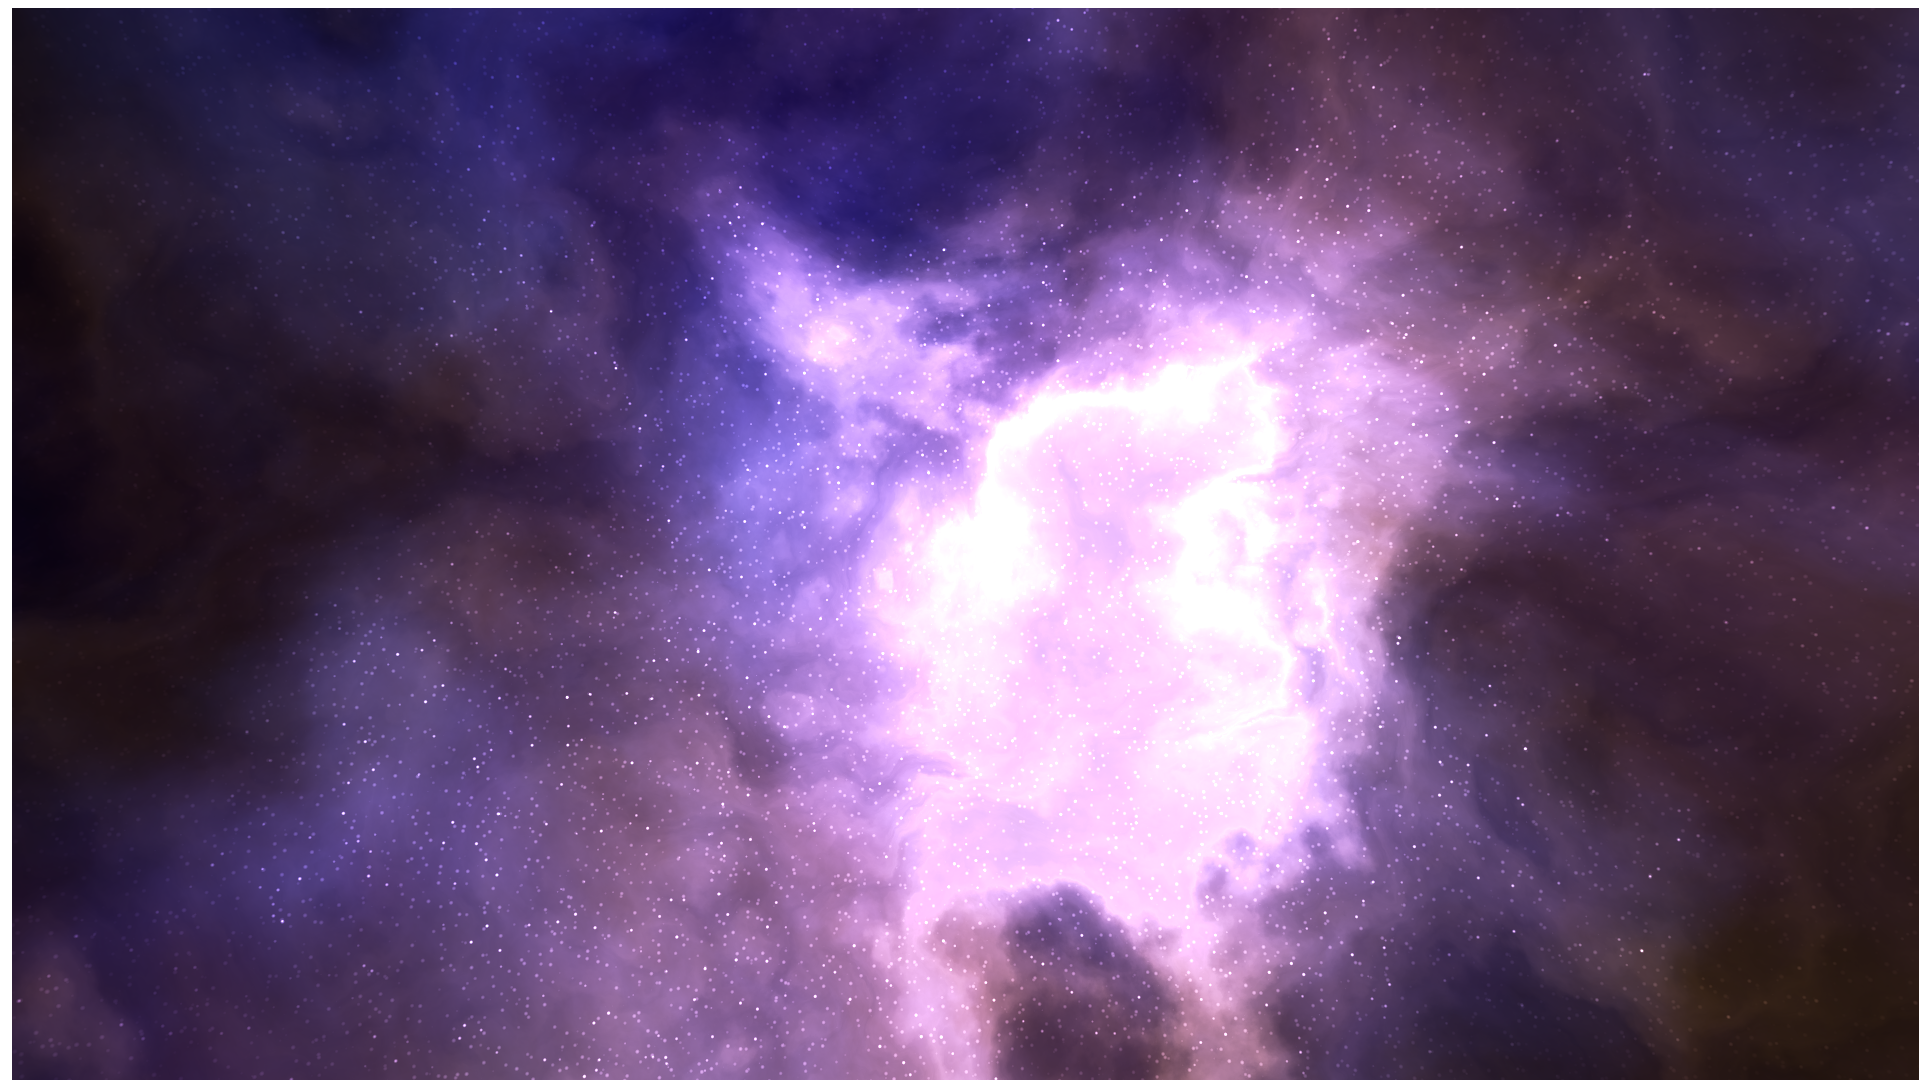
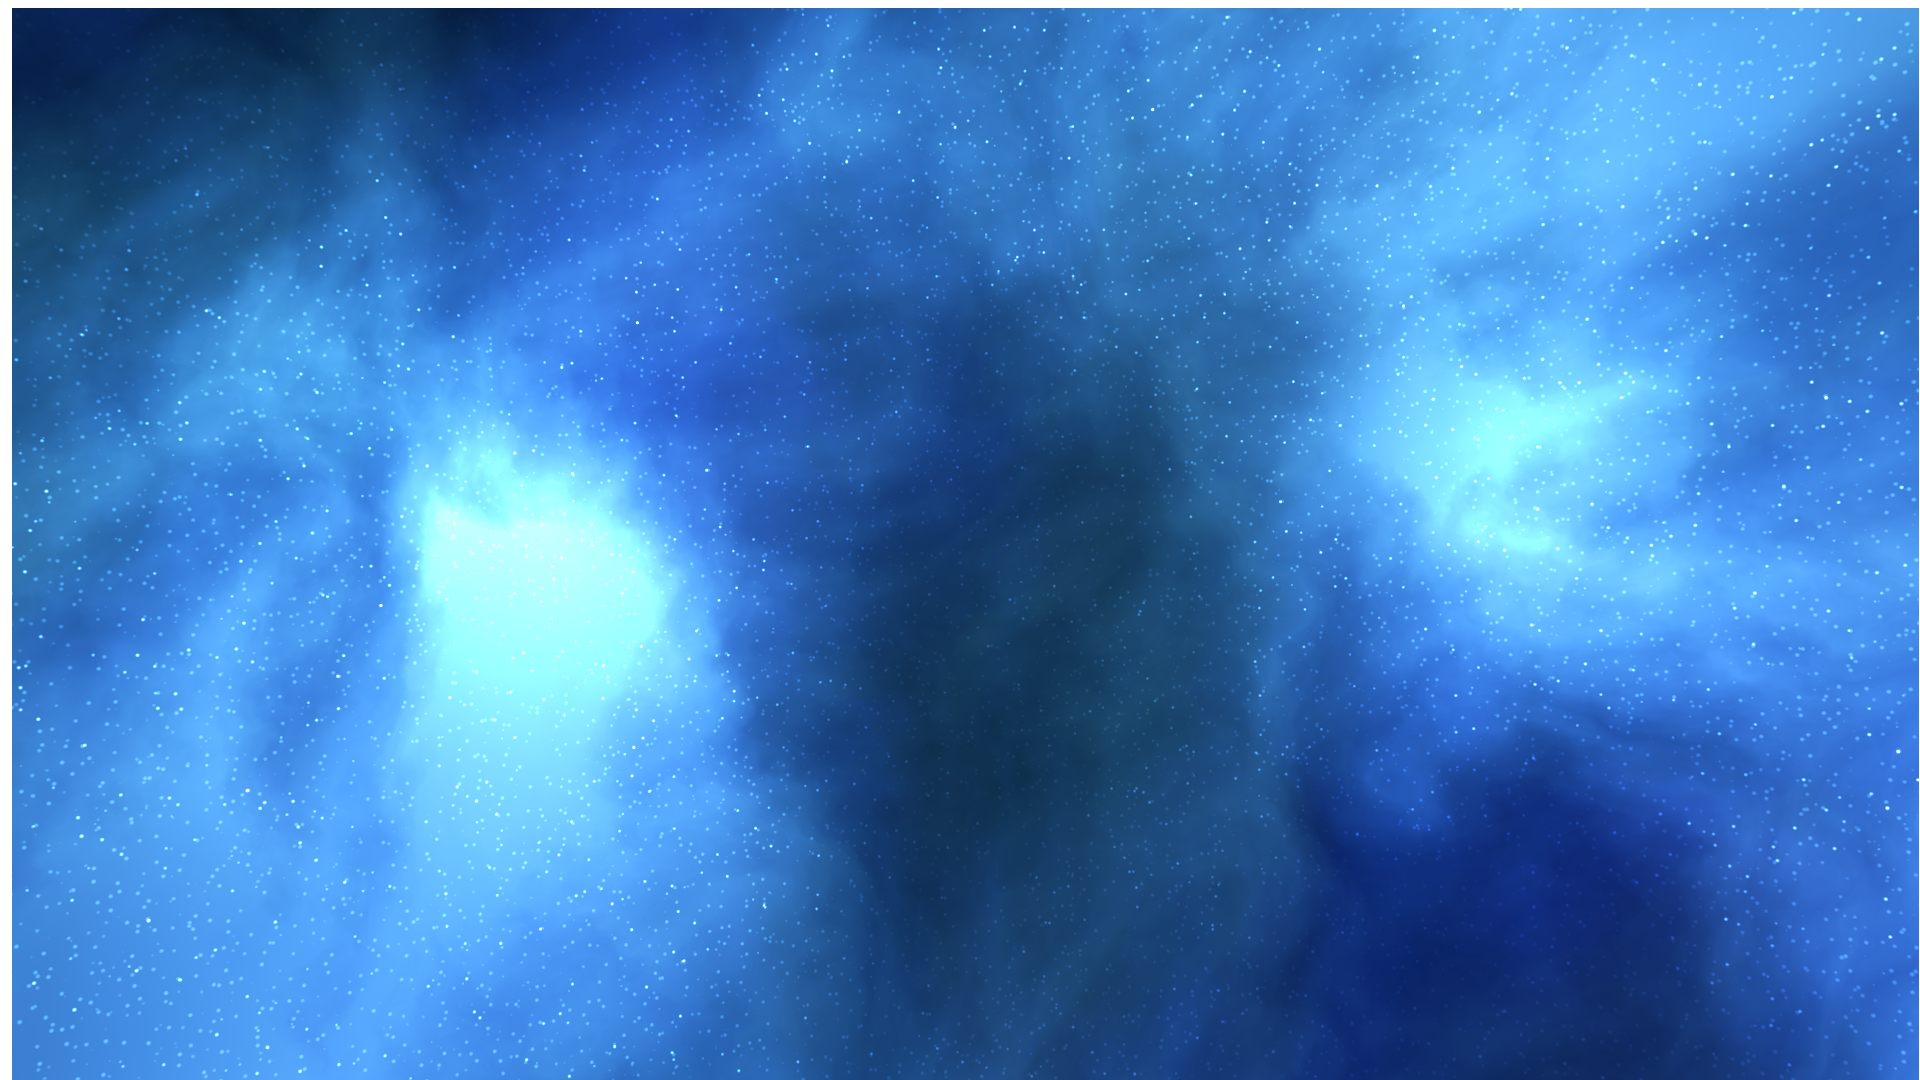
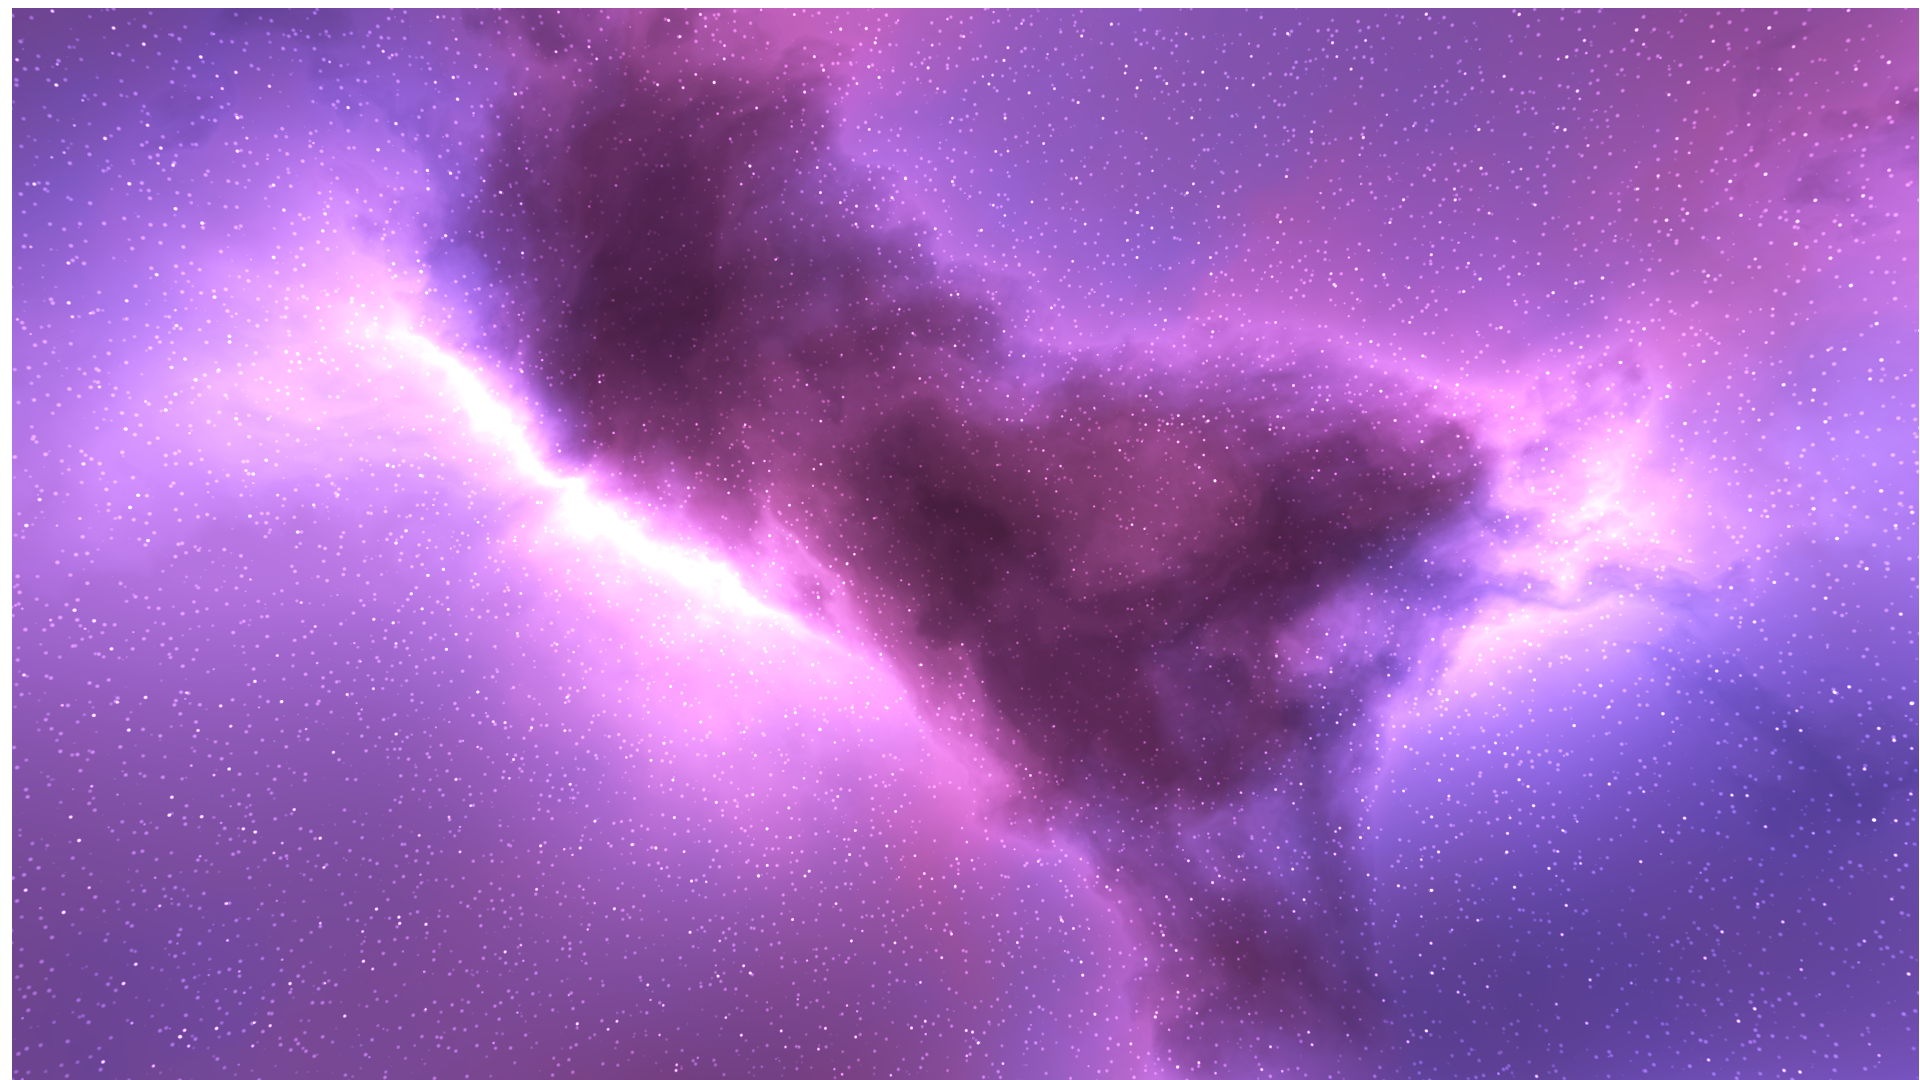
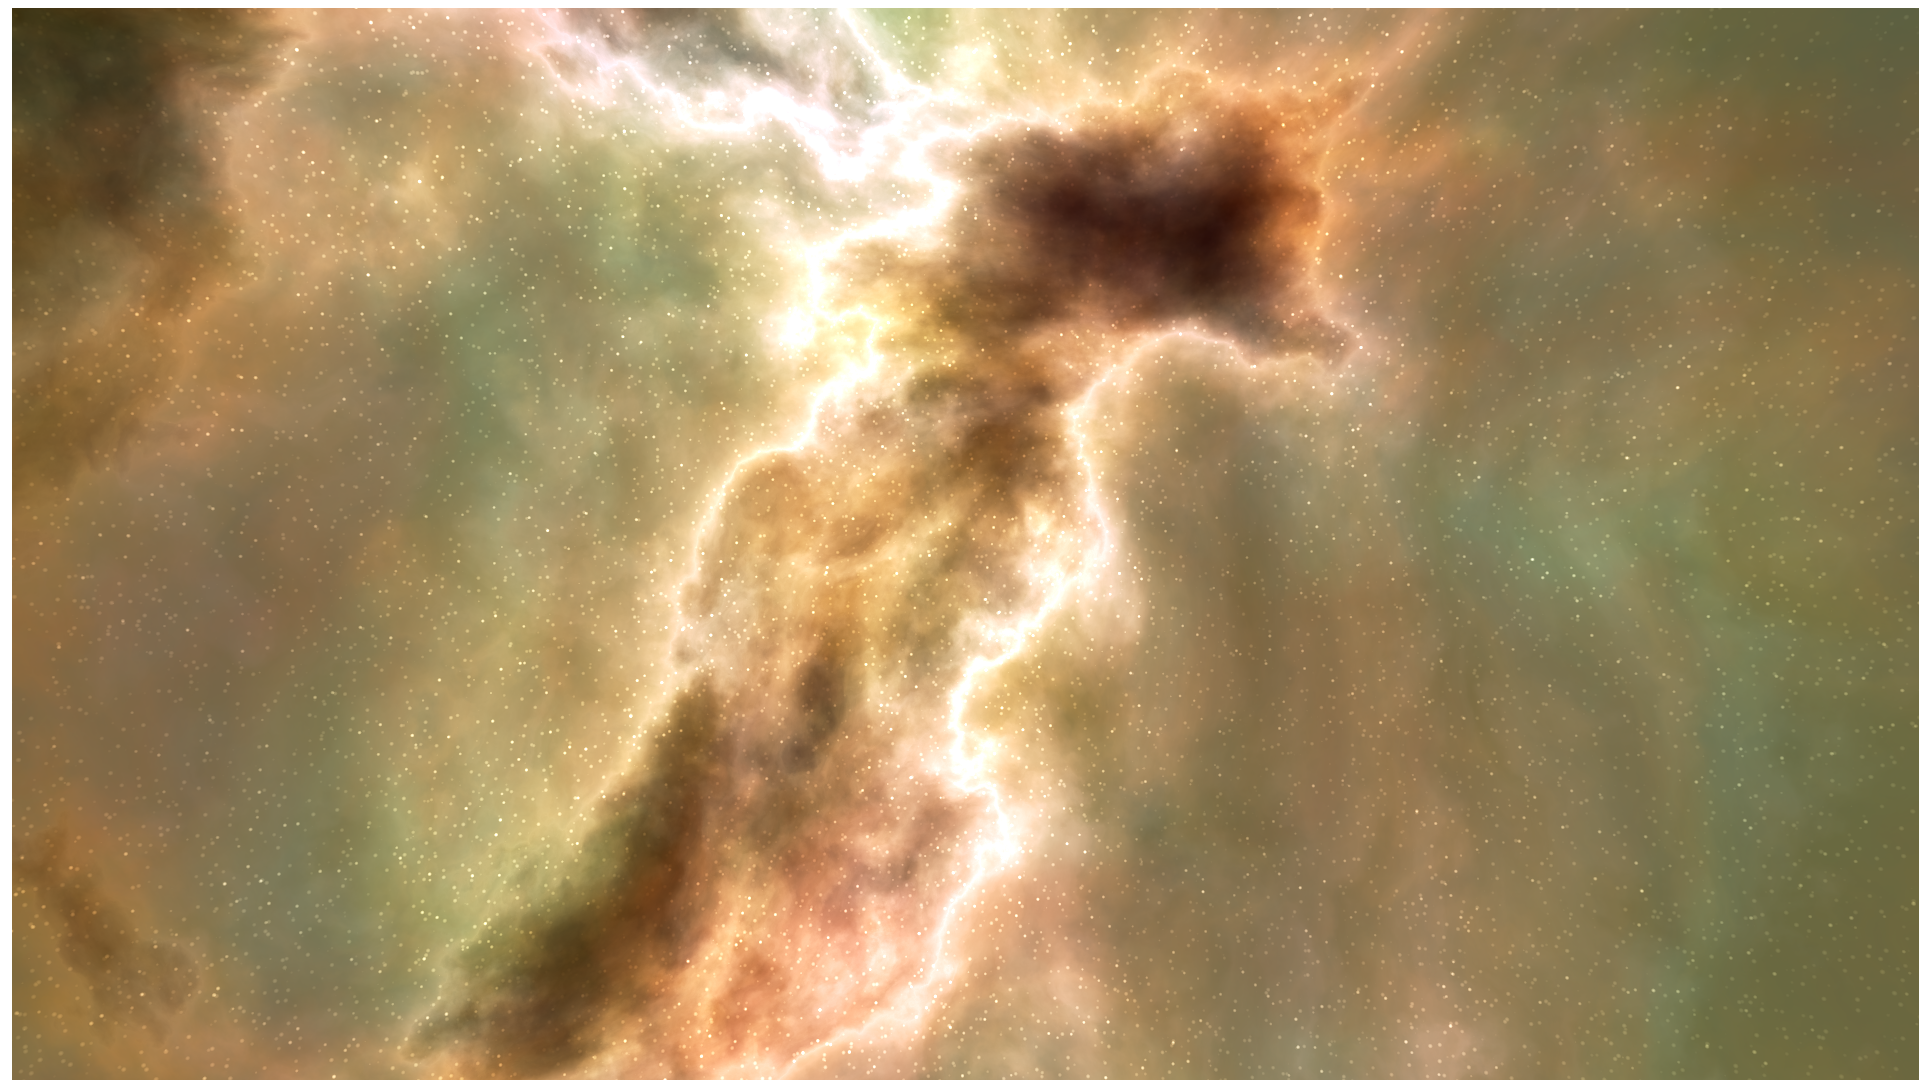
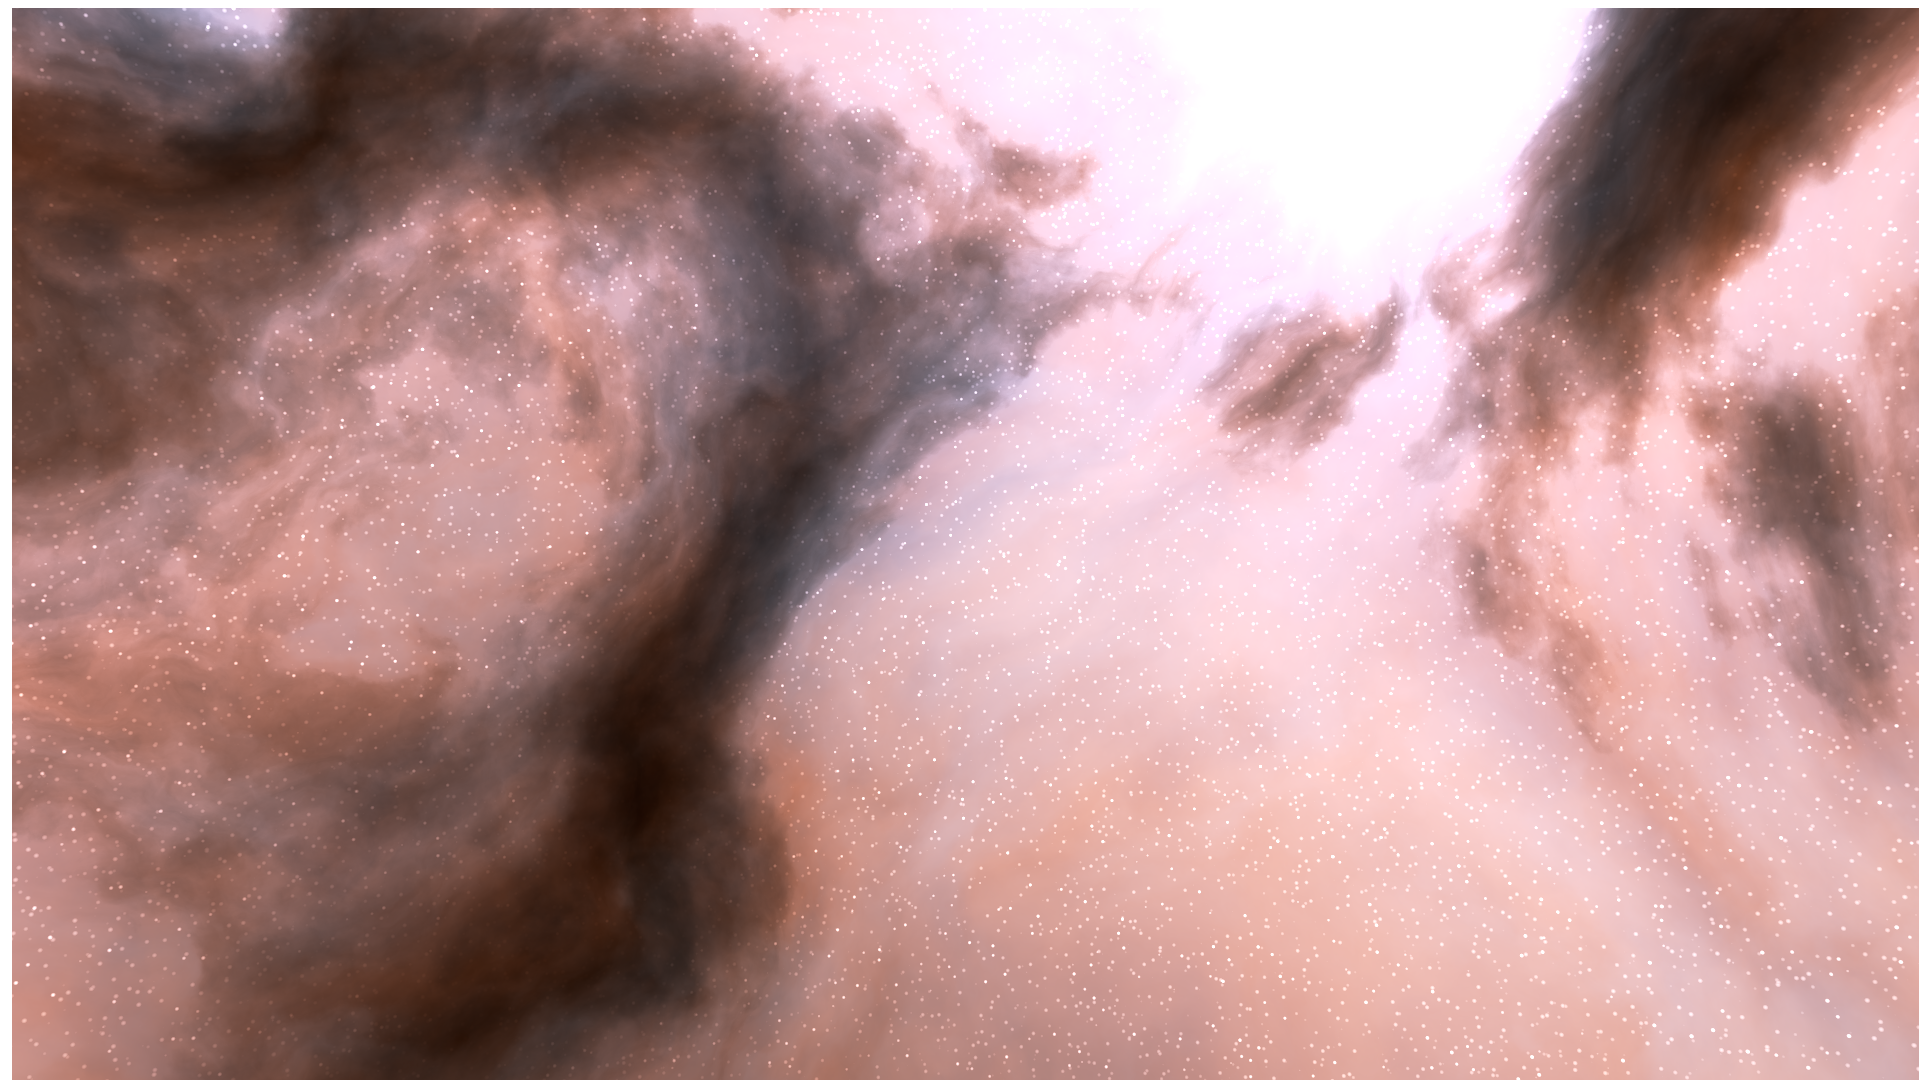
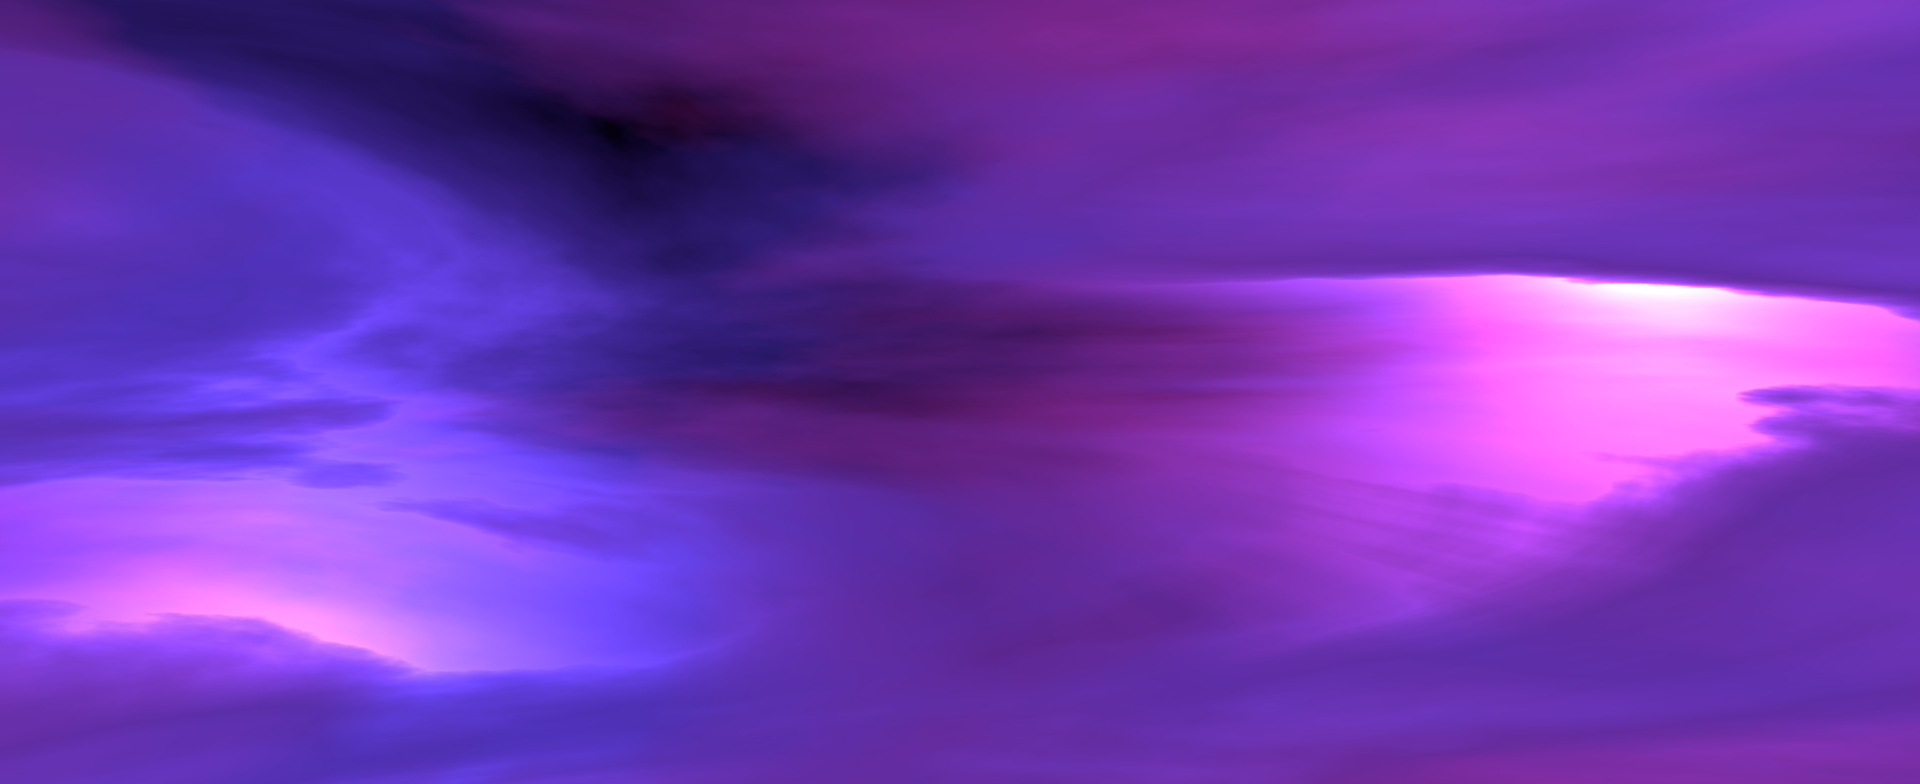
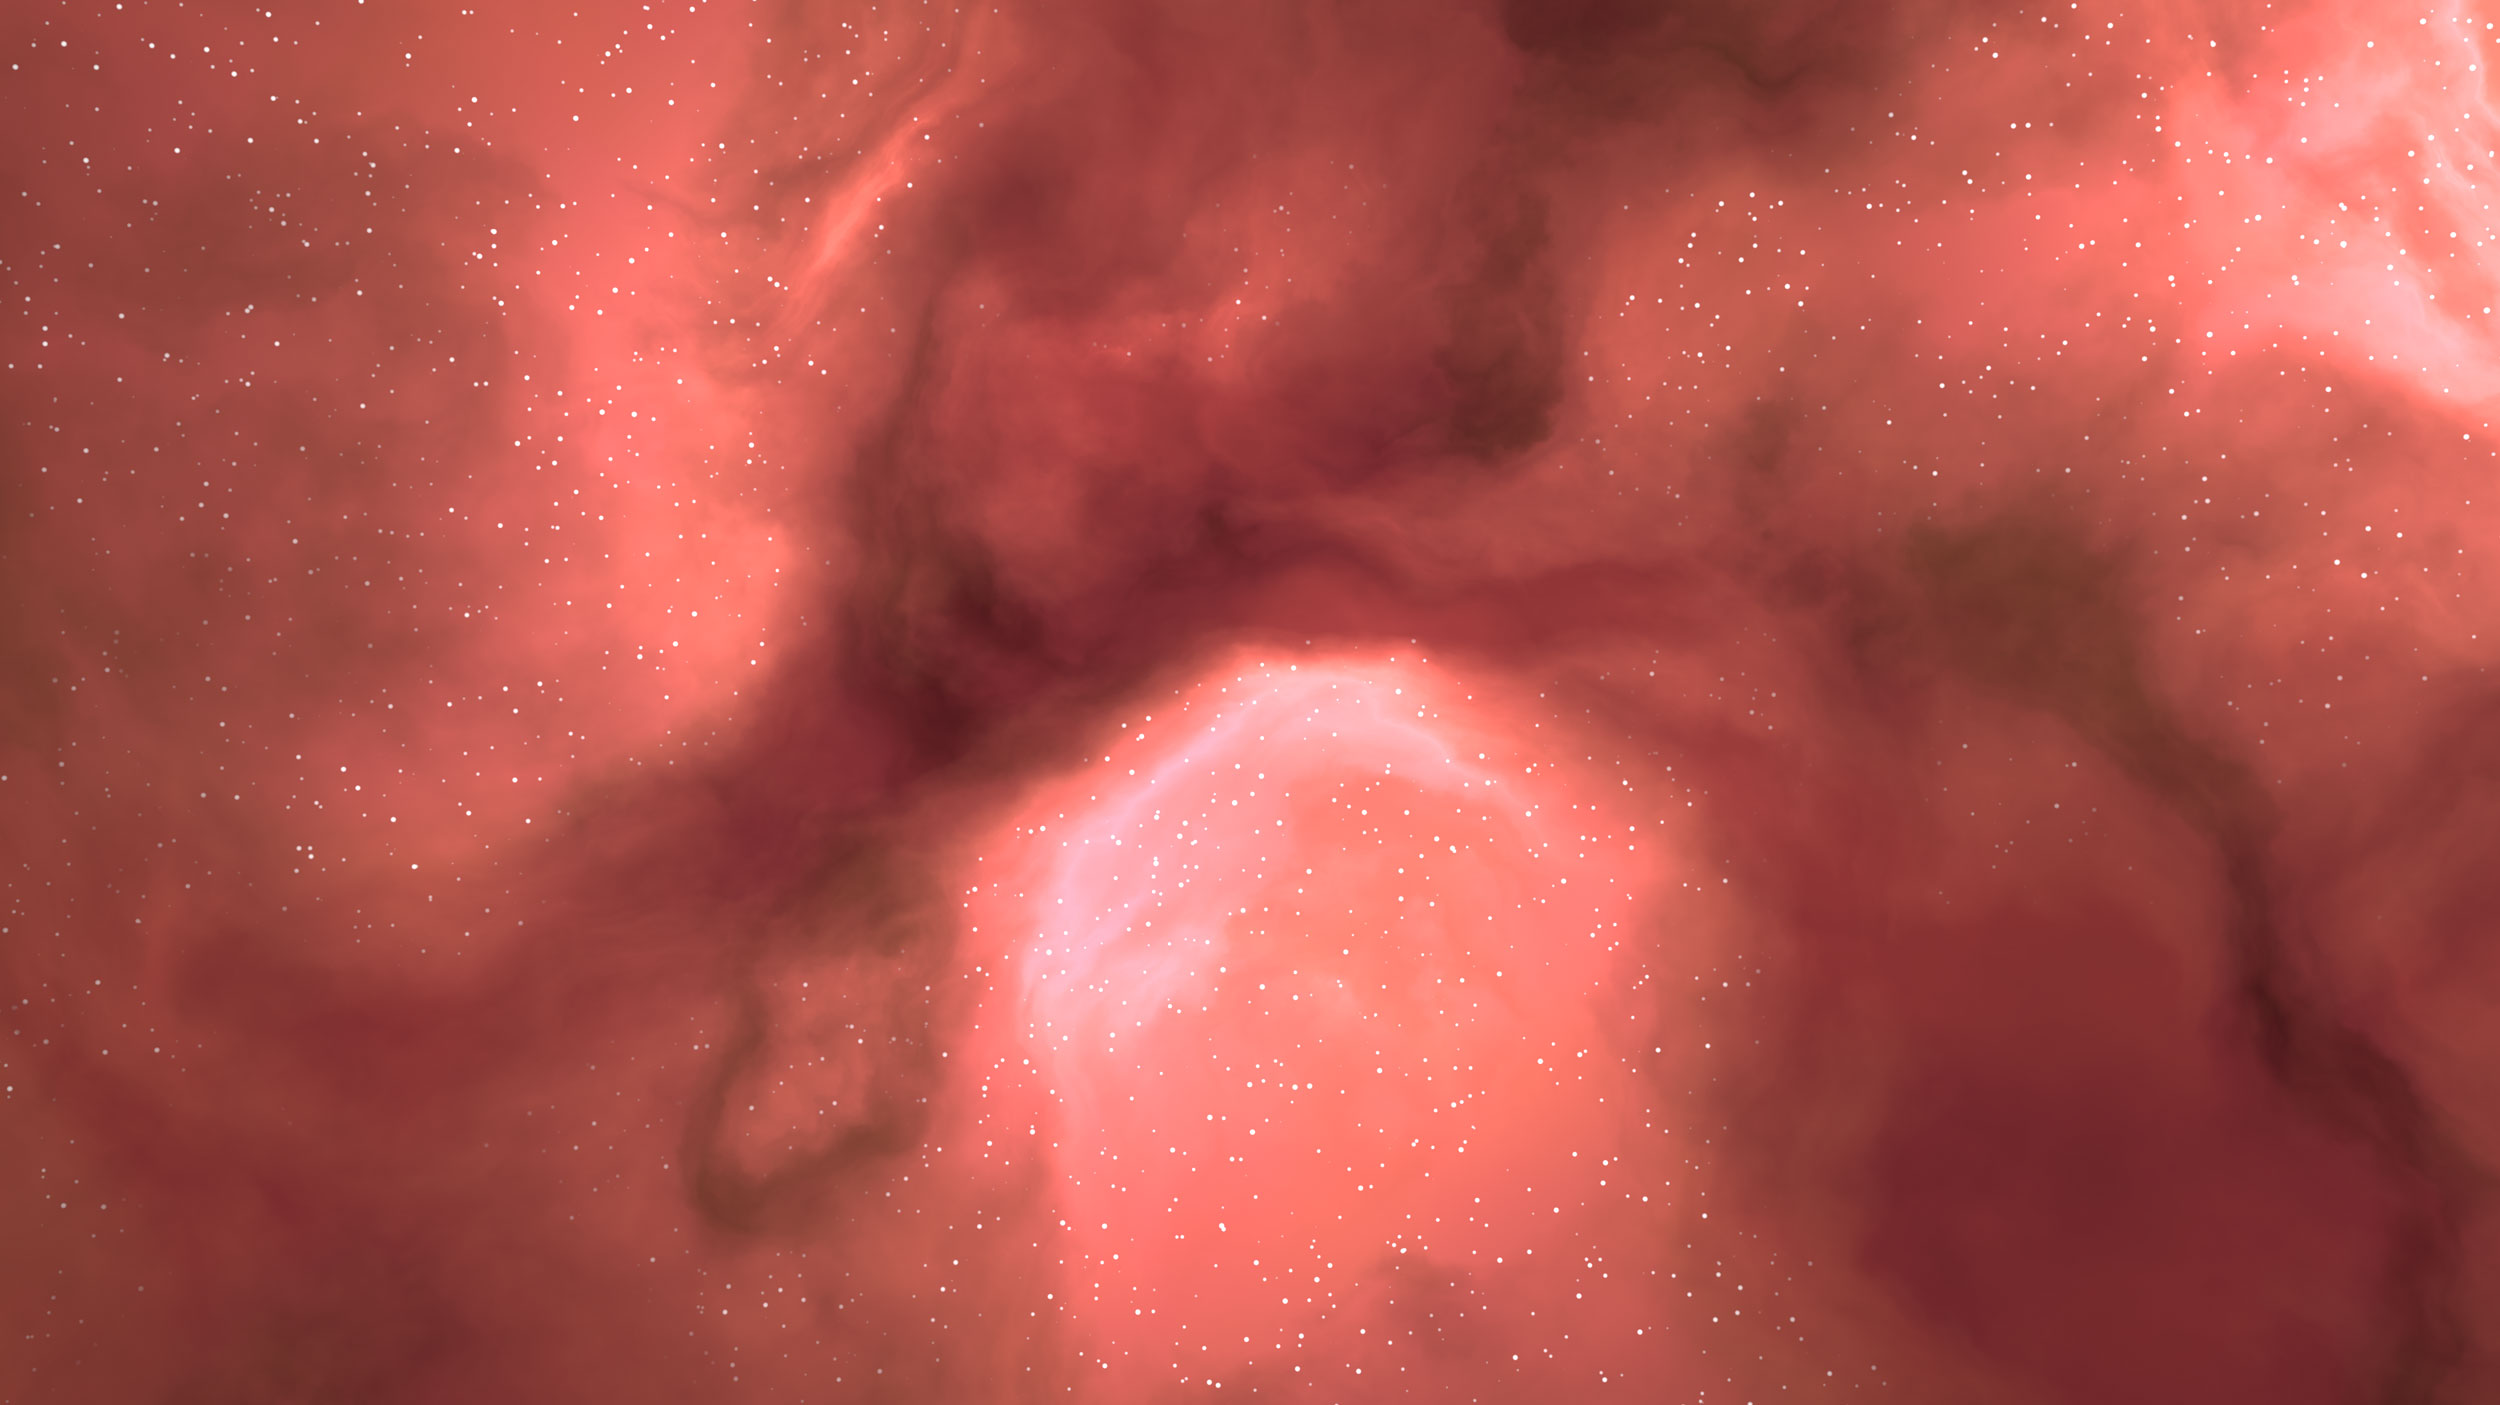
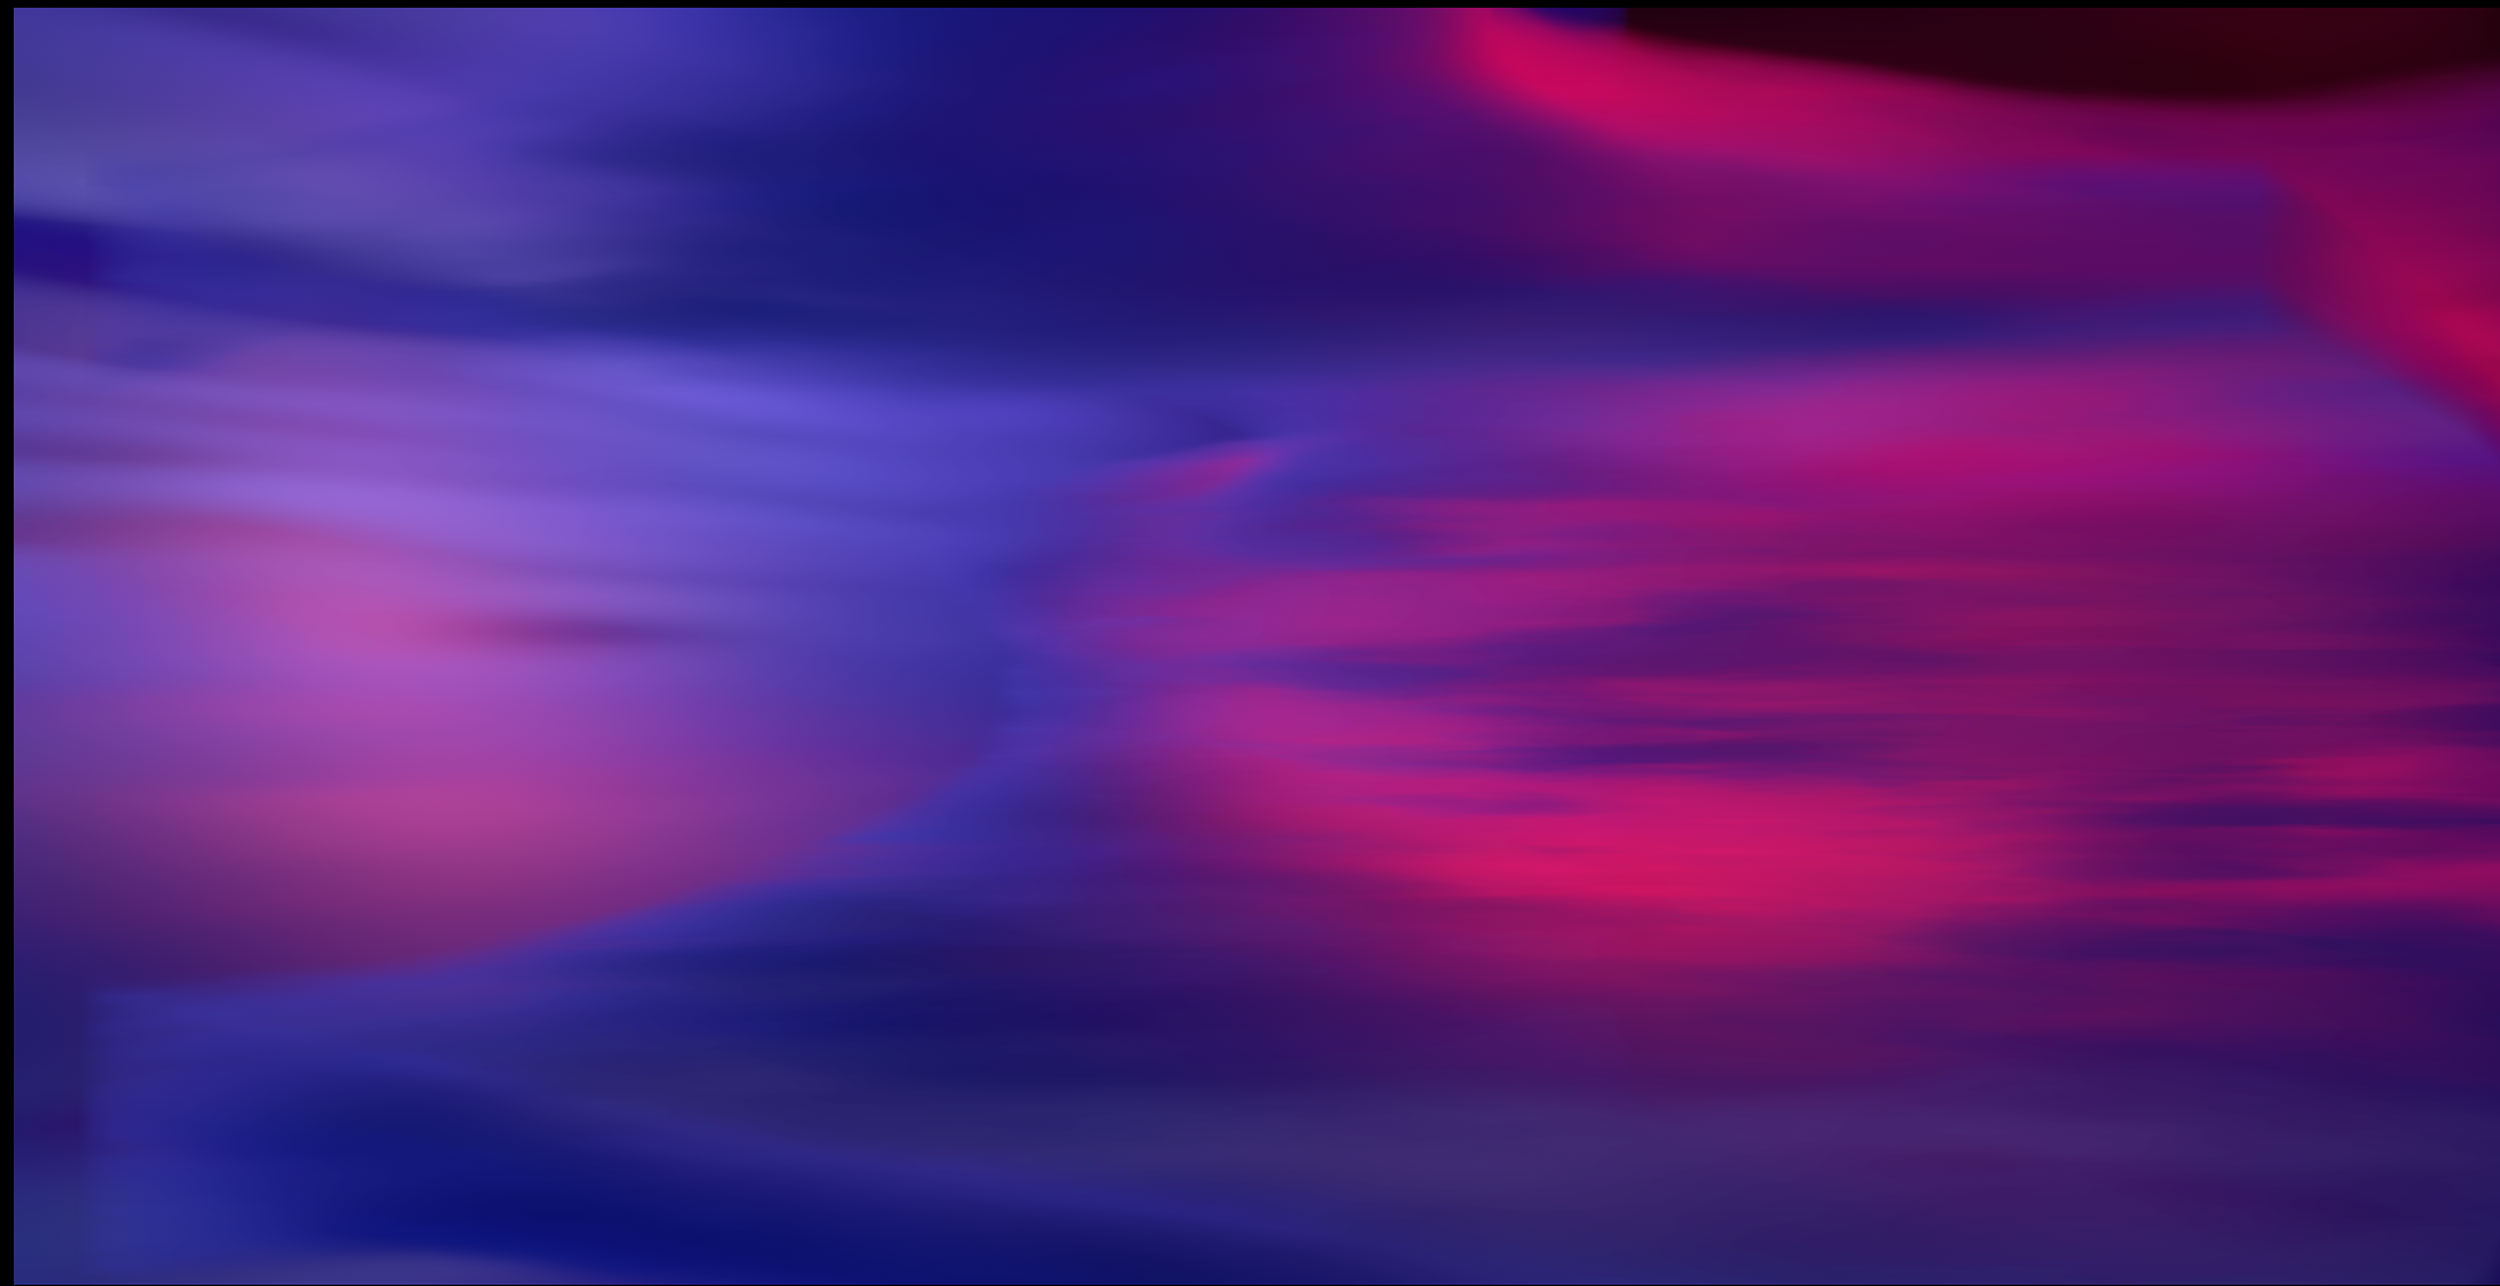
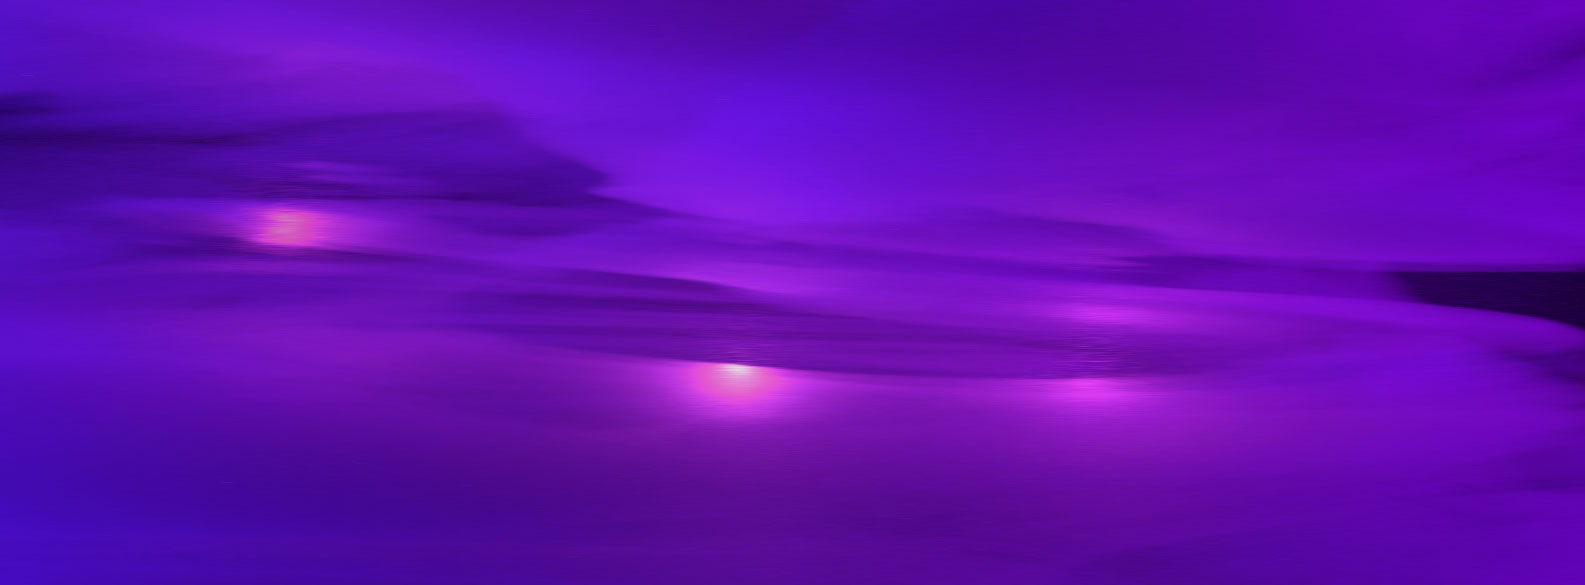
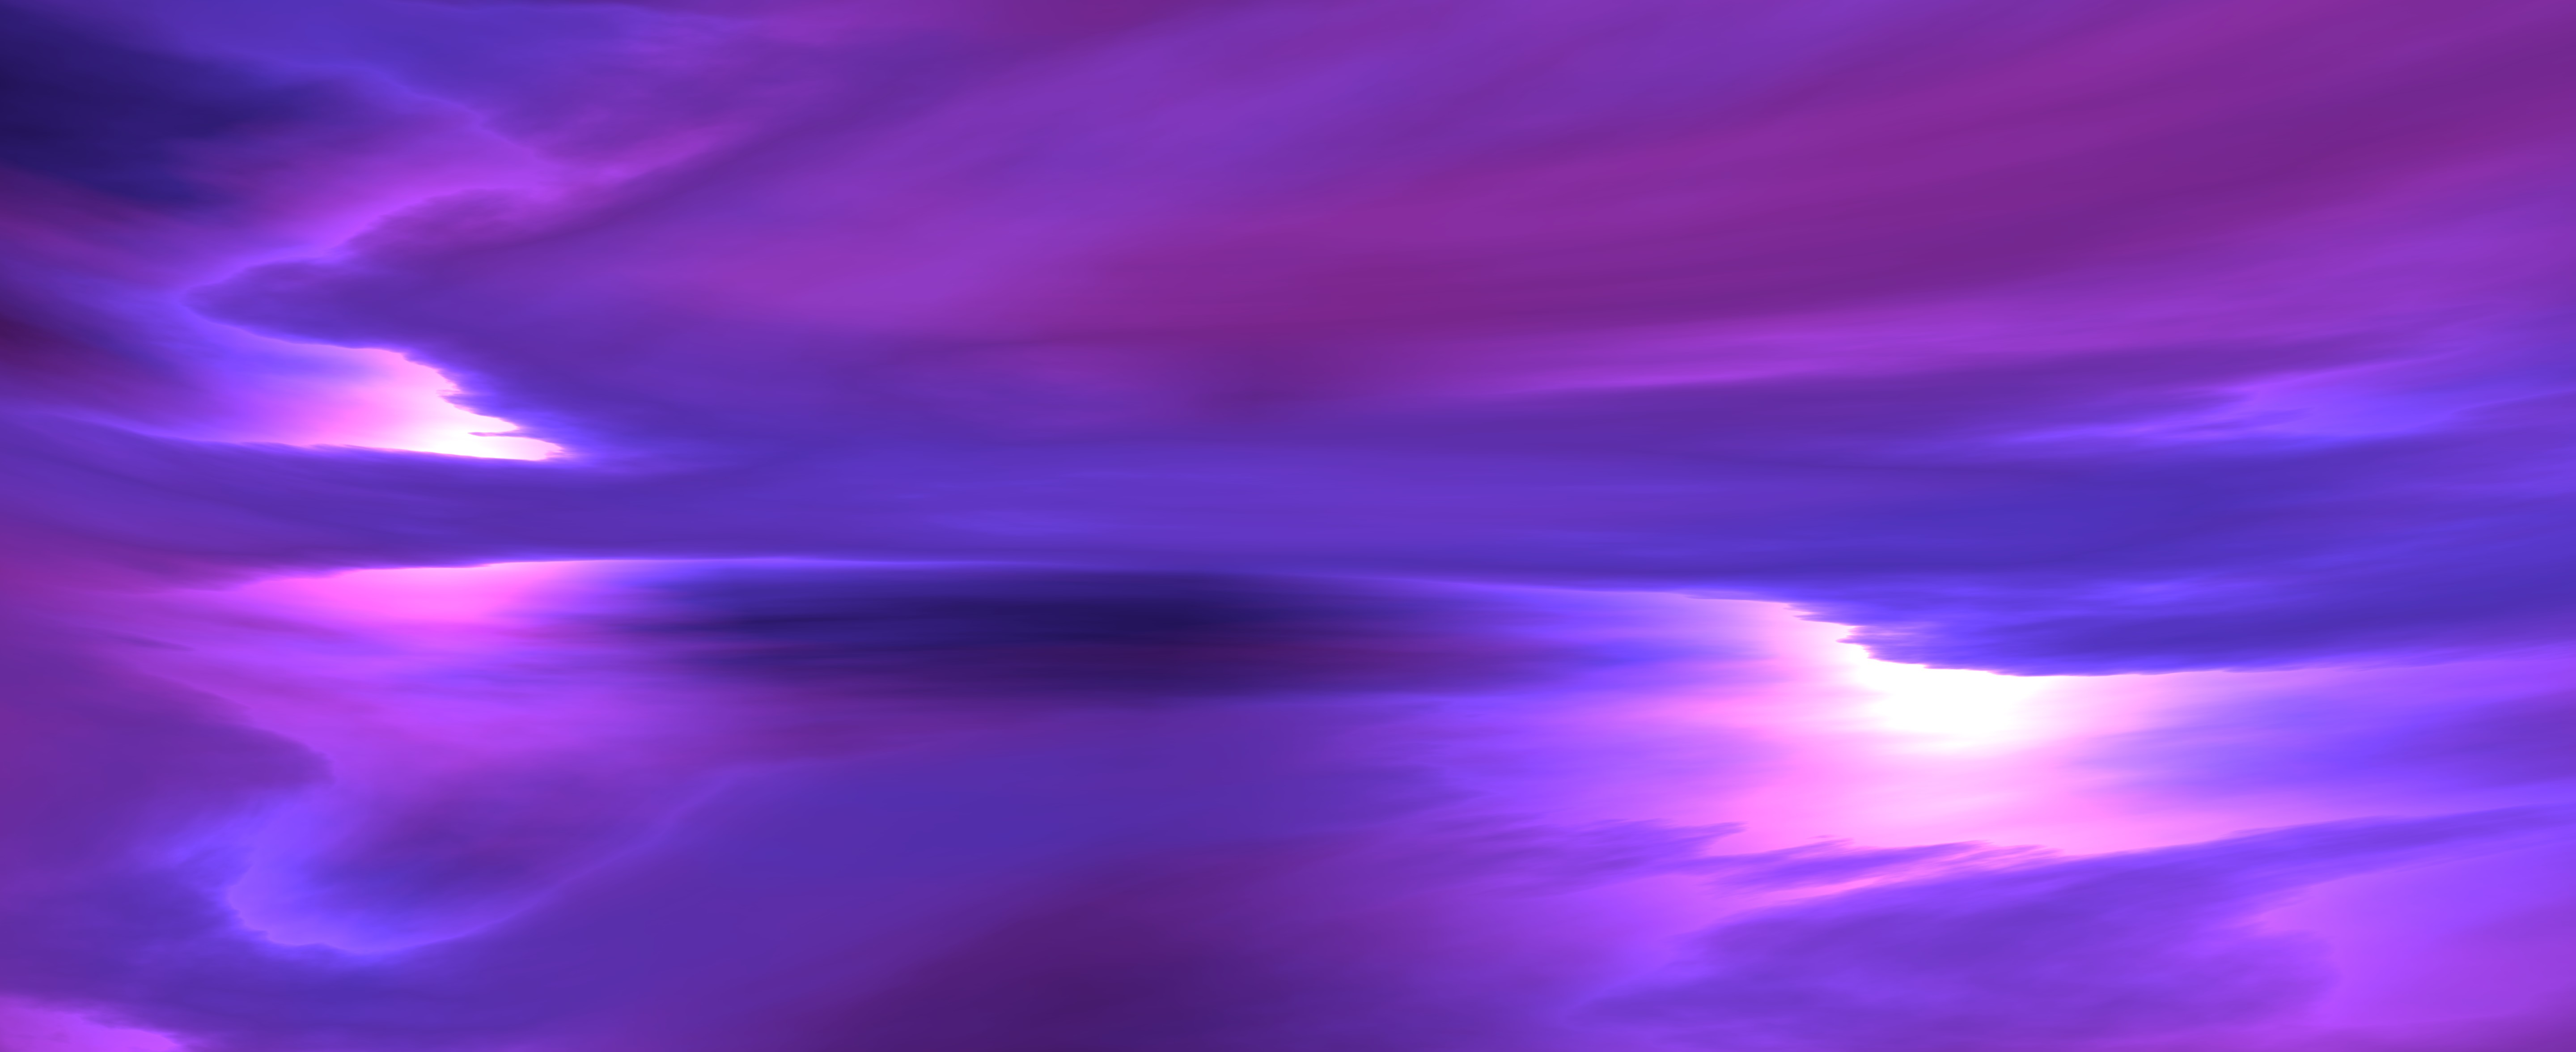
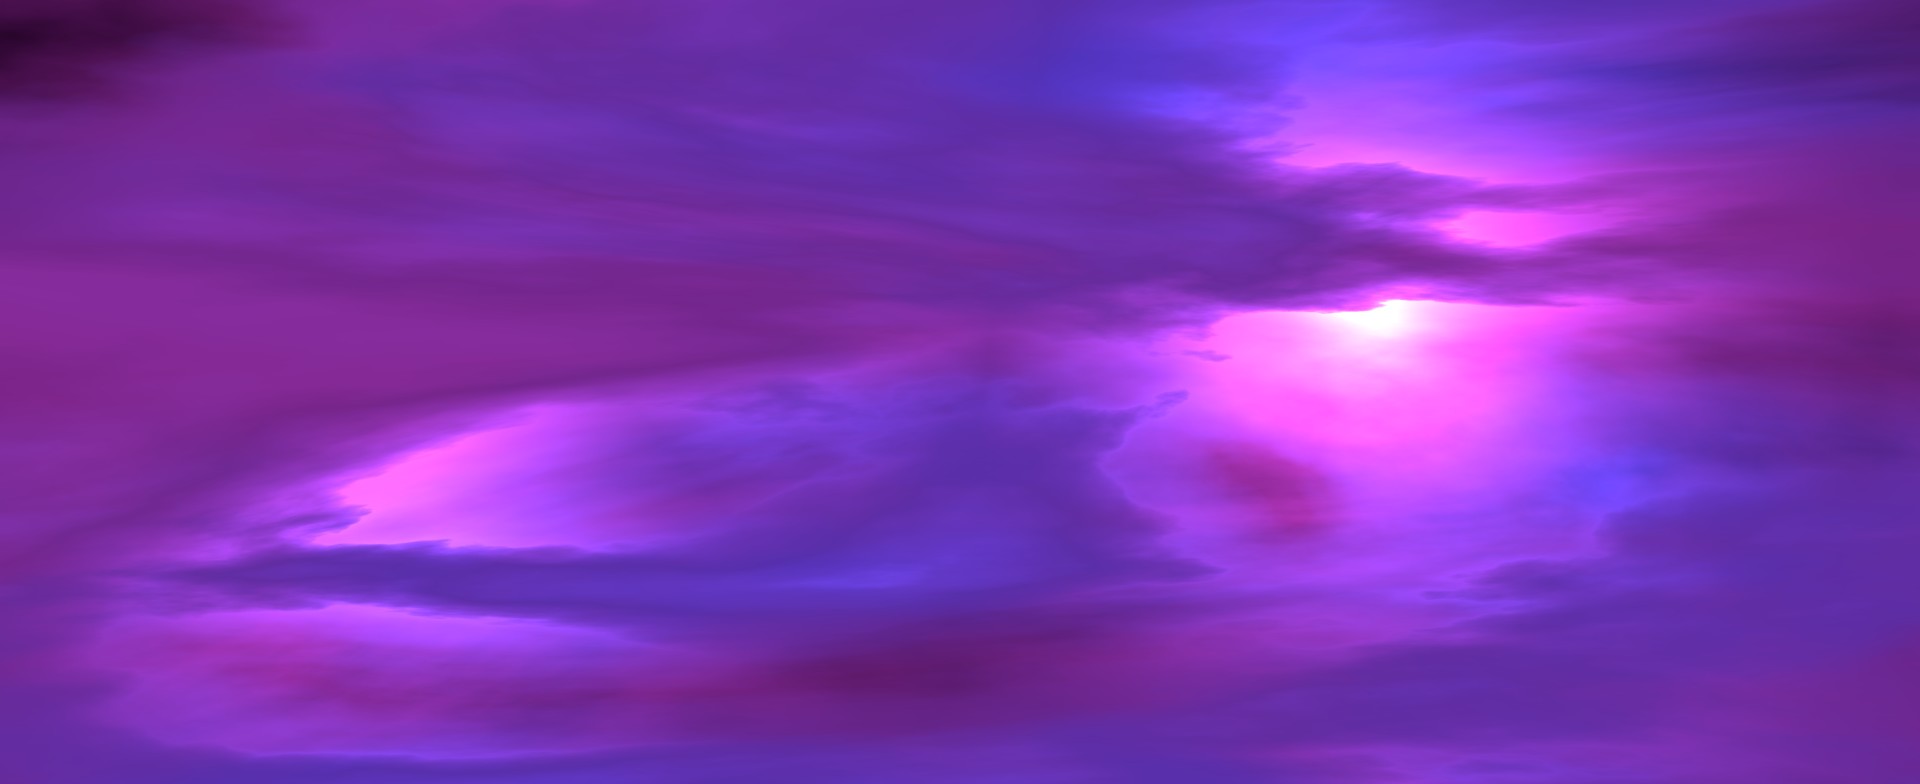
Here are some of the more successful examples using this technique. In some cases, I used the still image as a heavily weighted seed to create another still. The last one was rendered in Houdini with the Redshift renderer using a Houdini course I created some time ago.

This last one was created in Houdini and Redshift

Here are a few failures, especially when attempting looped animations – which, in all fairness, would be a challenge for human or machine:

Pros, Cons, and Applications

This Blender + Midjourney workflow offers:

Speed — animations in under a minute.
Uniqueness — still images designed in Blender give your animations a personal touch.
Flexibility — you can prototype quickly, then refine later in Blender if needed.

But there are trade-offs:

⚠️ Less control — you can’t direct the camera as precisely as in Blender.
⚠️ Mixed results — especially with looping animations, some attempts won’t quite work.

Despite this, it’s an excellent way to rapidly prototype or generate atmospheric background sequences.

Wrap Up

By combining Blender’s creative control with Midjourney’s speed, you can create unique nebula animations — both straightforward flythroughs and seamless loops — in a fraction of the time it would take using traditional volumetric rendering alone.

If you’d like to try this workflow yourself, you can check out the Nebula Generator add-on. You don’t have to use it — any still nebula image will work — but it’s a great way to get started.

Have you tried mixing Blender with AI tools like Midjourney? It might feel a little unsettling, but after spending hours myself rendering animations, I must say the results are undeniably impressive.
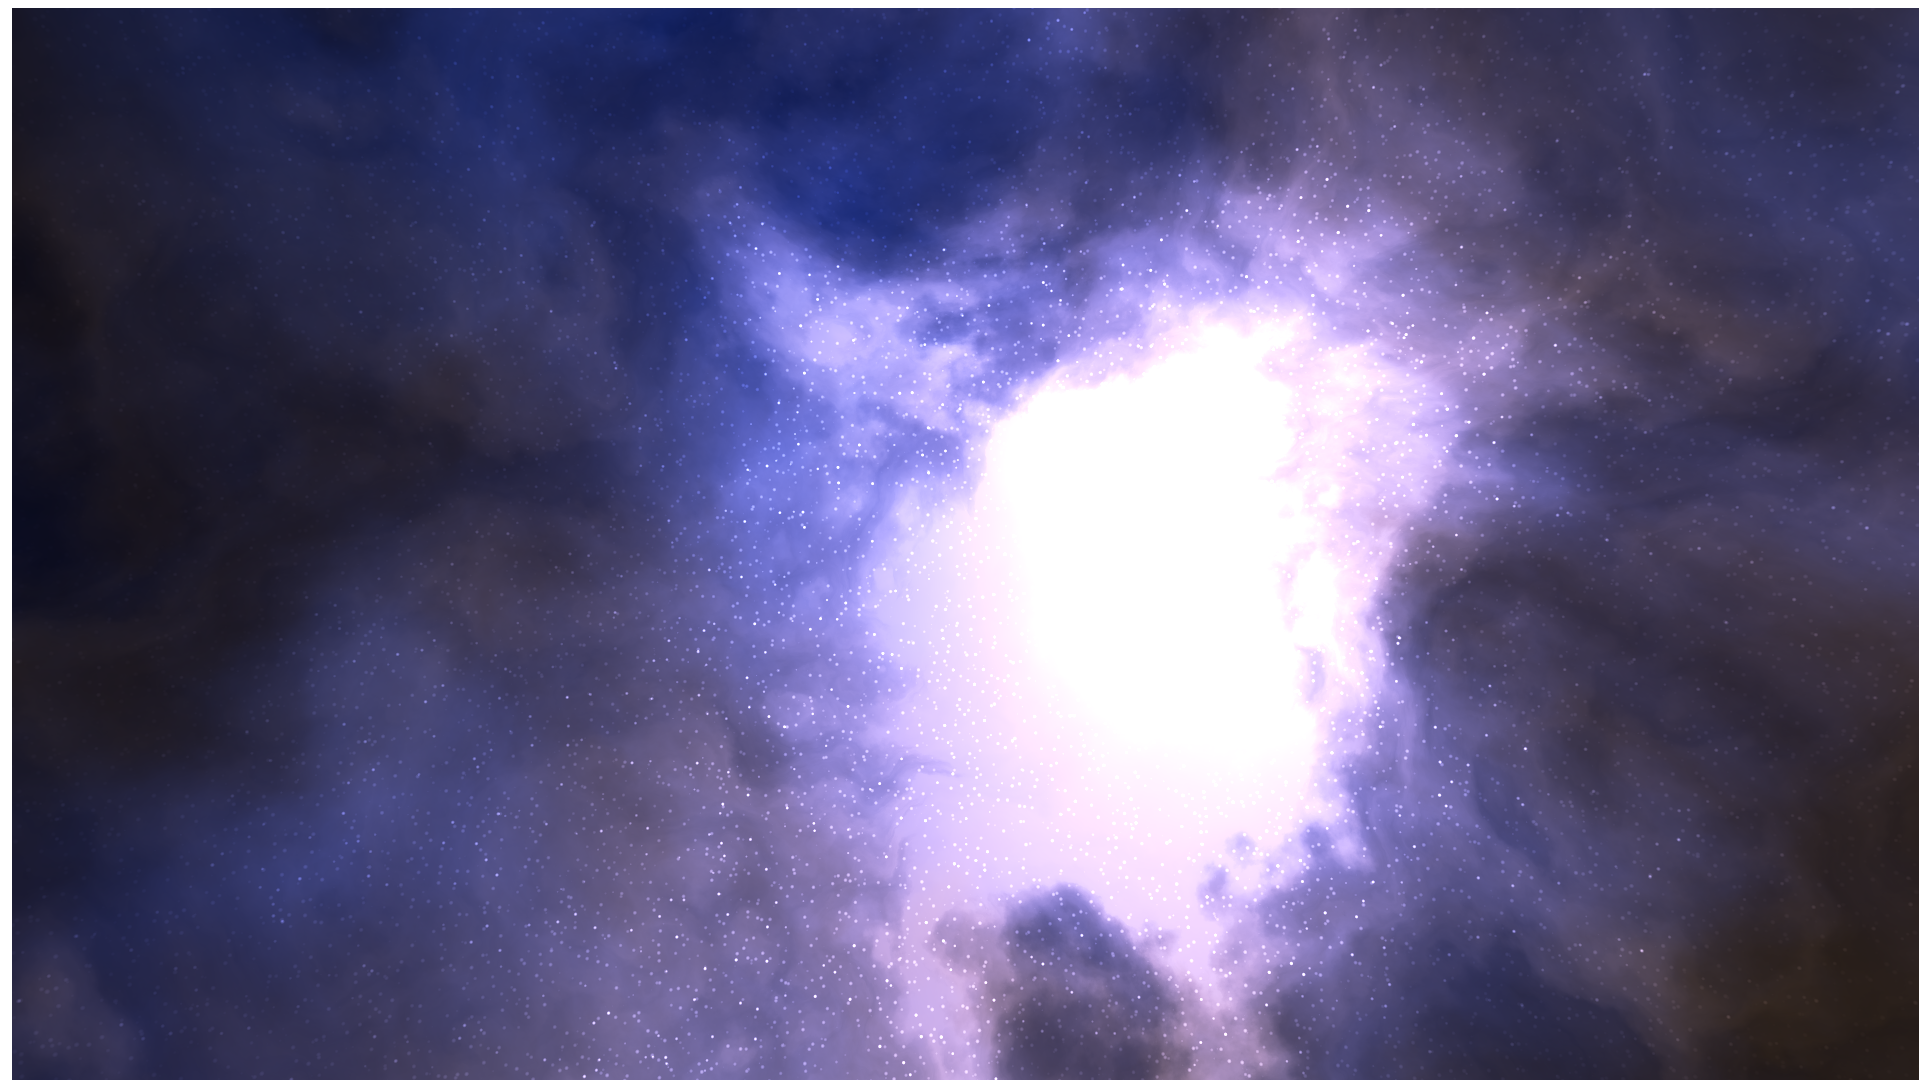
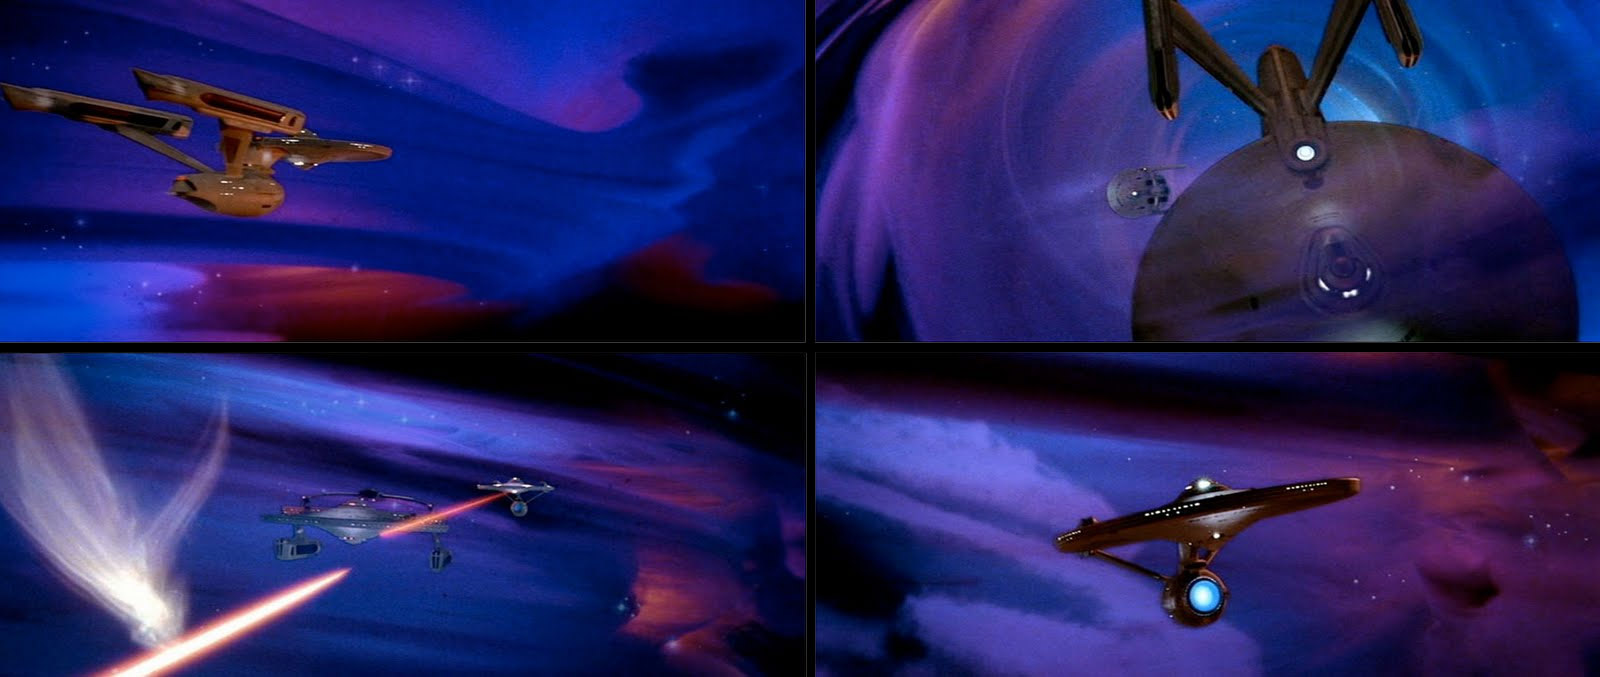
Nebula Creation Course

Hi everyone,

Building on my popular Nebula Generator in Blender, last year I decided to take things even further and used Houdini to create sophisticated nebula effects, deciding on the Redshift Renderer for its speed when rendering 3D volumes. The results are on my ArtStation:

The course itself is a culmination of that learning over the year, and after some long hours in the editing room, it certainly has been a labor of love.

So, I present to you the 3D Nebula Creation Course – here is the trailer:

The course videos start by assuming a very basic knowledge of Houdini and Redshift, building in complexity as time goes on.  

The 3 hours of step-by-step 4K videos have sample Houdini Indie files for each stage of my process, including:

  • Creation of customizable cloud set ups using VDBs and Volume VOPs.
  • Adding customizable effects such as stars and volumetric gas.
  • Setting up an automated lighting rig.
  • Using meta-ball objects and particles to shape the nebula.
  • Rendering the nebula for both stills and animation.
  • Post processing techniques on the final result.

I hope you’ll find it useful – for more info, screenshots and pre-requisites, visit the course page on Gumroad, and if you have any questions do get in touch.

Nebula Generator goes Panoramic

I’ve just updated the Nebula Generator‘s 2D and 3D versions in Blender to have an additional panoramic set up, available as separate files in the downloads.

This allows you to render a panoramic view of a nebula which can then be used to produce hdris for evironments such as game backgrounds.

The 2D version was fairly straightforward to set up by switching the camera type to Panoramic and the Panorama Type to Equirectangular. This is because the set up is linked to Blender’s Cycles environment:

The 2D Nebula setup in Cycles

The 3D version was a little more challenging as the EEVEE setup does not support the Equirectangular camera mode yet. I did however come across a really useful video tutorial by United Filmdom Ltd. that describes how to set up multiple cameras to render out the views and then re-assemble them in a cube map, using a Cycles camera to to the work. It’s a little trickier and doesn’t end up with perfect seams mainly due to EEVEE’s bloom filtering (which can be edited using something like the smudge tool in Photoshop).

From this I got some good examples of the 3D nebula as a background:

A sample HDRI is here and here.

I’ve incorporated this set up as an additional set of files on the Nebula Generator available on Blender Market. If there are any questions about it do get in touch.

Nebula Generator now on Blender Market

Features:

  • Fast render times at high resolutions.
  • A range of configuration options allow you to change the colour and shape of the nebula.
  • Optional star effects that can be swapped out for your own.
  • By animating the parameters, the clouds can be made to appear as if they are moving.
  • Great for game backgrounds, animations, or concept art backdrops.
  • By default the effect is projected onto the background of the blender scene but can also be used as a texture on other objects.

Earlier versions of the node setup (version 1.2.0) will remain free on my website, however by getting this version here you will:

  • Have a priority on new feature requests.
  • Be able to take advantage of new updates.
  • Allow me to invest the time in developing the effects further.

Future roadmap:

  • Potential migration to python code if efficiencies in usability and performance can be seen.
  • Increasing ease of use of the different parameters on offer.
  • Experimentation with more 3D like effects.

Nebula Node Group v1.2 released

nebulanode_v1.2.0Download .blend file

I’ve now expanded the control you can give to the stars:

  • An input is now provided so you can choose to add your own starfield effects.
  • I’ve moved the stars out into a separate set of “StarsNodes” that you can now use to alter the existing stars.
  • You can now choose to blend the stars more with the color of the nebula to produce a more harmonious effect.

I’ve update the instructions in the .blend file, and any questions let me know. Enjoy!


Blender Nebula Group Node: Tutorial & Download

Download Add-On

I thought it would be good to share my work on creating nebula effects in Blender and make an adjustable Blender node called “Nebula” that Blender users can download and create different effects with, seeing as I don’t have much time to create the images myself.

With the “Nebula” node you can produce a range of effects, such as:

nebulanode_blueneb nebulanode_purpleneb1nebulanode_purplenebnebulanode_orangegreenneb3nebulanode_darkredneb

Tutorial

What follows in an overview about how to use the “Nebula” Group Node and a selection of other example .blend files you can download with the group node in it.  I’ve also added for upload some samples from my previous post on the subject.

The tutorial assumes that you have a working knowledge of Blender and how to install a group node in it. If you’re new to Blender, it’s all open source and is definitely worth spending the time learning it.

Here is a screenshot of the Nebula Node in Blender’s Cycles Compositor:

Screen Shot 2017-01-31 at 19.15.40

The node works by overlaying a series of different noise effects to produce the clouds and the stars.  The clouds are produced by overlaying 3 coloured noise layers, and the ambient large “suns” are layered on top.  Finally, the smaller stars are mixed in.

Here is a sample node setup that adds the nebula to the background environment in blender cycles (this is also in the sample .blend files):

Screen Shot 2017-01-31 at 14.13.01

The options for the Nebula Node are as follows:

Vectors

The first set of options define the position of each layer.  They are separated out because the key to producing a good effect is offsetting the vector (position) of the layers:

  • Small Stars Vector: The position of the small background stars.
  • Large Stars Vector: The position of the larger ambient stars.  Note that these aren’t exactly star-like, and more produce the ambient lighting of the nebula.
  • Clouds 1 Vector: position of the first cloud layer.
  • Clouds 2 Vector: position of the second cloud layer.
  • Clouds 3 Vector: position of the third cloud layer.

You will find that offsetting the cloud vectors using Blender’s mapping node will produce different cloud shapes and effects.

Cloud settings

As noted, the key to getting different nebula effects is by adjusting the 3 layers of cloud noise.  Each layer, labelled Cloud 1-3, has the following settings:

  • Color: The individual colour of each cloud layer, mixed in by the rest by the Screen layer effect.
  • Mix: How strongly mixed the cloud layer is with the overall effect (Default: 1.0)
  • Scale: The size of the noise in the cloud layer.
  • Distortion: The distortion effect applied to the cloud layer.
  • Detail: The amount of variation in the cloud texture.  Higher levels do produce more detail, but be careful not to overly distress the cloud effect.
  • Detail distortion: Applies a distortion effect to the detail.

There are then some more global settings you can play with for the clouds:

  • Cloud darkness: How dark a contrast the overall nebula effect is producing.
  • Cloud Dark Start: The position in the noise where the dark parts of the cloud begin.
  • Cloud Light Start: The position in the noise where the light parts of the cloud begin.

Sun and Star settings

The following settings control the intensity and position of the ambient light (suns) and stars.

  • Large Suns Mix: The intensity of the ambient light of the nebula.
  • Small Stars Mix: How much small stars shine through the nebula.
  • Large Sun Scale: The size of the ambient light on the nebula.
  • Large Sun Ramp Pos 1: The position where the light that brightens the nebula starts.
  • Large Sun Ramp Pos 2: The position where the darker part of the ambient light tails off.

…phew! That’s it.

Below are some of the effects you can get using the Nebula Node and the associated .blend file to load into Blender:

nebulanode_blueneb

Download .blend file

Download .blend file

Download .blend file

Download .blend file

Other Nebula Blender files

Finally, here are some .blend files of earlier effects I’ve done using the same principle but not in a group node.  You might find them useful to adjust for your own projects:

mutara_effect1

Download .blend file

redneb1

Download .blend file

horseheadnebula

Download .blend file

And finally…. Any questions, let me know and I will do my best to respond.

3D nebula effects and clouds on the cloud…

mutara8A screenshot of the final effect, taking seconds to render on a single machine.

I have been experimenting for some time with different ways to produce computer based nebula effects that can be animated, similar to the practical special effect of the Mutara nebula in Star Trek II The Wrath of Khan:

mutara_neb_screenshotall

This was originally achieved by use of a cloud tank, where coloured dyes and other chemicals were immersed in a big glass tank of water, lit from various directions, and then photographed. This effect was used in a number of other 70s/80s films, including Indiana Jones. You can read all about it here, and there are lots of videos like this one that show you how to create your own.

An example of a cloud tank.

In the absence of a large cloud tank, I wanted to look into how to re-create this effect in 3D CGI, where you could build a cloud-like structure you could navigate around – not just a photoshop painting.  Some years ago I looked at Blender’s fledgling volumetric model which showed promise. I tried recreating the tank as a 3D shape, such as a sphere, and then used 3D noise textures to influence the varying density of the cloud inside the sphere.  I then lit it with different coloured lights from various directions and achieved this:

My first attempt.

At that time, you could not increase the detail beyond a certain limit, and the rendering time was quite cumbersome on a single machine (remember in 2009 public distributed computing like Amazon Web Services were still in their infancy).

I revisited the problem a number of years later in 2014.  Blender had developed its Cycles system to include volume rendering, and with their nodes editor I was able to create more effects.  This time I used a more straightforward cube shape and then used 3D noise and colour ramps to control the effects. I also started embedding light sources inside the cube to suggest stars which also produced some better effects.

Here are a selection of an early set of attempts, roughly in chronological order, where I did a lot more close-up shots.  Remember these images are rather raw and have not had any further post-processing. Click for larger versions:


I still found drawbacks to this technique; I had a lot more power to control the effect, but rendering times were still extremely high especially on a single machine.  I was experiencing times of between 1 and 6 hours for a half decent single frame render.

I therefore did one further experiment with this technique using an open source tool called Brenda and ran the process across multiple machines using Amazon Web Services.  This way I could split the work up across multiple machines running simultaneously to reduce the time to render.

mutara_effect_volume_aws

This nebula exists in 3D space and could be navigated in and around with a camera. This image was achieved in 40 minutes, using 8 multi-core machines in parallel – if I had ran it on a single work station, it would have taken nearly 6 hours…

I was still very impatient; Therefore I developed a system that can produce very effective results in a matter of seconds, at the sacrifice of being totally navigable – however you could simulate this using various techniques that splits the clouds up onto multiple 3D planes.

The effect was a development of a photoshop tutorial I saw online.  This tutorial used more traditional painting techniques to great effect, and the key was how the artist overlaid different painted clouds over each others using the colour dodge filter.  The most time consuming part was producing the clouds – so I cut that time down by using a noise texture.

I used Cycles in Blender and the node editor to overlay different noise-generated cloud effects on top of each other using the Screen filter, adding this to the world background.  Because I wasn’t using volumetric rendering any more, I could produce good effects in near-realtime on a single workstation.

Here are some high resolution quality images which all took under a minute to render. Click to enlarge:

mutara9 mutara10 mutara11 mutara12 mutara13 mutara14a mutara15 mutara16 mutara8 mutara7 mutara6

The properties can also be animated, and although you can’t quite navigate around them in the same way as using volumetric materials, the rendering time is significantly reduced – the following HD animation took 15 minutes to render on a single machine, so this effect would take even less across multiple machines. Note that the clouds move half-way through:

You can also create different effects other than the pink/purple mutara nebula effect.  You could create an Eagle nebula like effect like this:

eagle1…or a very red nebula like this:

redneb1So in conclusion I spent a great deal of time working out how to do efficient nebula effects on the fly.  If you happen to use any of the techniques developed here…please give me a mention 🙂